- By Admin
- Integro
- The mid-remodel crossroads: Is underfloor warmth worth the disruption?
- Why retrofitting radiant heat later is a logistical nightmare
- Integrating electric heating mats during a gut renovation (the clean way)
- Crunching the numbers: What Ditra-Heat and electric systems actually cost
- The hardware checklist: Thermostats, mats, and subfloor prep
- Four fatal mistakes that will burn out your system under the tile
- Making the call: Why the dust settles but the warm floors remain
- Frequently Asked Questions
The mid-remodel crossroads: Is underfloor warmth worth the disruption?
Facing the dust and the decision
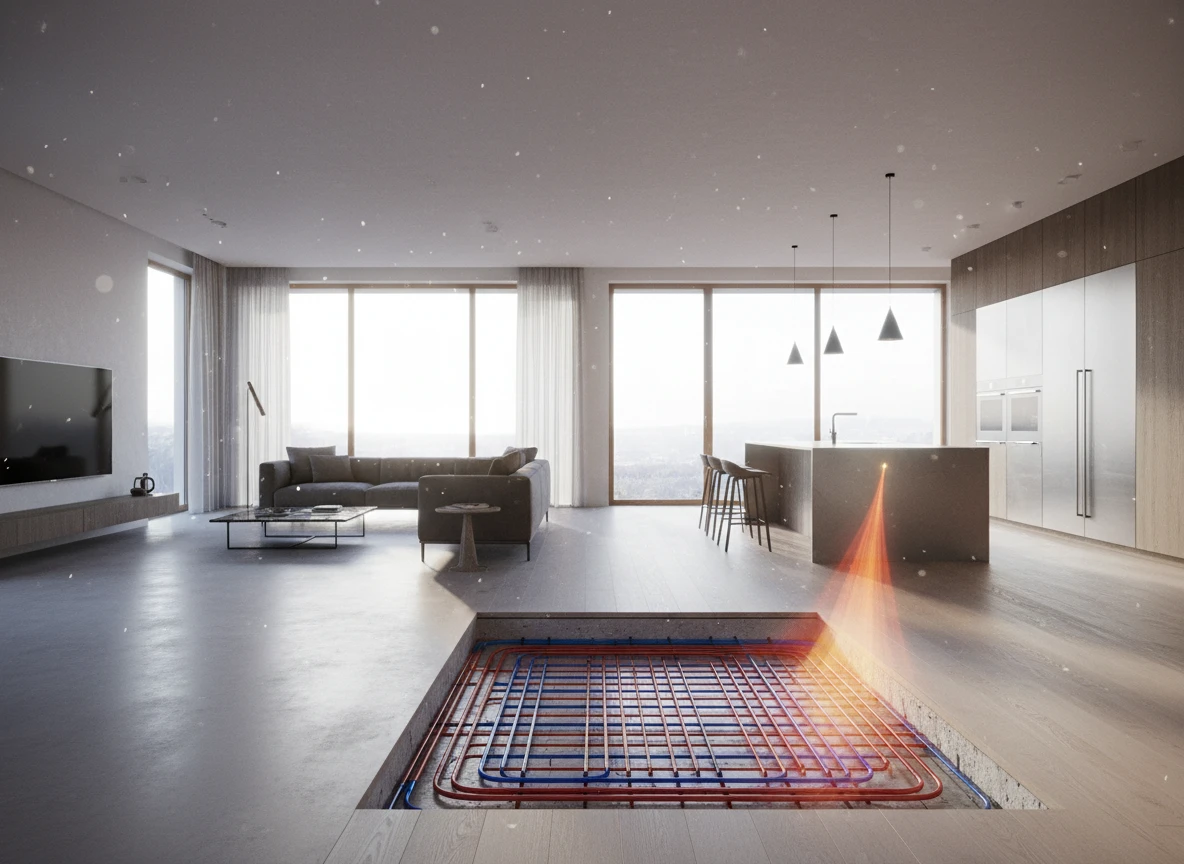
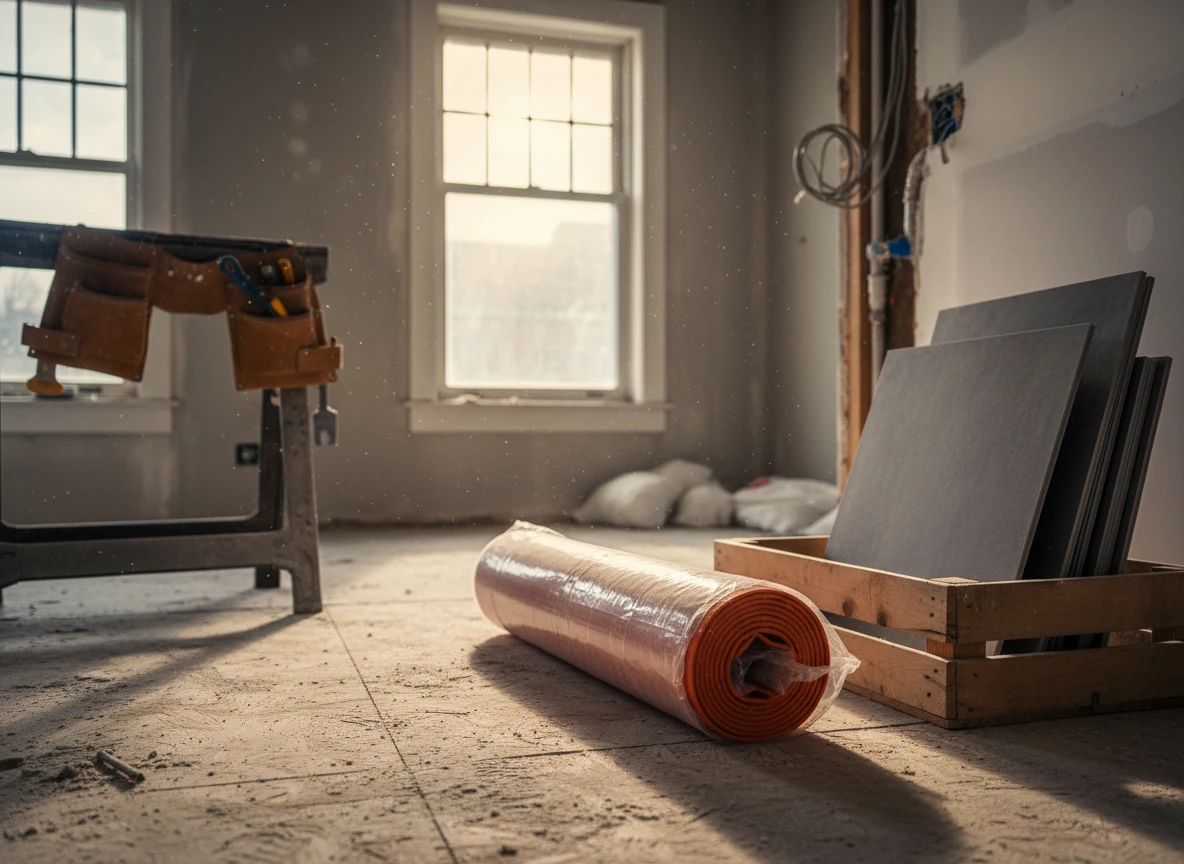
You're standing in what used to be your bathroom, ankle-deep in drywall dust and staring at exposed copper pipes. The contractor is hovering, asking if you want to lay down a heating mat before the new tile goes down. It feels like just another line item on a budget that's already running away from you. But here's the catch: this is your only window to install a bathroom floor heating system. Miss it, and you'll have to tear the whole room apart again in five years to get it.
It's tempting to just say no. A standard 50-square-foot bathroom remodel is already chaotic enough. But putting in an underfloor heating system while the room is gutted costs roughly $1,400 to $1,500 installed. That's actually pretty cheap when the floor is already stripped bare. If you try to retrofit it later? You're looking at total demolition.
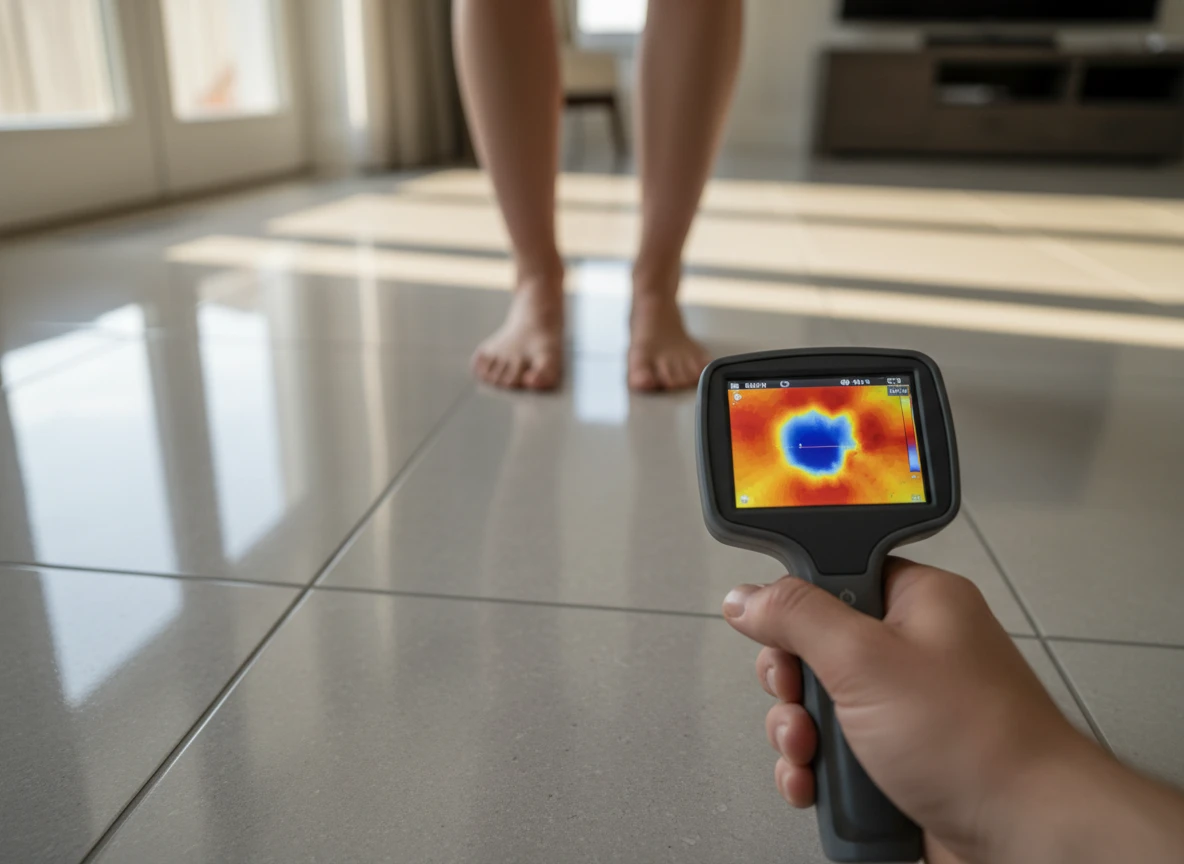
At Integro Process Heating Solutions, our thermal engineers look at how small structural choices stop big energy drains. Cold porcelain tiles are basically giant heat sinks. They steal warmth from the air and your bare feet. Putting thin electric mats right into the fresh thin-set layer fixes that sub-zero morning shock. Even better, it dries out moisture quickly, which keeps your grout dry and stops mold from growing.
What about the electric bill? That's the main worry we hear. But if you use a programmable thermostat, daily power usage stays low, usually around 12 to 15 watts per square foot.
The secret is layout planning. If you map it out right, your electric radiant floor heating runs efficiently without spiking your monthly bills. Saying yes now means you turn a dusty construction zone into a warm, comfortable room you'll appreciate every single morning.
Why retrofitting radiant heat later is a logistical nightmare
Deciding to add electric floor heating after your bathroom tiles are cured is a logistical disaster. Don't kid yourself—this isn't some quick weekend upgrade. It's a full-scale demolition project.
Skip installing underfloor heating systems during a gut remodel, and your future options look grim. You'll have to tear up your brand-new porcelain tiles and scrape away hardened thin-set, a destructive process that inevitably ruins the underlying subfloor and waterproof membranes.
At Integro Process Heating Solutions, we analyze thermal transfer and system installations daily. Retrofitting radiant heat post-remodel forces you to pay for the exact same bathroom floor twice. That's not just annoying; it's financially reckless and entirely avoidable.
Structural and height issues
Adding bathroom floor heating later also messes with your floor heights. During a gut remodel, thin heating mats sit flush within the thin-set layer. Laying a new system over an existing floor, however, creates a dangerous lip at the doorway. That forces you to shave doors or build awkward, unsafe transitions.
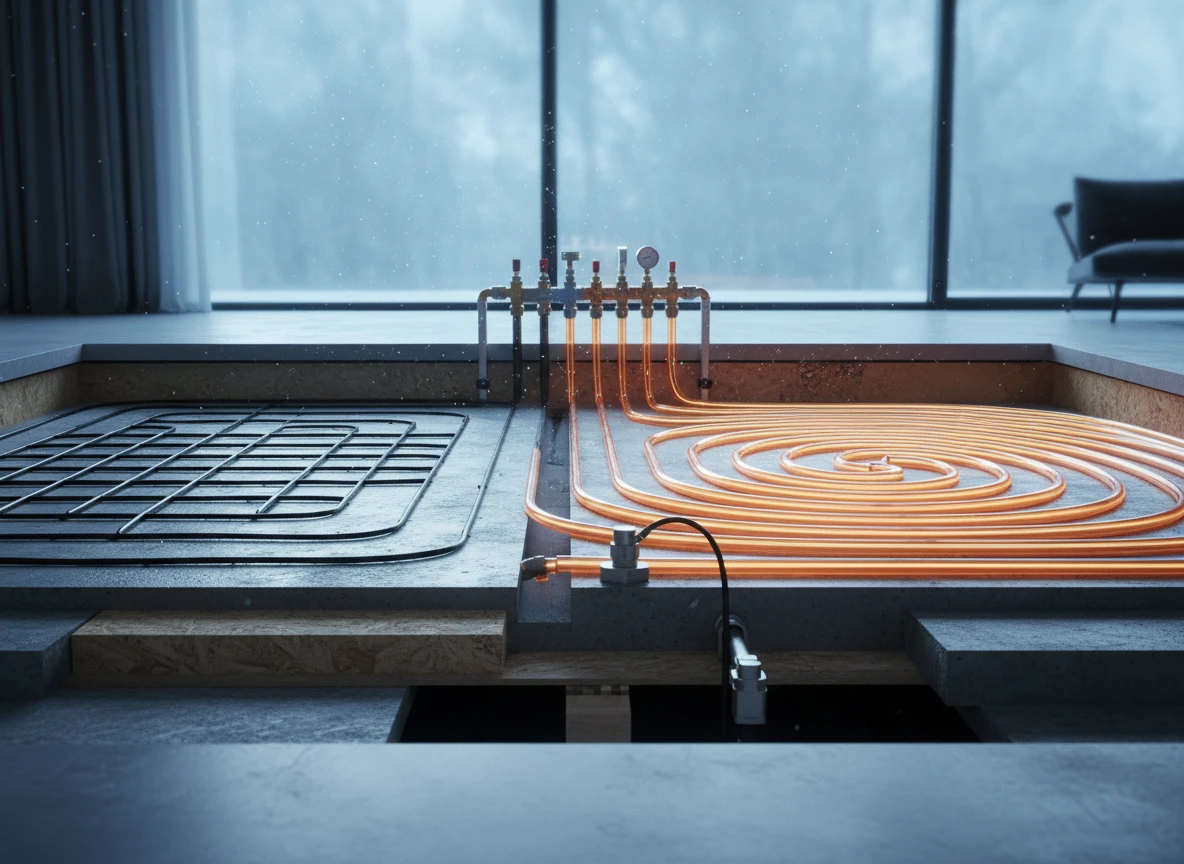
Ask any professional underfloor heating system manufacturers or underfloor heating system suppliers—subfloor preparation is everything. Skip insulating the subfloor first, and your heat sinks straight into the concrete slab, making the system highly inefficient and expensive to run. Our engineering team compares this to a poorly calibrated industrial heating system that bleeds energy due to bad thermal insulation.
The electrical bottleneck
Then there's the power issue. A retrofitted system requires dedicated electrical lines run through finished drywall, which means cutting holes in your freshly painted walls just to route cables to your main panel.
Working with certified underfloor heating manufacturers and underfloor heating suppliers ensures correct voltage planning from day one. Trusted underfloor heating exporters and underfloor heating system exporters provide detailed wiring diagrams for a reason: you can't just plug these systems into a standard GFCI outlet next to your vanity.
So, do it now. The gut remodel is your only logical window. Tearing up finished work later is nothing but pure financial waste.
Integrating electric heating mats during a gut renovation (the clean way)
Laying the foundation for invisible warmth
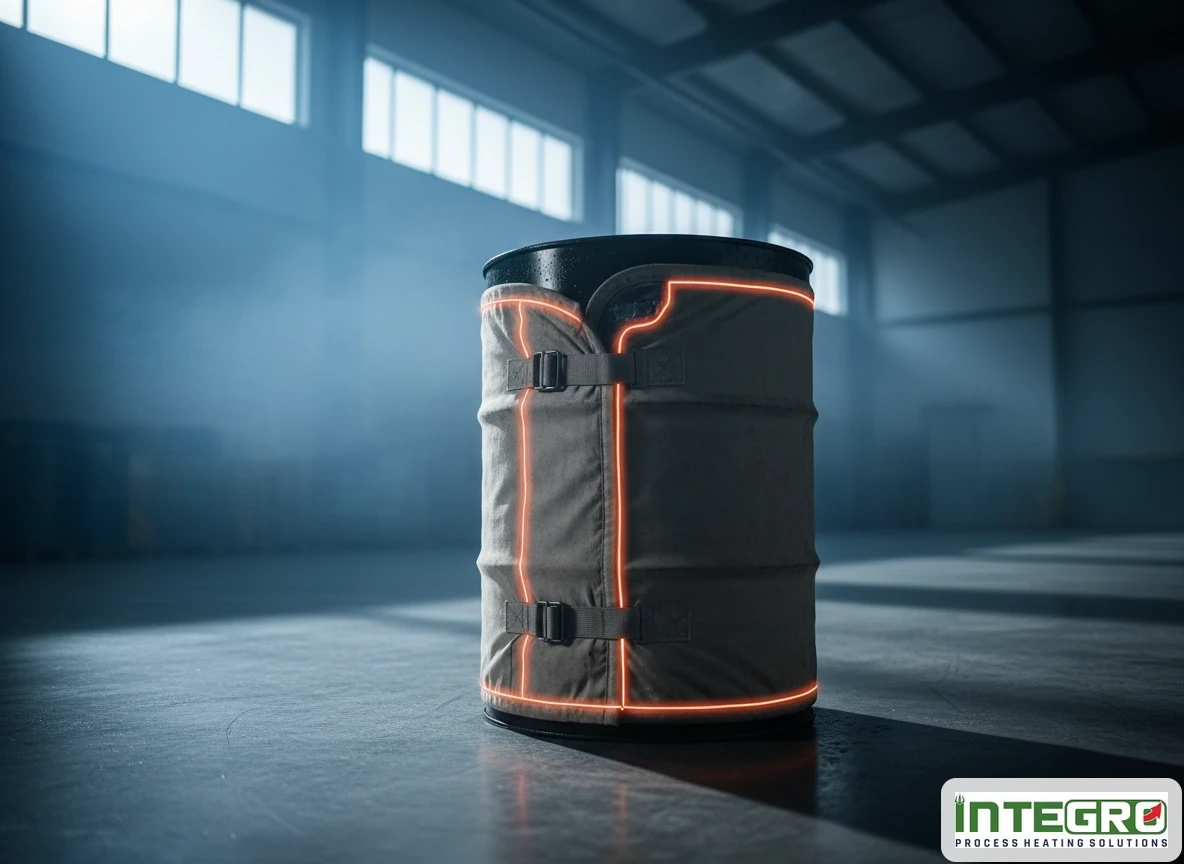
Stripping a bathroom down to its subfloor gives you a completely clean slate. It's the perfect time to install a low-profile heating system. Doing it now avoids those annoying, uneven floor transitions at the doorway. Our industrial division works with heavy-duty drum heating jackets, but home and commercial floor installations need a much thinner profile.
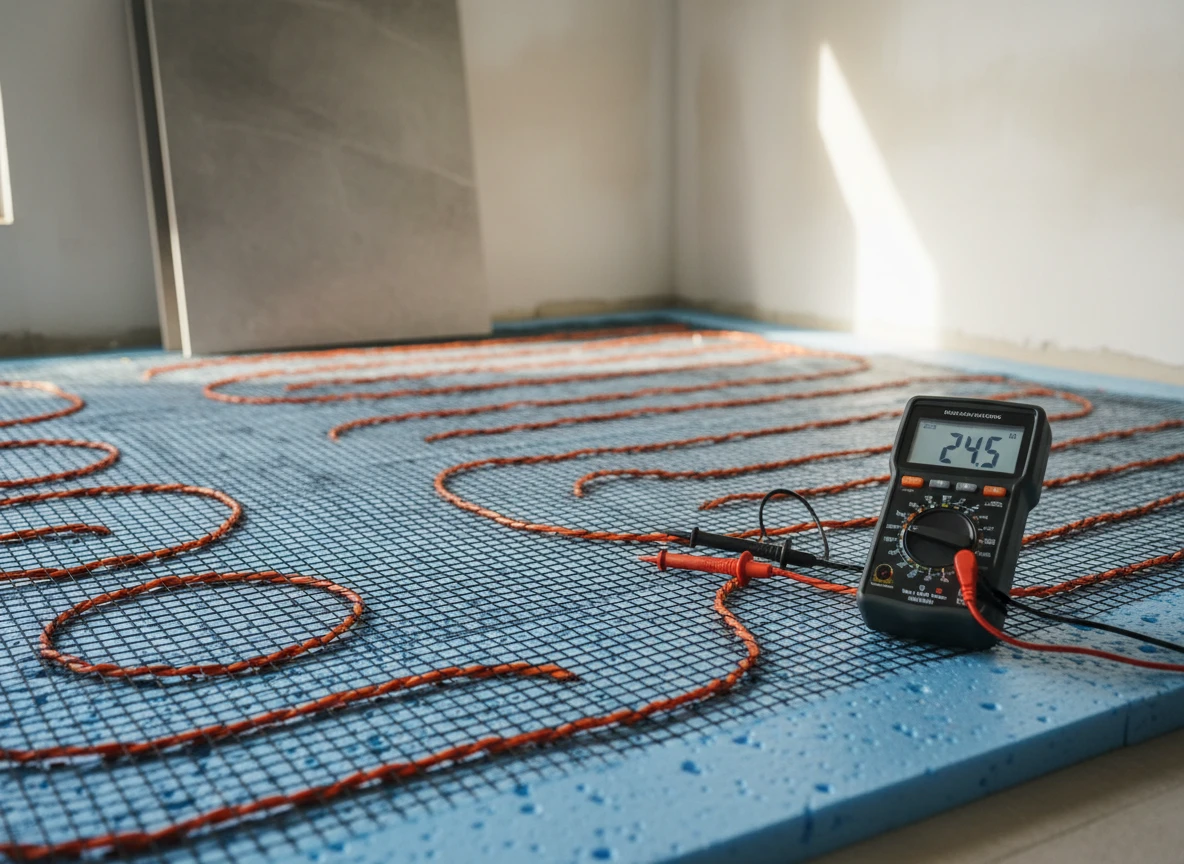
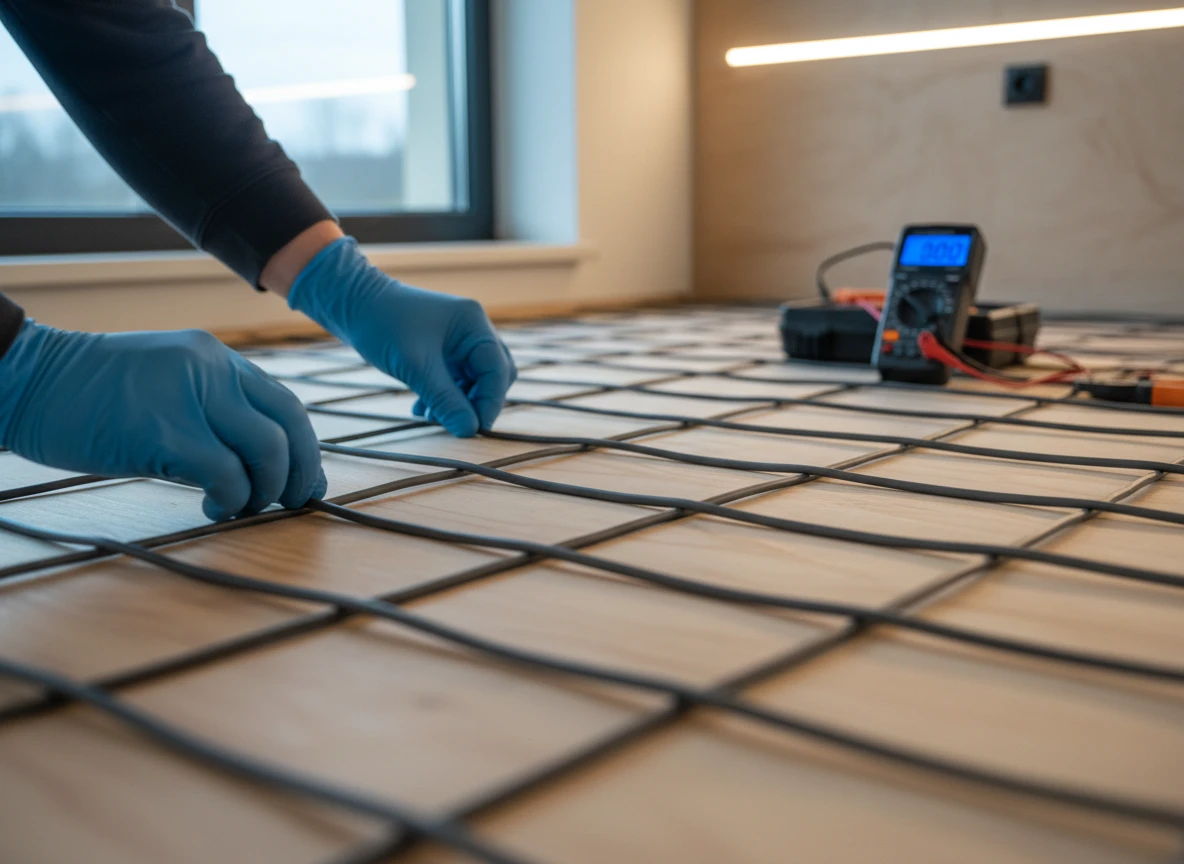
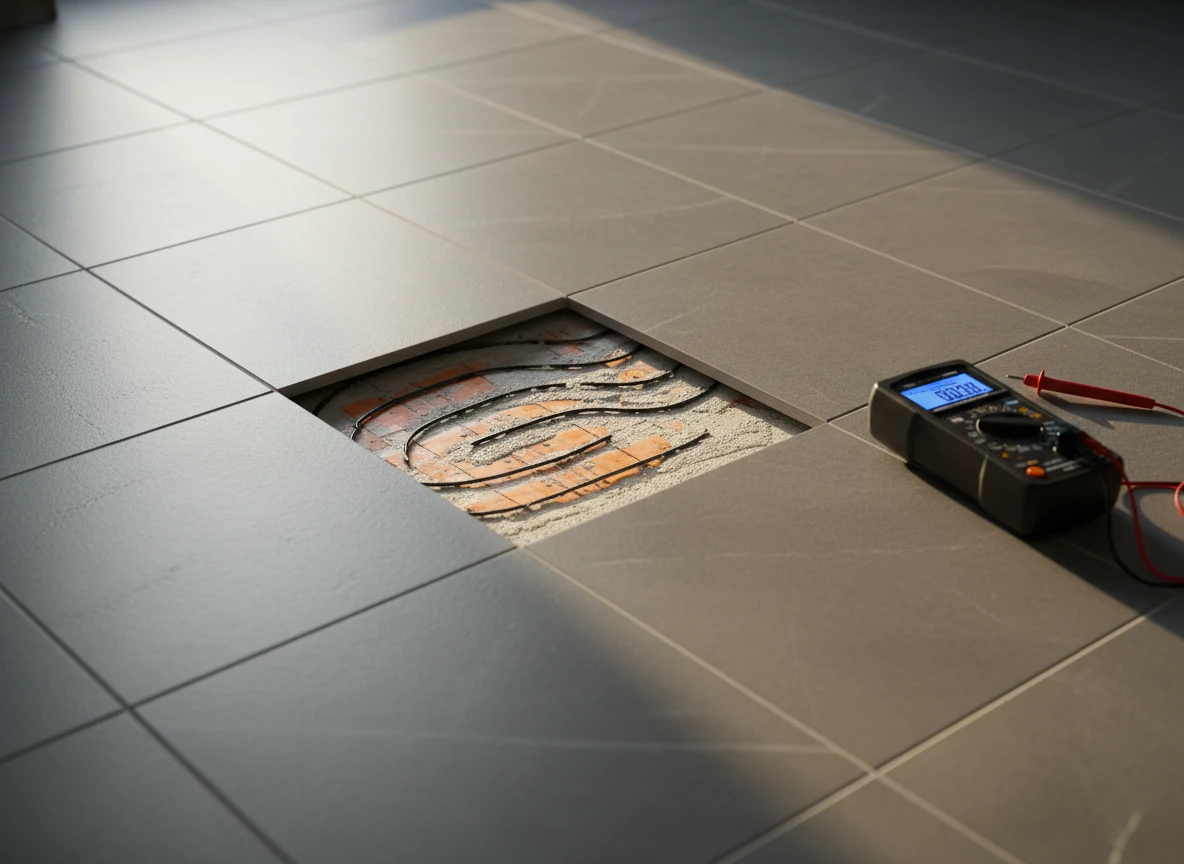
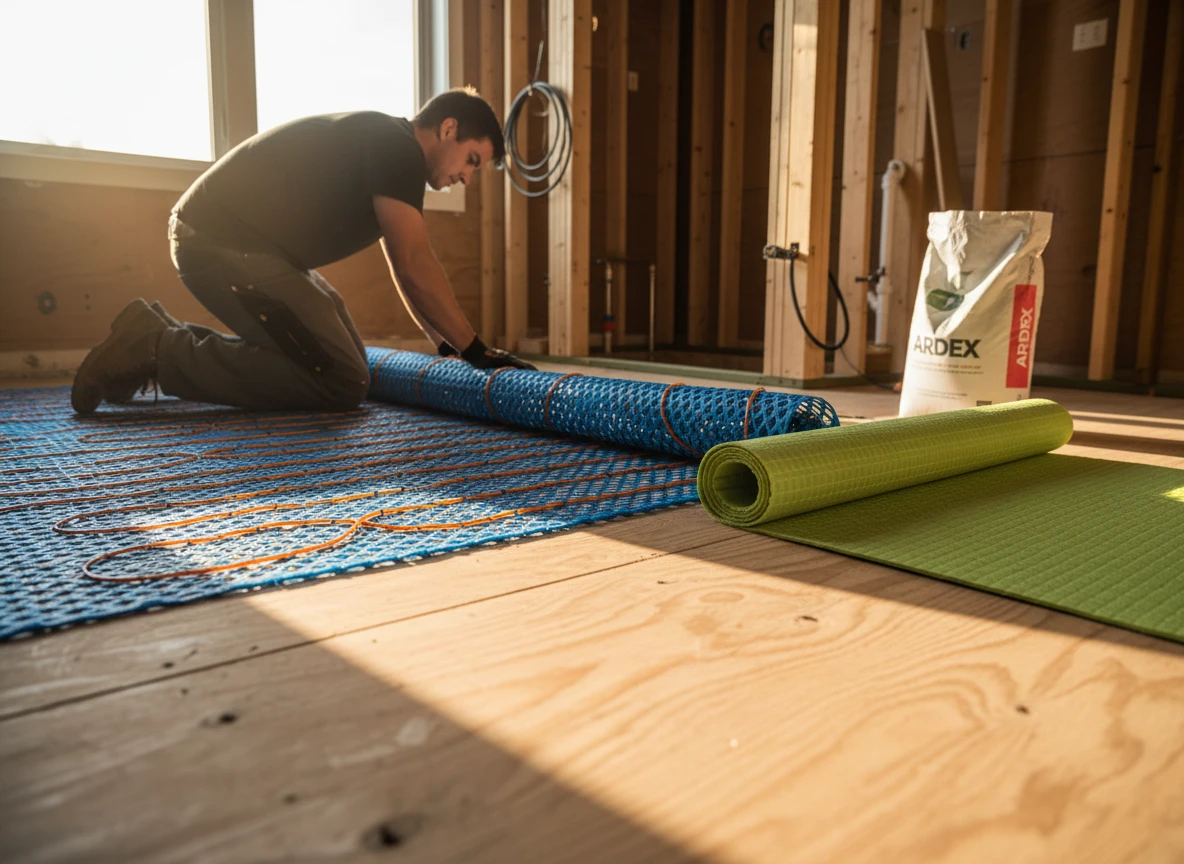
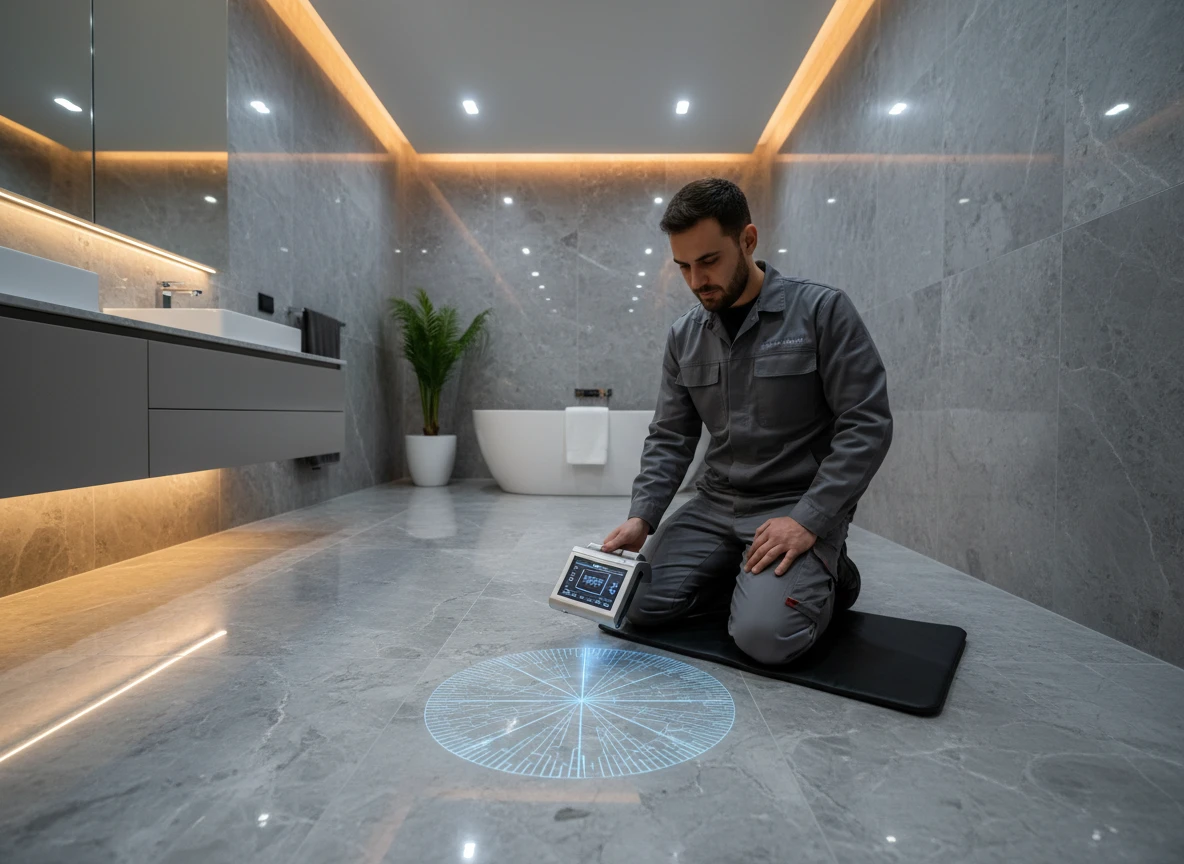
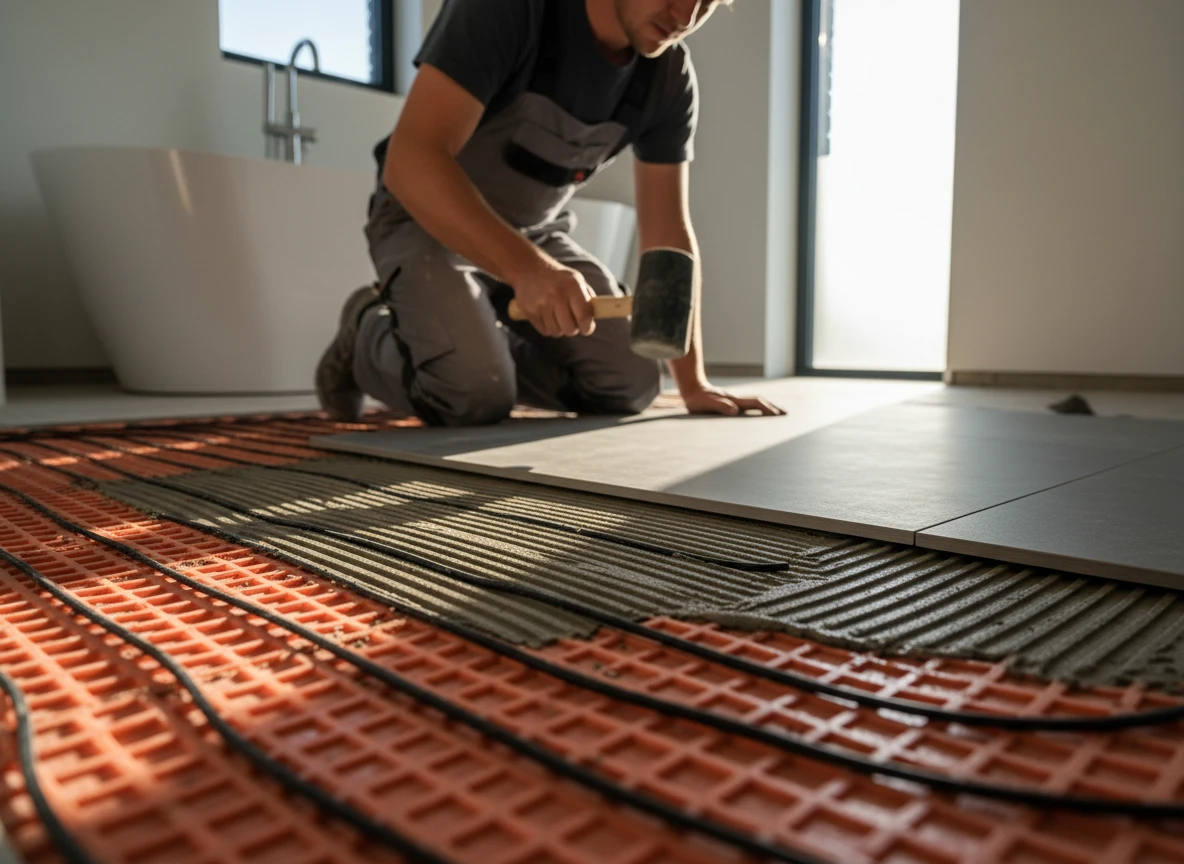
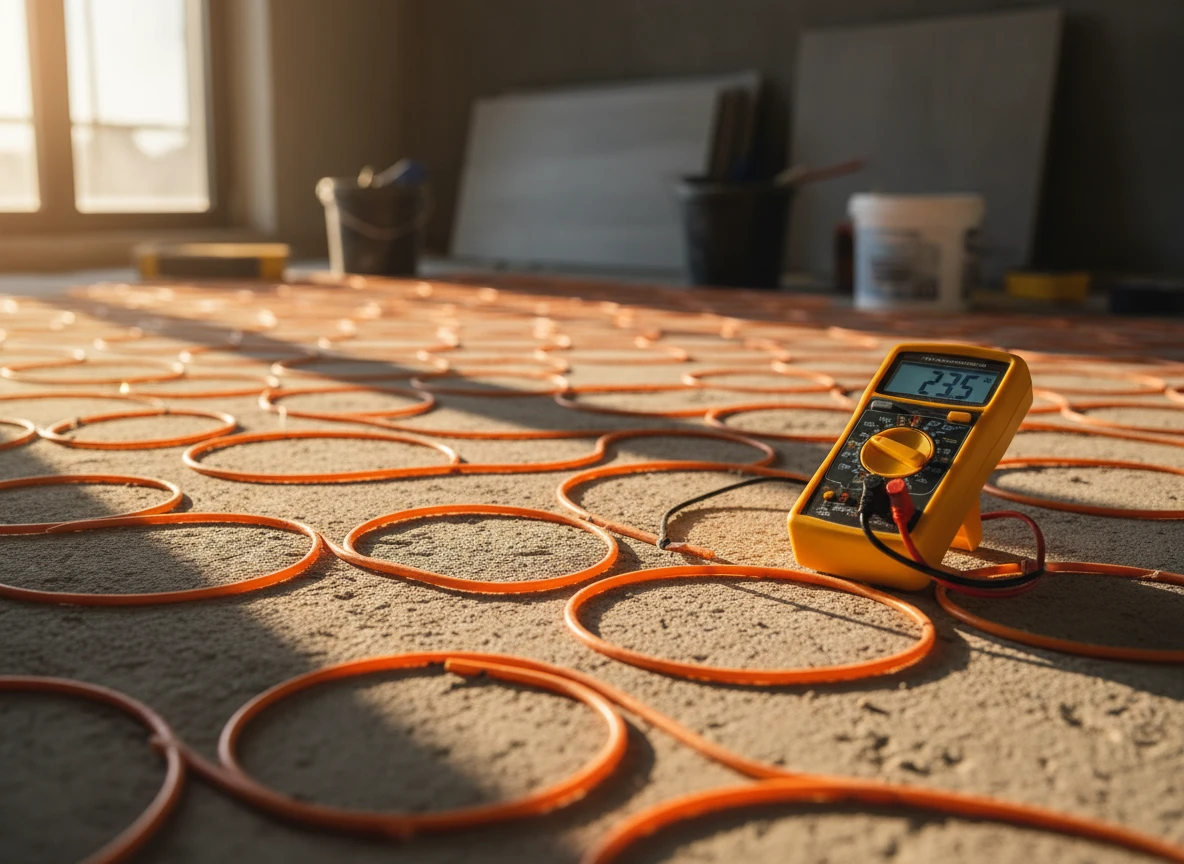
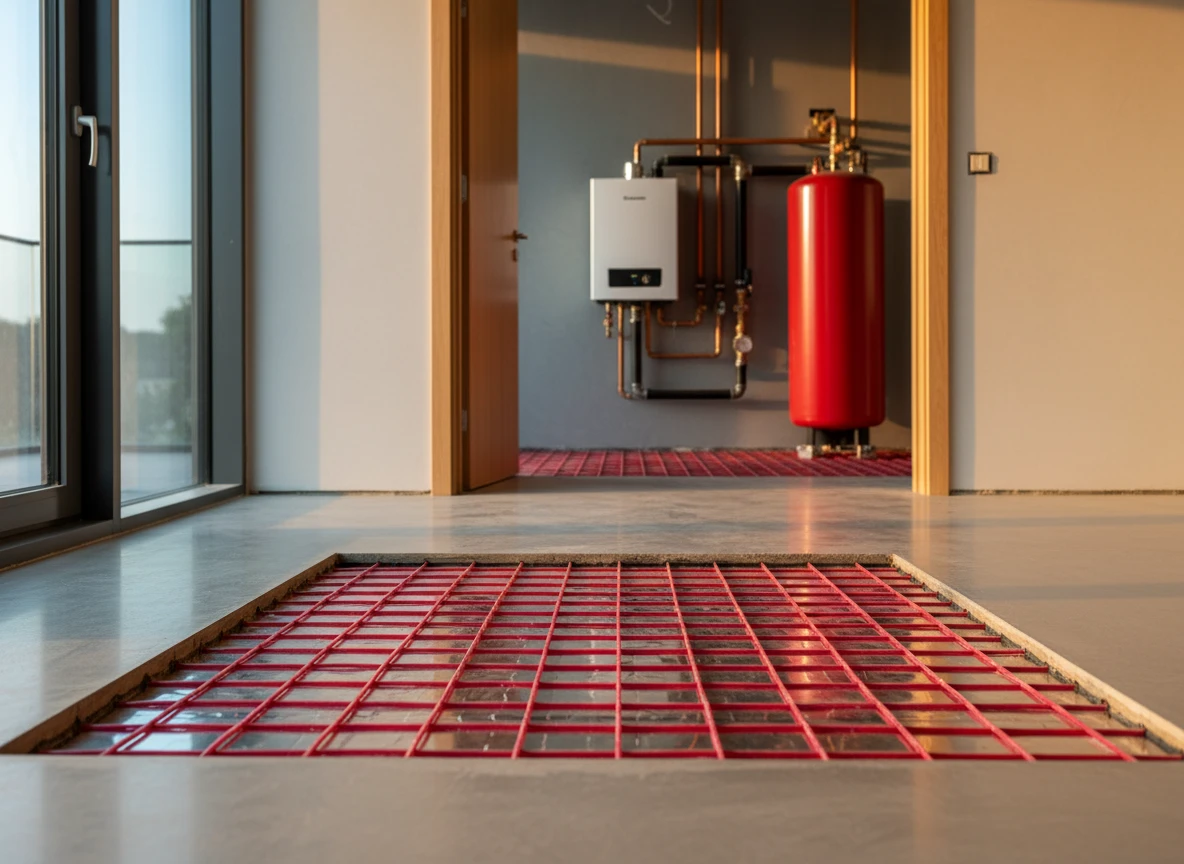
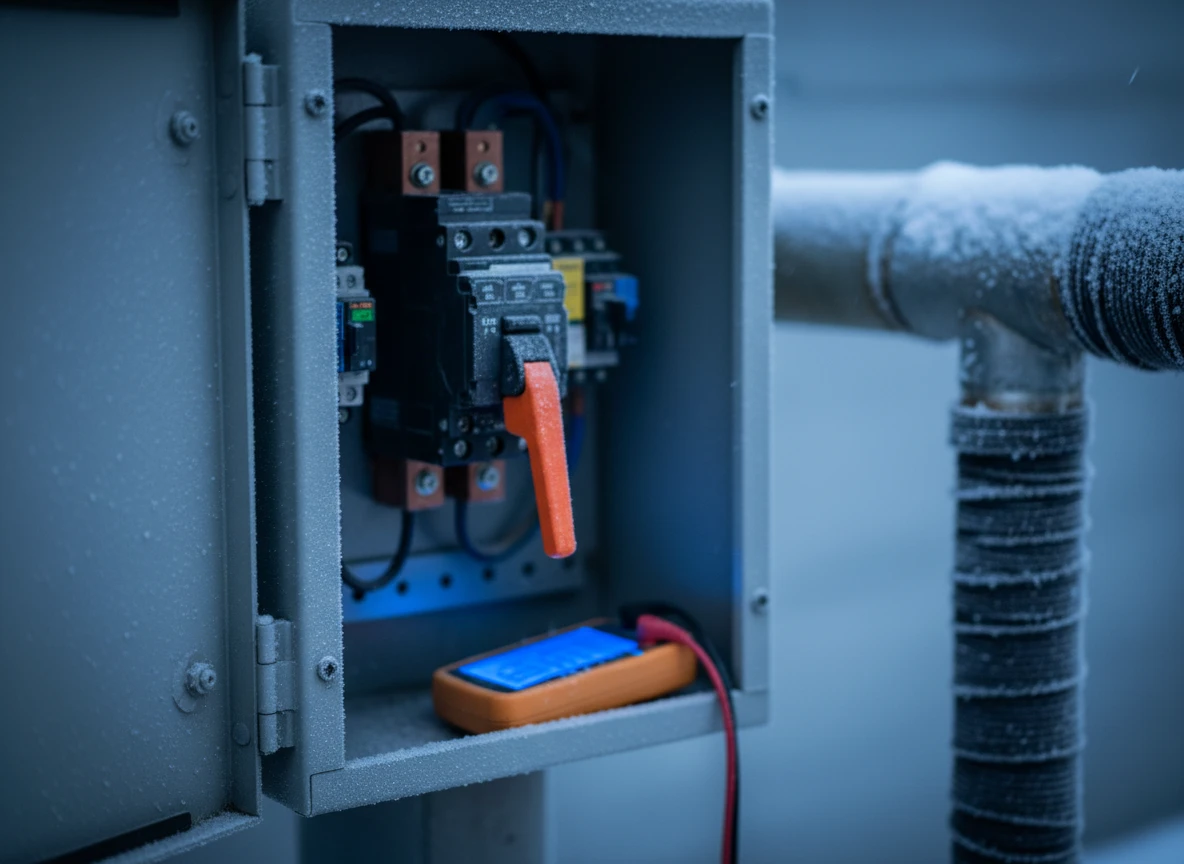
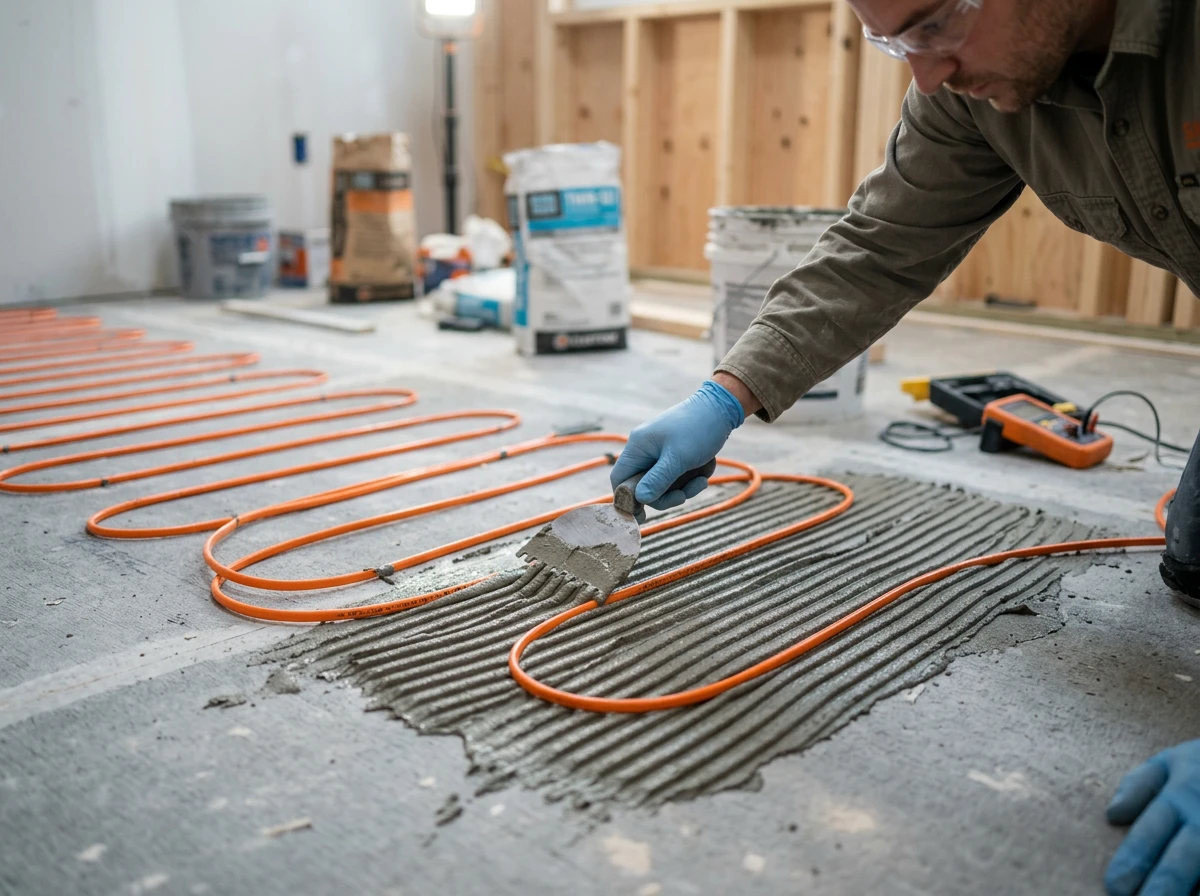
First, secure a cement backer board or an uncoupling membrane directly to the subfloor. Then, roll out the floor heating mat. You can cut and flip the fiberglass mesh to fit your floor's specific shape, but never cut the actual heating cable. We design these layouts with the same thermal precision we use for industrial insulated heating jackets or custom flexible heating jackets so you do not get cold spots. Before you mix any mortar, grab a multimeter. You need to verify that the cable's resistance matches the manufacturer's spec sheet exactly.
Thin-set integration and curing
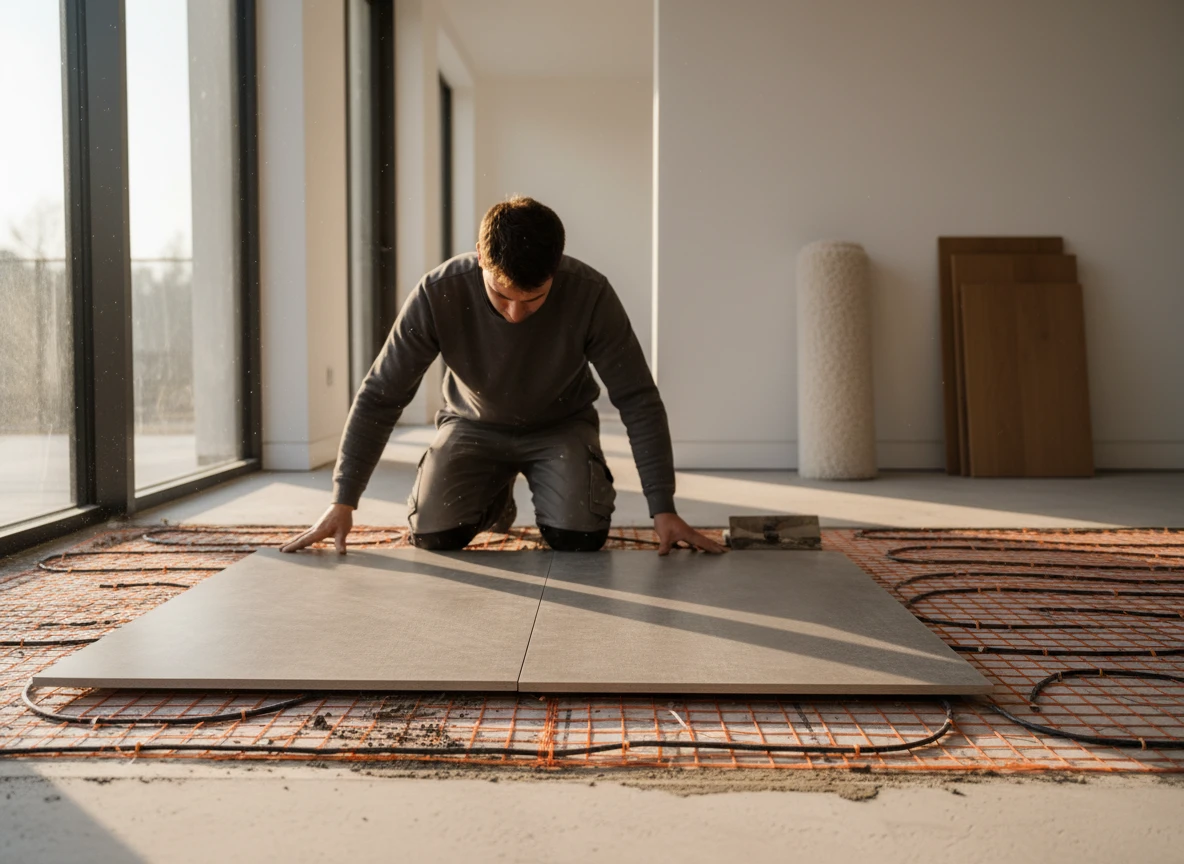
Once the layout checks out, embed the heating wire in a self-leveling underlayment or modified thin-set mortar. This layer has to cover the cables completely. Air pockets are dangerous because they cause localized hot spots that can burn out the system over time. Keeping the floor flat is just as important as maintaining a uniform temperature profile inside an industrial heating chamber.
Don't rush this. It's the most common mistake DIYers and hurried contractors make. You must let the mortar cure completely before you turn on the electric floor heating system. This usually takes anywhere from 7 to 28 days depending on the product. If you turn the heat on too early, it drives moisture out of the mortar too fast. This weakens the bond and will crack your expensive new tile.
Modern electric underfloor systems are incredibly thin. They often add less than 1/8 inch of height to the floor build-up. Because of this, your installer can lay porcelain or stone tile directly over the embedded mat with standard thin-set. It's a predictable, highly efficient method. It completely bypasses the need for thick mud beds or structural floor reinforcements, which means you get warm floors without the structural headache.
Crunching the numbers: What Ditra-Heat and electric systems actually cost
For a standard 50-square-foot bathroom, an electric floor heating mat system costs roughly $1,400 to $1,500 installed, averaging around $15 per square foot for basic materials and thermostats. Luxury uncoupling membrane systems push upfront hardware expenses a bit higher, yet they provide critical crack isolation for delicate porcelain and stone tile. When evaluating underfloor heating systems against the chaotic baseline of a gut renovation, the initial capital outlay often surprises homeowners who assume radiant tech remains out of reach. But looking strictly at purchase prices misses the real operational picture.
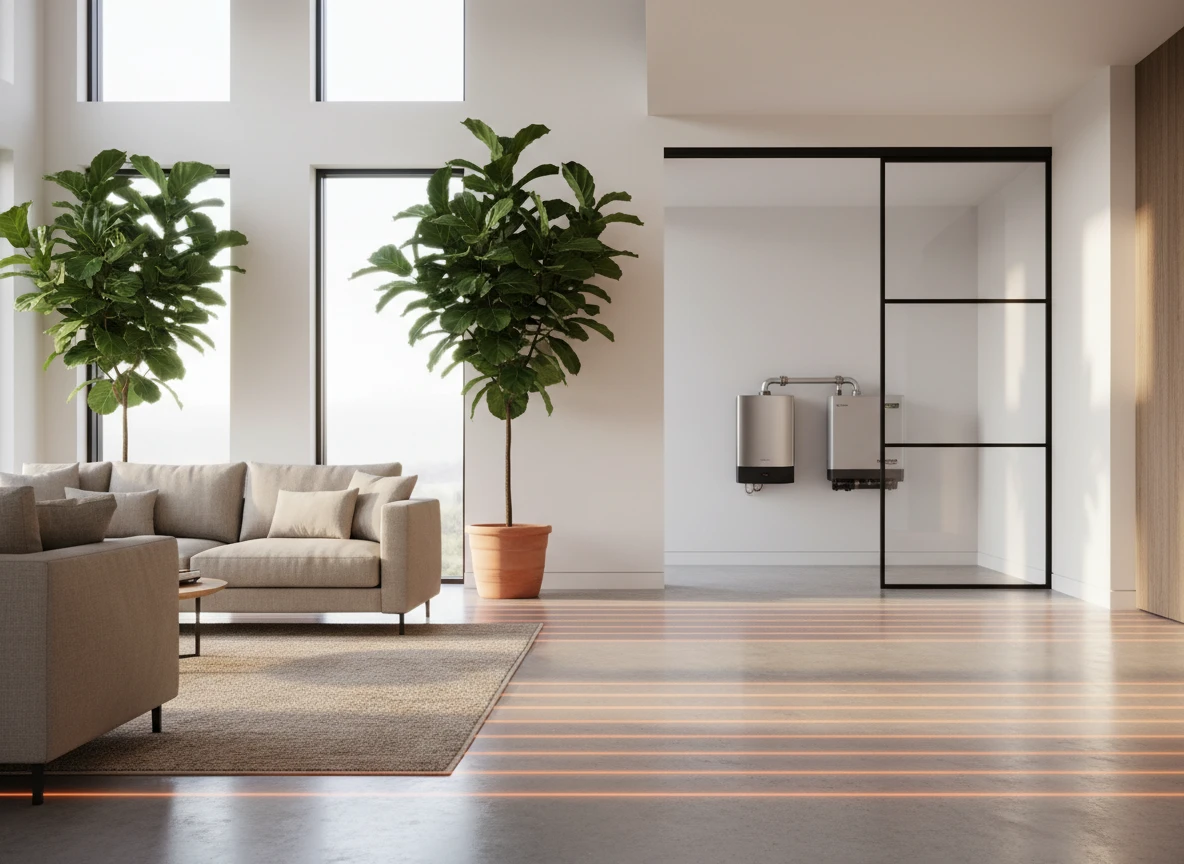
Daily power usage hovers between 12 and 15 watts per square foot. That technical draw translates to about $20 per month during peak winter heating season when managed properly with a programmable or smart Wi-Fi thermostat. Compare that predictable utility overhead to the broader ecosystem of engineered heating solutions we analyze in thermal engineering, and the efficiency metrics start to make clear operational sense. The system isn't running continuously at full tilt; it cycles intelligently based on ambient room sensors and floor probes.
Avoiding costly mistakes during installation safeguards this investment. Failing to map out fixture placements traps heating mats under heavy vanities or permanent soaking tubs where heat cannot dissipate safely, leading to premature thermal burnout. Similarly, crossing or overlapping resistance cables creates dangerous localized hot spots that can degrade the wire insulation over time. Skipping subfloor insulation boards causes heat to sink uselessly into a cold concrete slab instead of radiating upward toward your bare feet.
Powering on the system before the thin-set mortar or self-leveling compound has fully cured is another common error that compromises the bond. Patience during the curing window prevents micro-cracks in the grout lines. When you weigh the modest monthly operational cost against the daily luxury of warm floors and faster moisture evaporation, the math tilts firmly in favor of integrating the layout right the first time.
The hardware checklist: Thermostats, mats, and subfloor prep
Getting the hardware right
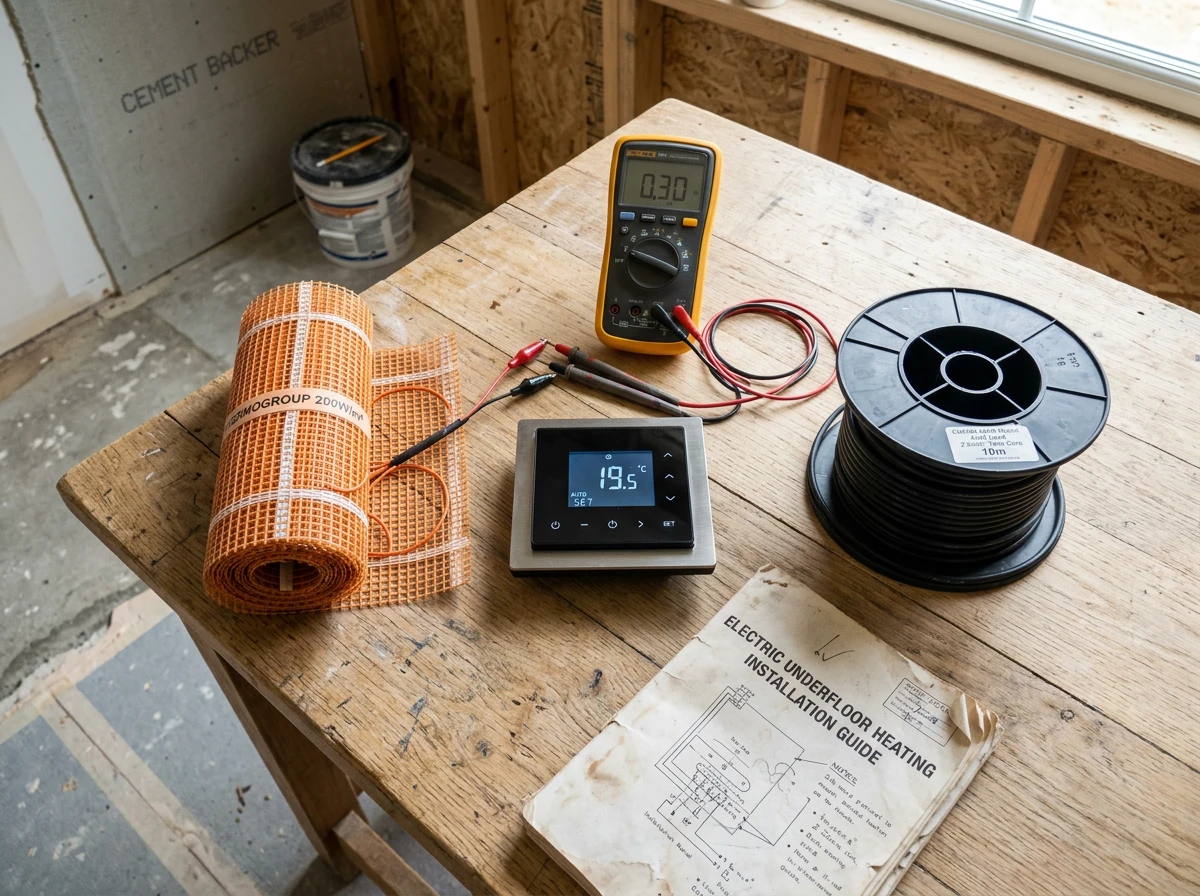
Getting the materials on-site is one thing, but making sure they actually work together without cooking your subfloor is another challenge entirely. You need a methodical approach to your parts list. Skimping on the supporting components will destroy the performance of any underfloor heating systems setup before you even lay the first tile. Let's look at what actually goes into a reliable build.
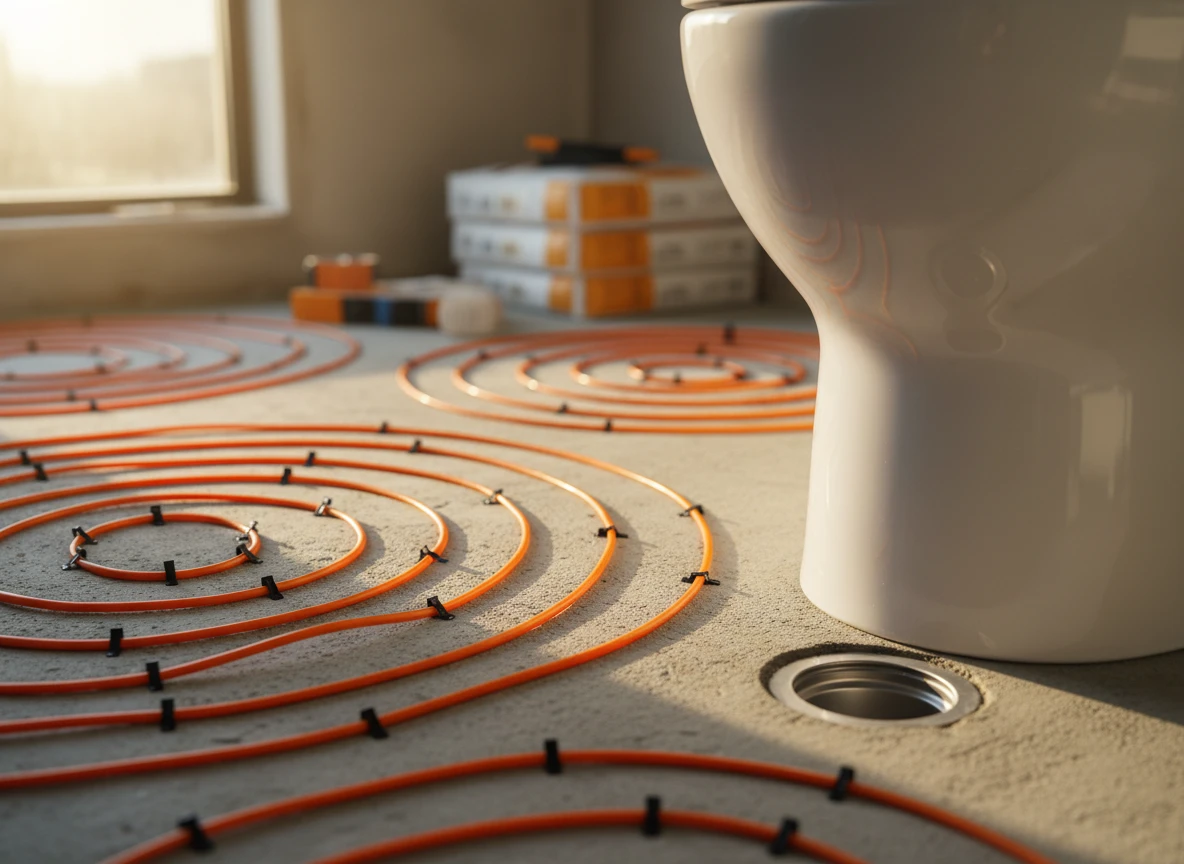
First up are the heating mats and cables. You want pre-spaced wire mats that match your exact room dimensions. But do not place them under heavy fixtures like vanities or permanent bathtubs. Trapped heat cannot dissipate properly, which causes localized hot spots and system burnout. Just like specifying heavy industrial equipment, thermal management requires clear dissipation paths.
Next is the subfloor prep, and this is where DIYers make the most expensive mistakes. If you lay heating wire directly over a bare concrete slab, half your heat energy sinks downward into the earth. You need high-density subfloor insulation boards to force the thermal energy upward into the room. Pair this prep work with a programmable Wi-Fi thermostat. Smart scheduling prevents the system from running at full blast when you are at work, keeping your monthly operational costs anchored near that twenty-dollar mark.
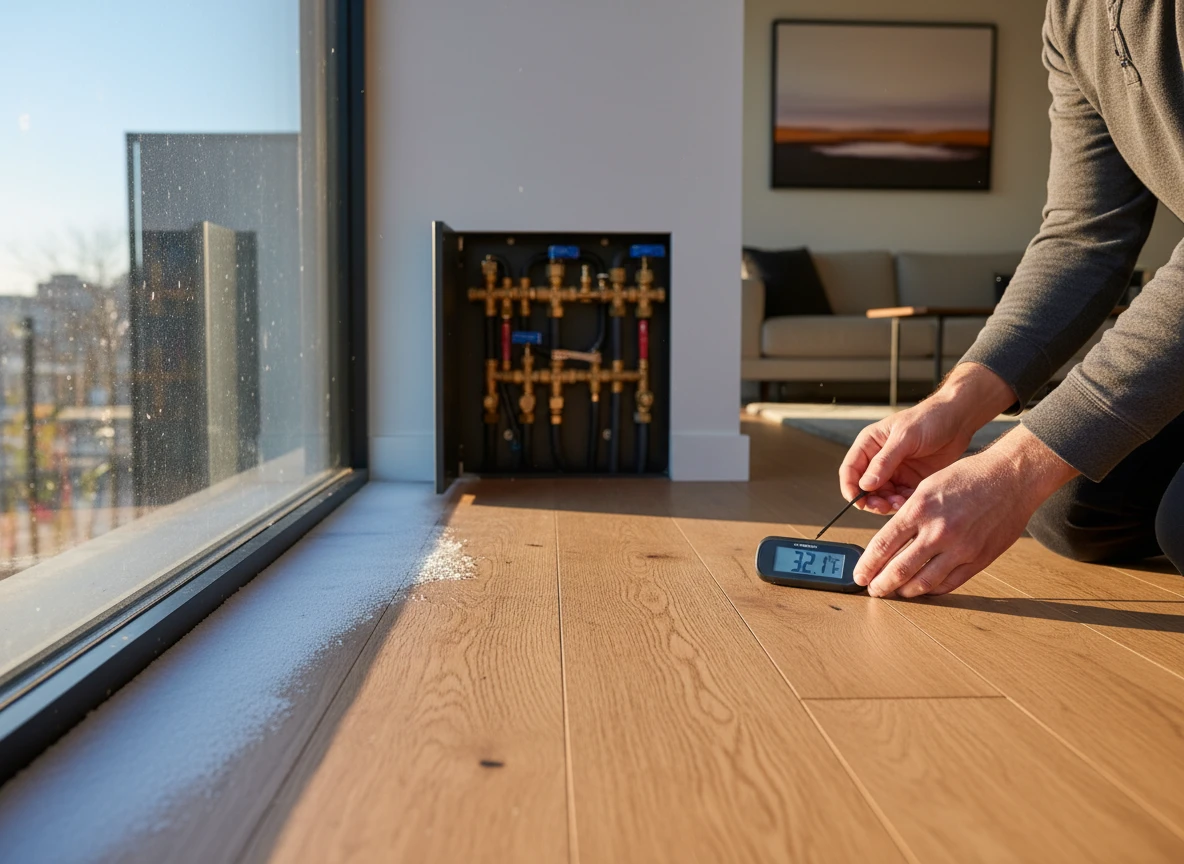
People often ask if basic analog dials are fine. Honestly, they work, but you lose the precise feedback loop needed for true energy efficiency. When you are managing thermal loads,whether in a home bathroom or via heavy-duty setups like a drum heating chamber,control architecture dictates success. Make sure your electrician installs the floor sensor probe precisely between two heating runs. If that probe fails, your thermostat flies blind.
Finally, remember the golden rule of curing times. Do not turn the system on the second the thin-set mortar feels dry to the touch. Let the mortar cure naturally for at least two weeks. Rushing this step cracks the tile and ruins the electrical bond.
Four fatal mistakes that will burn out your system under the tile
Why your new electric floor layout could fail before winter
Having the right hardware on your subfloor means nothing if your installation process is sloppy. At Integro Process Heating Solutions, we analyze thermal failures daily. In domestic environments, installing electric floor heating systems requires the same strict operational discipline as high-stakes industrial projects. One bad connection or misplaced wire ruins the whole layout.
Skip the details, and you'll face a cold floor and a ruined tile budget. Here are the four fatal mistakes that will destroy your underfloor heating elements.
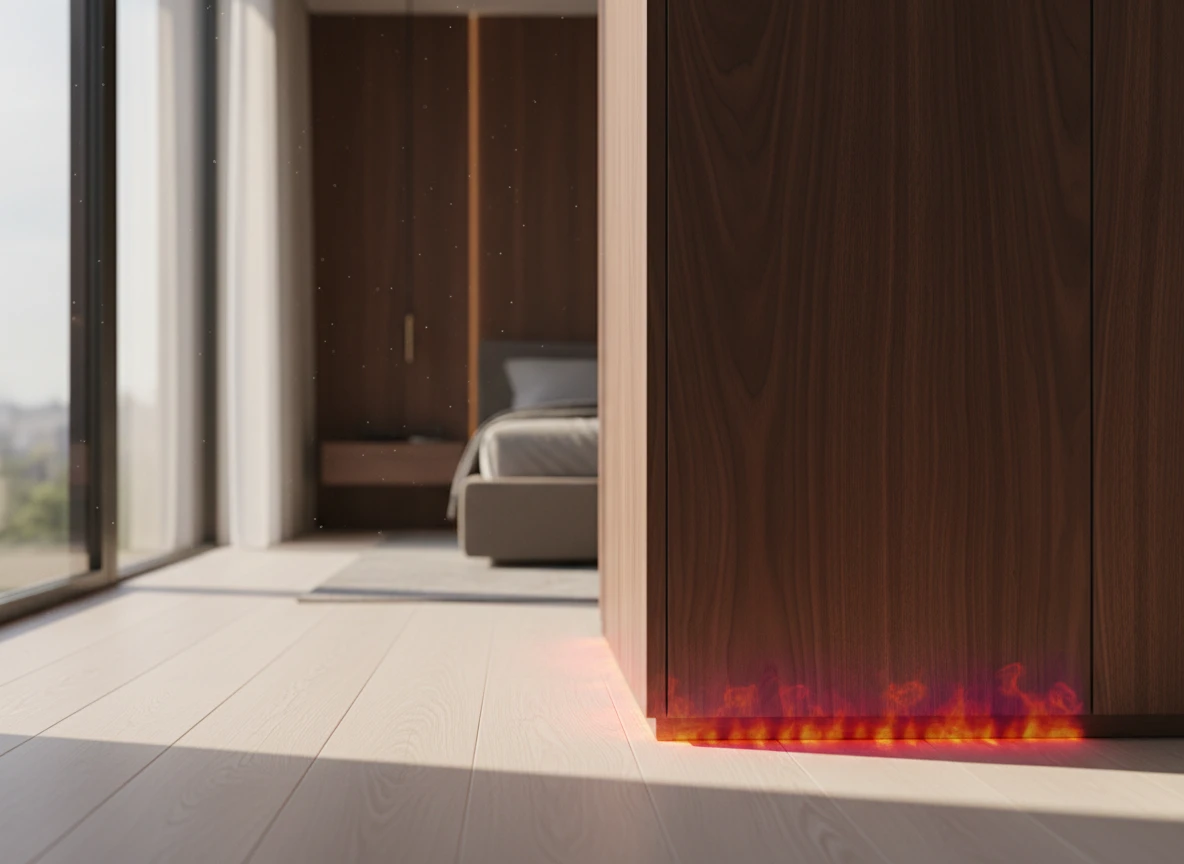
First, never overlap or cross the heating cables. When these high-resistance wires touch, they create extreme, localized hot spots. The heat cannot dissipate. The outer sheath melts, the copper short-circuits, and the entire loop dies under your cured grout.
Second, don't run mats under permanent, flat-bottomed vanities or heavy solid-base tubs. This mistake traps thermal energy, a phenomenon known as thermal block. Without airflow, the heat builds up directly beneath the wood or acrylic base, scorching your cabinetry and eventually burning out the heating core. If you need specialized advice on zoning, exploring domestic and commercial heating systems will help you map out safe layouts.
Third, skipping the subfloor insulation is a massive waste of energy. If you don't use an insulation barrier, your heat sinks straight down into the cold concrete slab. You end up paying to heat the earth beneath your home rather than the tile beneath your feet. It's a slow, costly drain on efficiency.
Fourth, don't turn the system on to help the mortar dry. This is the ultimate rookie mistake. Thin-set and self-leveling compounds require up to 28 days to cure naturally. Activating the heat early boils the moisture inside the wet mortar. This creates air pockets, cracks the tile bond, and shears the delicate heating wires.
While we design heavy-duty flexible heating jackets to withstand harsh industrial environments, residential floor cables are far more fragile. Treat them with precision, or prepare to tear up your new bathroom floor.
Making the call: Why the dust settles but the warm floors remain
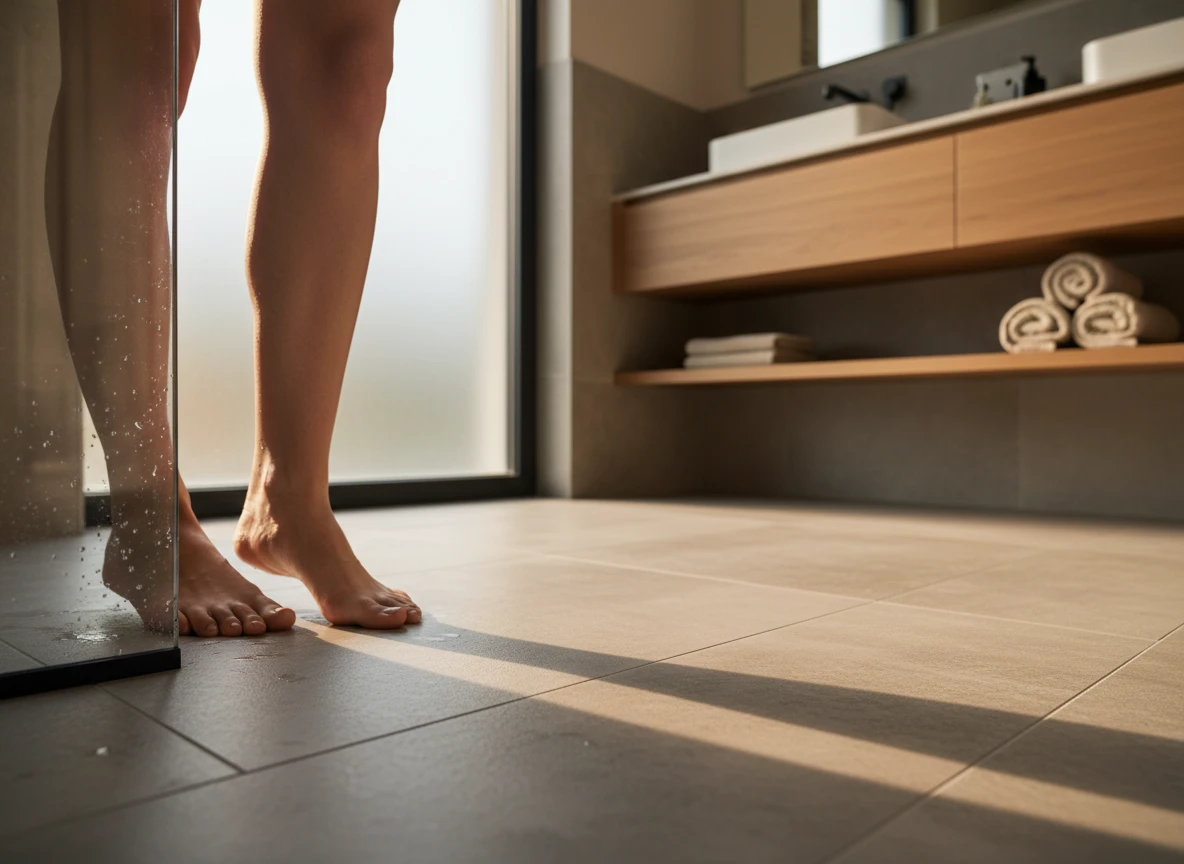
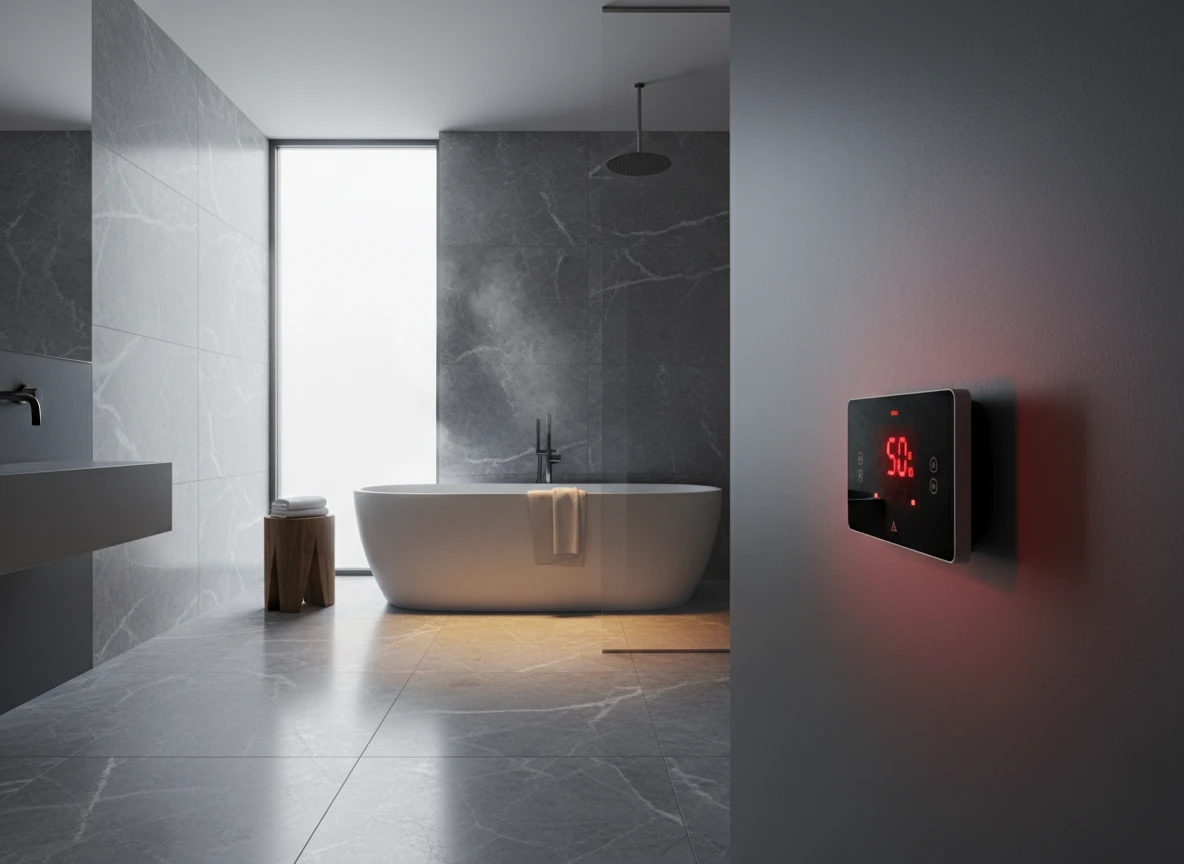
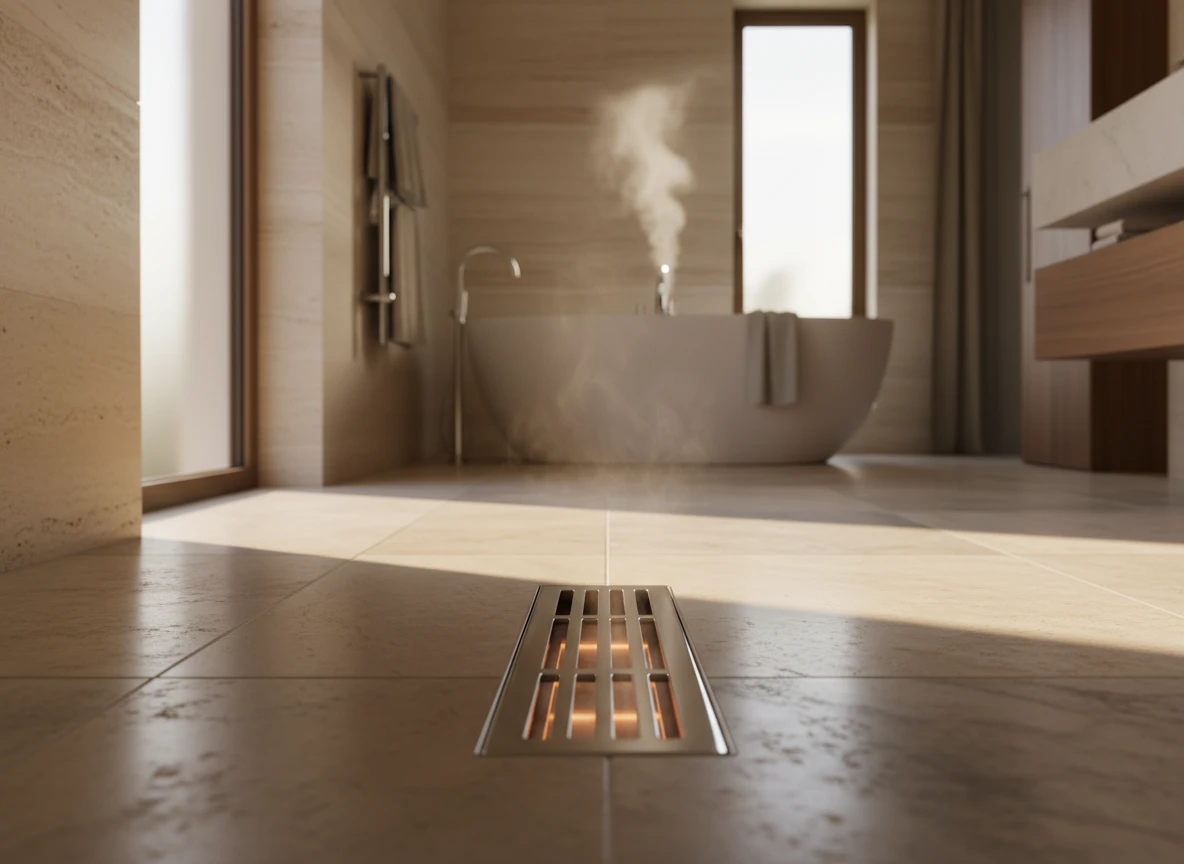
Imagine stepping out of a steaming shower in the dead of January, only to have your bare feet hit frigid, ice-cold porcelain tiles. You instinctively freeze, scramble for the bath mat, and regret not making that one extra decision during your remodel. That split-second shock is entirely preventable if you capture the window of opportunity when the subfloor is already bare.
But once the new tile is laid and the grout has cured, the door to adding bathroom floor heating slams shut. Retrofitting later means a complete tear-out, doubling your material and labor expenses. It's far more practical to install radiant floor heating systems during the initial demolition phase when the electrical access is already open. You've already committed to the dust and chaos anyway, so adding the heating mat is a minor extra step.
At Integro Process Heating Solutions, we know that efficient heat distribution is a matter of precise planning. While we often solve massive industrial thermal challenges, the basic principles of thermal engineering apply just as much to your home. For example, just as industrial facilities rely on specialized drum heating jackets to maintain exact fluid temperatures, residential systems require precise thermal barriers to prevent heat loss into the concrete slab below. While actual heat retention varies slightly depending on your subfloor insulation, the physics remain the same.
So, don't let the temporary mess of a renovation scare you away from a permanent upgrade. Investing in domestic and commercial heating solutions during a gut remodel is the only time the math truly makes sense. You'll get an efficient, evenly heated bathroom that dries out residual moisture faster and keeps your feet warm every single morning.
If you're tired of guessing which heating setup fits your project, Integro Process Heating Solutions sorts out the engineering so you don't have to.
Frequently Asked Questions
How much does electric floor heating actually add to a monthly power bill?
Most bathrooms use about 12 to 15 watts per square foot. That usually translates to roughly twenty bucks a month during peak winter months, especially if you're using a smart thermostat to keep it off when you're not home.
Can I install an electric heating mat myself, or do I need an electrician?
While you can lay down the mats and tile yourself, you'll definitely want a licensed electrician to handle the final thermostat hookup and circuit testing. Safety first, right?
What happens if a heating cable gets damaged during the tile installation?
It's a nightmare scenario, honestly. If a wire cuts or shorts, the whole zone stops working, meaning you'll have to pull up the tile to find the break. That's why smart installers use a continuity alert monitor while they're laying mortar.
Does electric floor heating raise the height of the bathroom floor?
Not really. Modern low-profile mats and uncoupling membranes add less than a quarter-inch, so you won't have to worry about trimming your bathroom doors down.