- By Admin
- Integro
- Why your warm bathroom floor dreams might end in cold disappointment
- The silent mistakes that doom electric floor heating under tile
- Testing and insulating: the non-negotiable prep steps
- Your technical checklist: multimeters, backing boards, and dual sensors
- How to avoid costly tile tear-outs
- A little extra patience saves a massive headache later
- FAQ
Why your warm bathroom floor dreams might end in cold disappointment

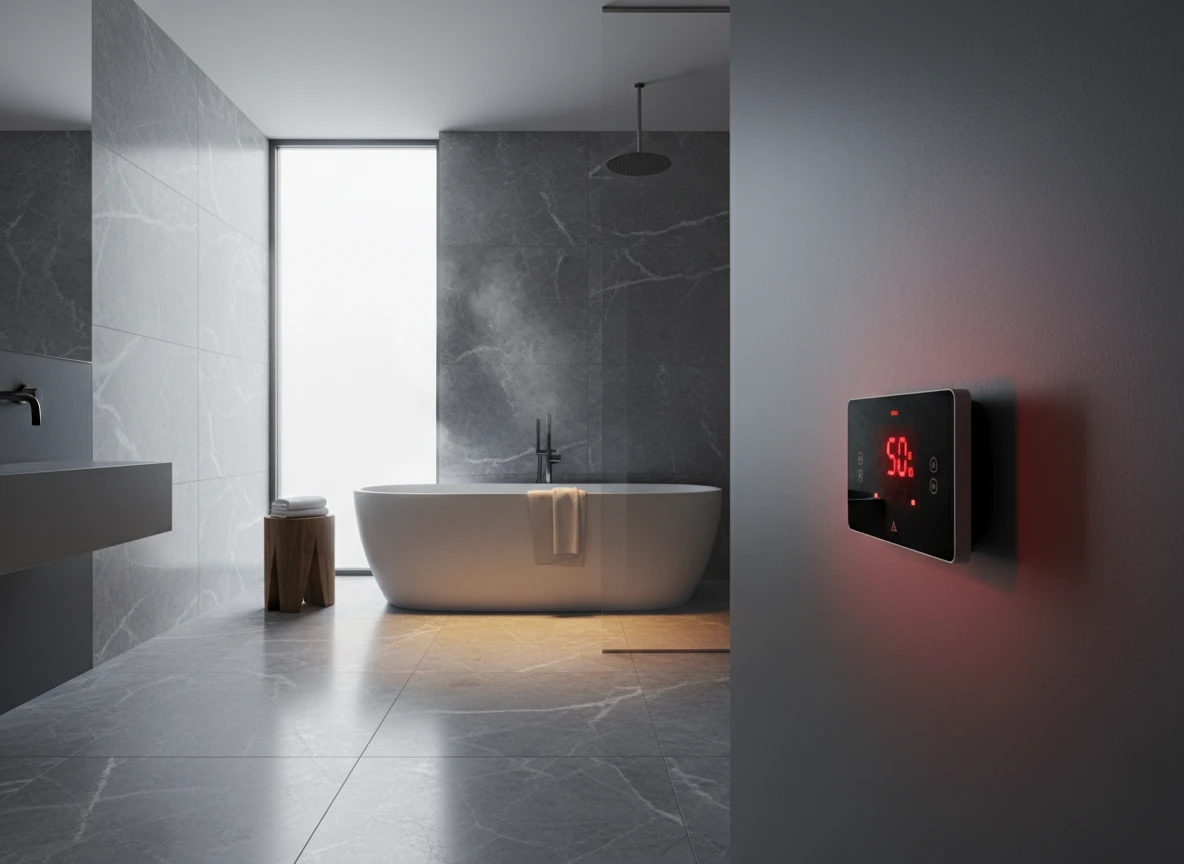
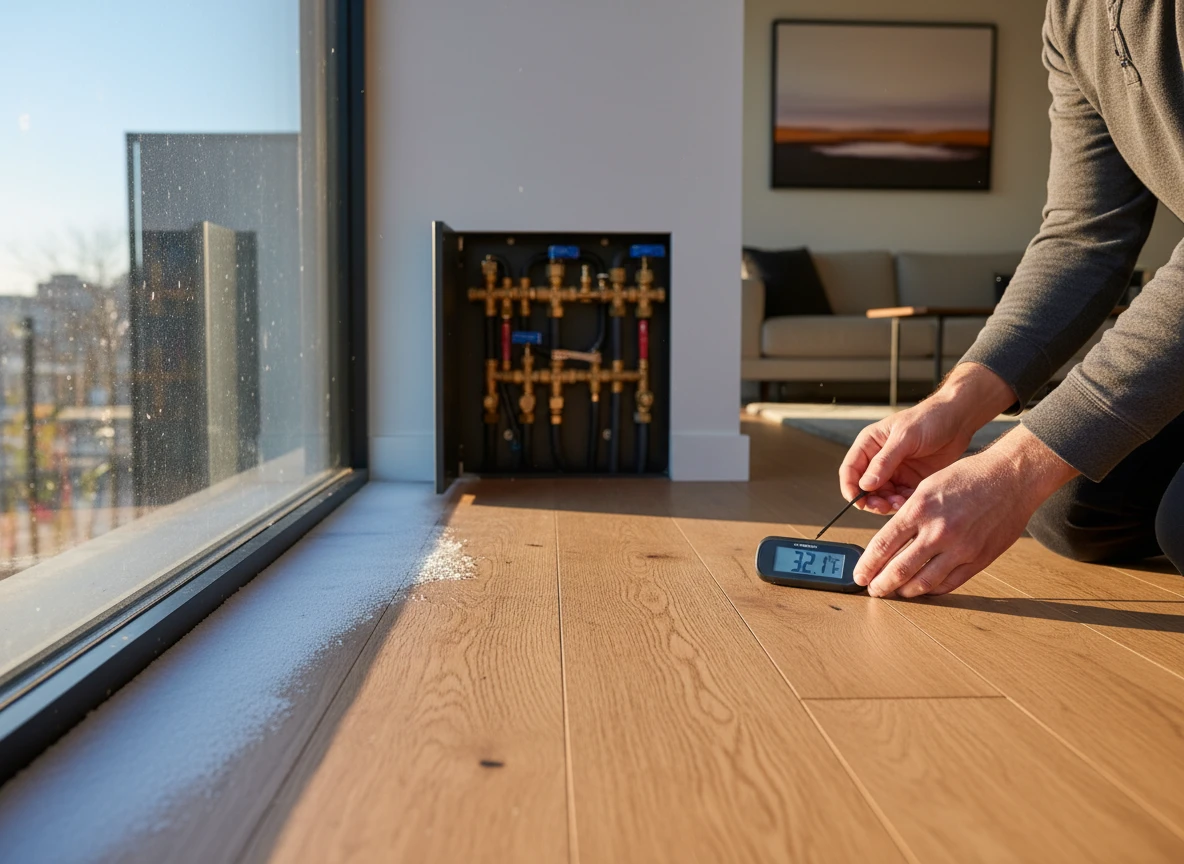
Imagine stepping onto your brand-new master bathroom floor. You click the wall controller, expecting that cozy, toes-to-head warmth. And you wait. Ten minutes pass. An hour. The porcelain stays dead cold. To fix a mistake like this, you usually have to take a sledgehammer to thousands of dollars of gorgeous, custom tile. It's a nightmare scenario.
We see these thermal disasters all the time at Integro Process Heating Solutions. Here's the reality: when electric floor heating systems fail early, it's rarely because of a manufacturing defect. It almost always comes down to two things: someone nicked a wire during the install, or they skimped on the thermal prep.
Where things actually go wrong during installation
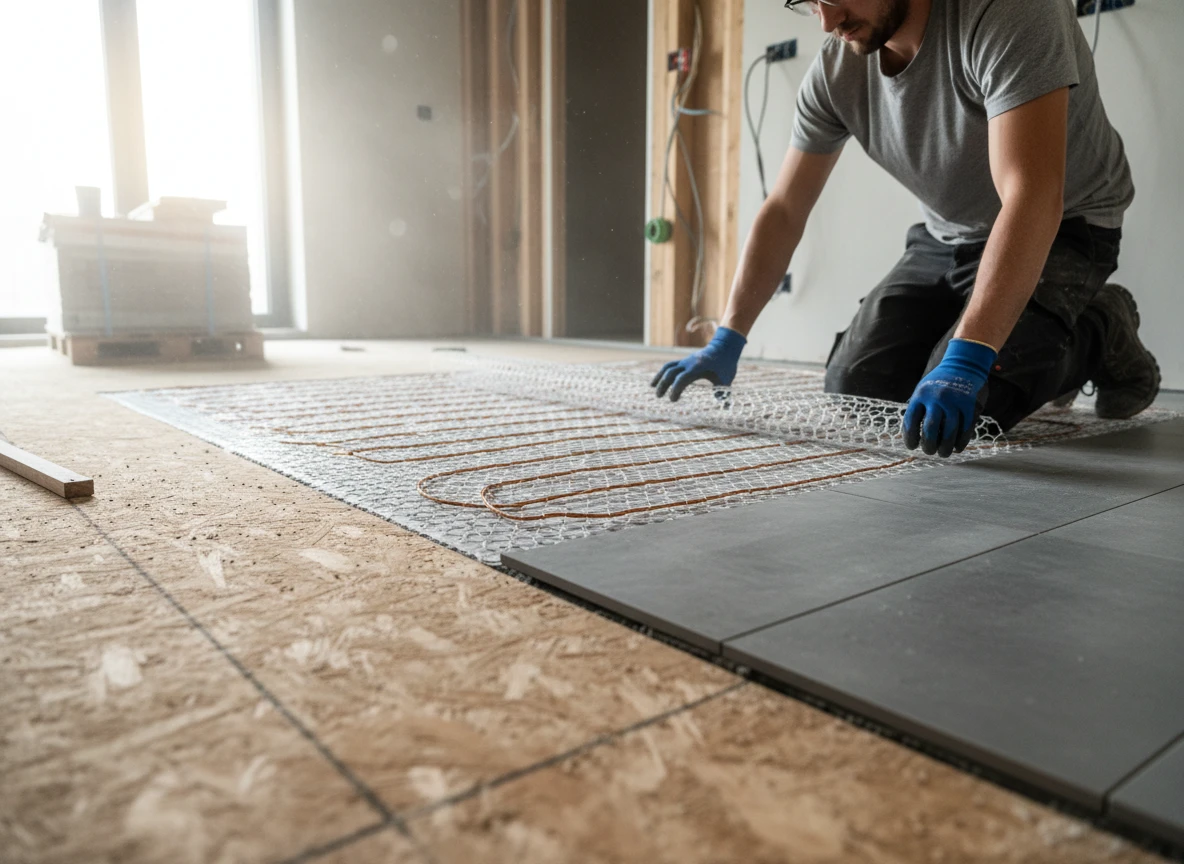
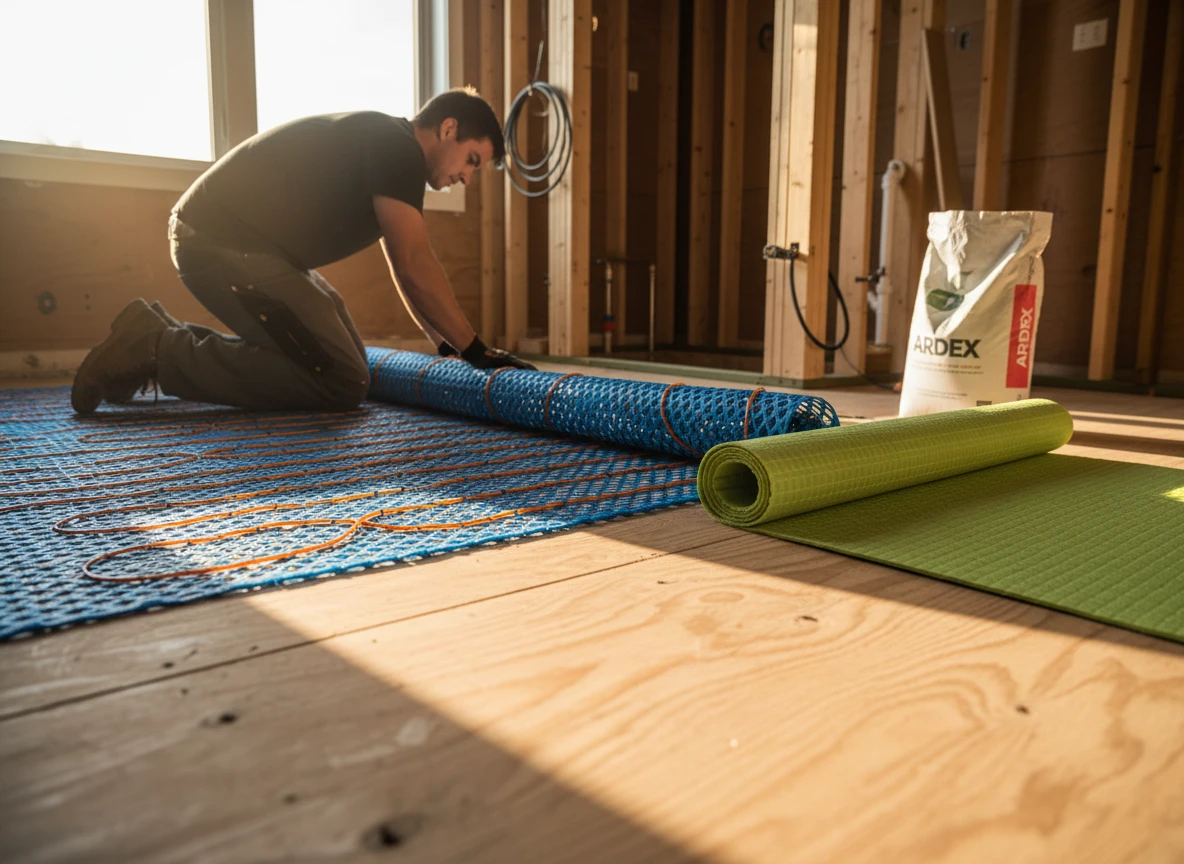
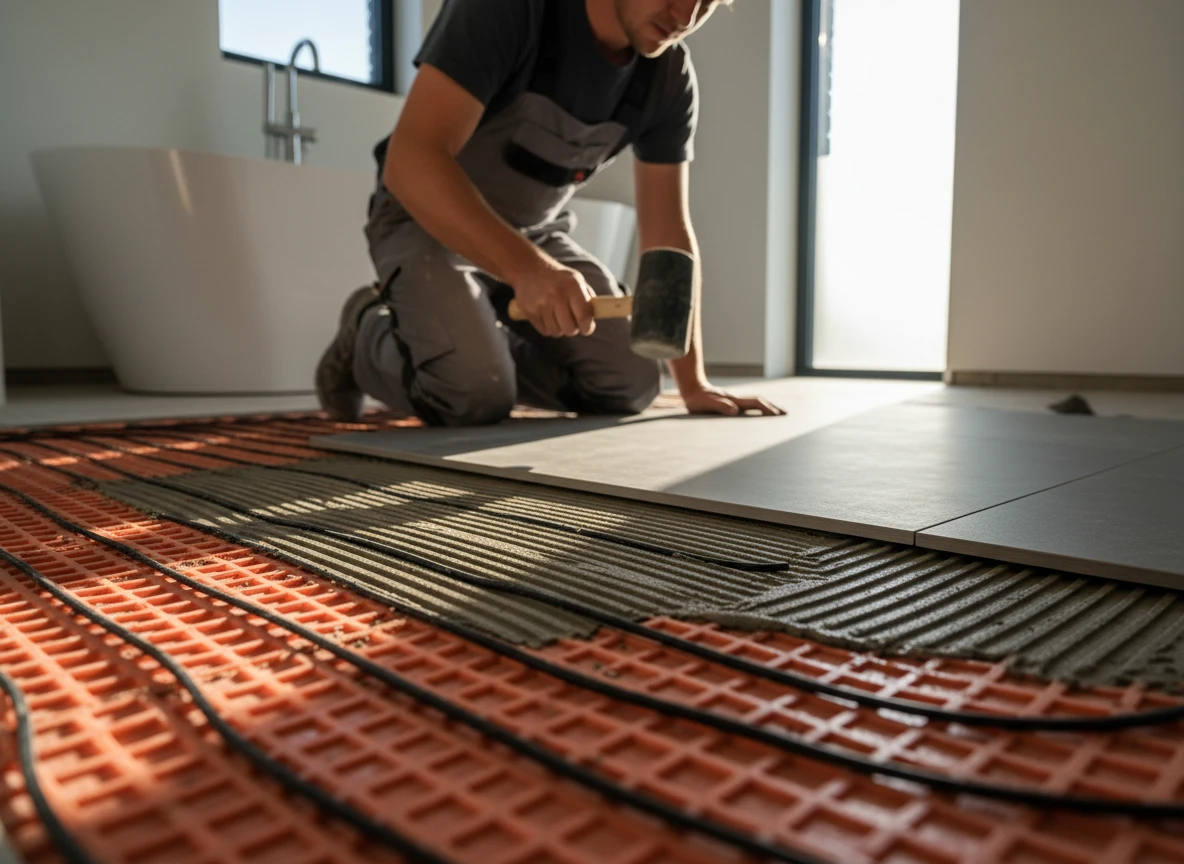
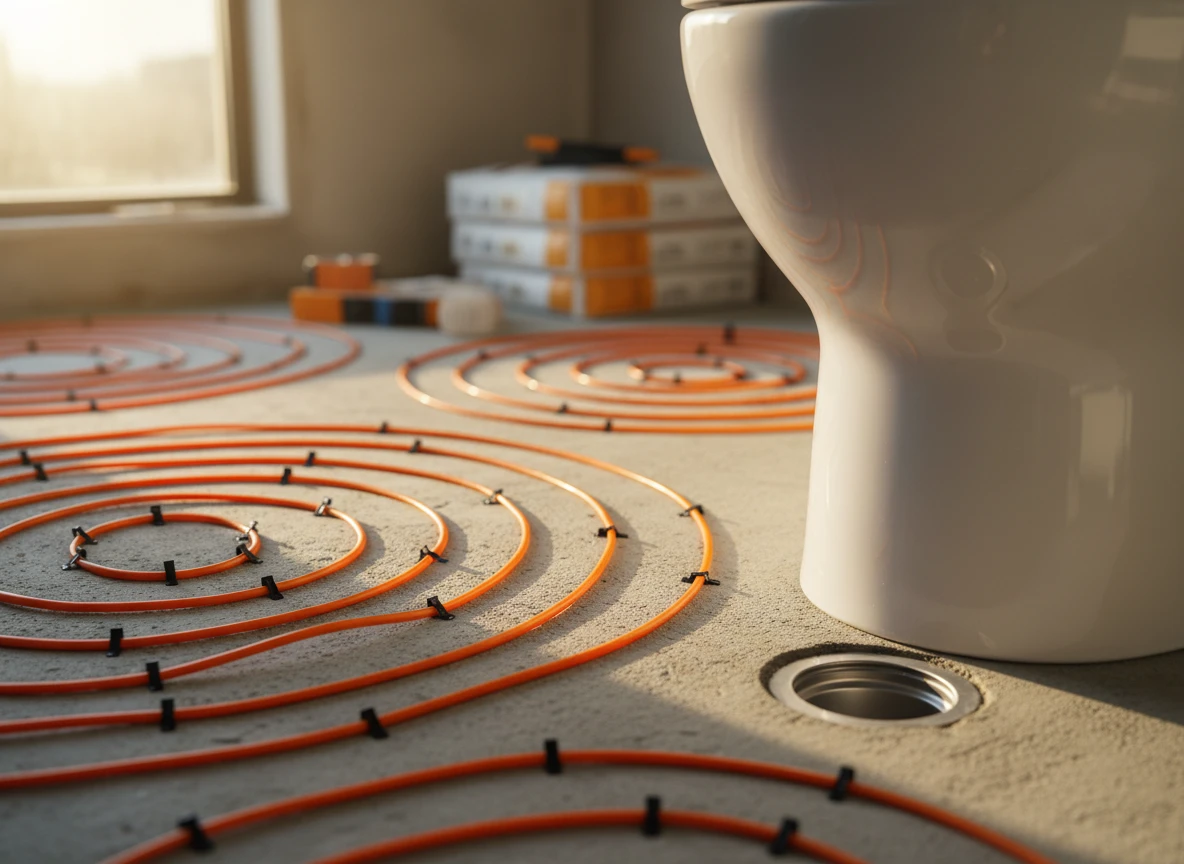
When you roll out a bathroom floor heating mat, that thin wire is incredibly fragile. One tiny slip with a sharp, notched metal trowel while spreading thinset can slice right through the protective casing. If you aren't actively testing the cable's resistance before, during, and right after you lay the tile, you won't know there's a short circuit until the mortar is dry and the power is on. By then, it's too late.
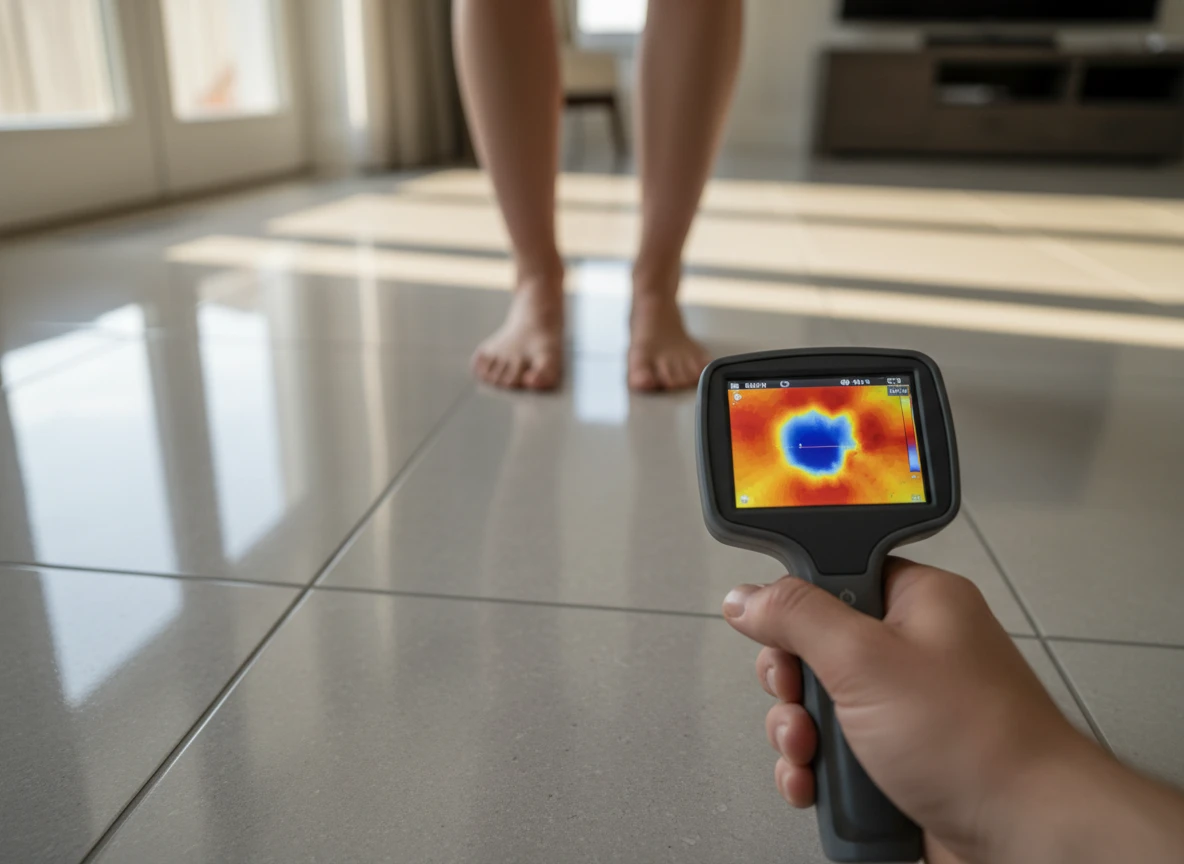
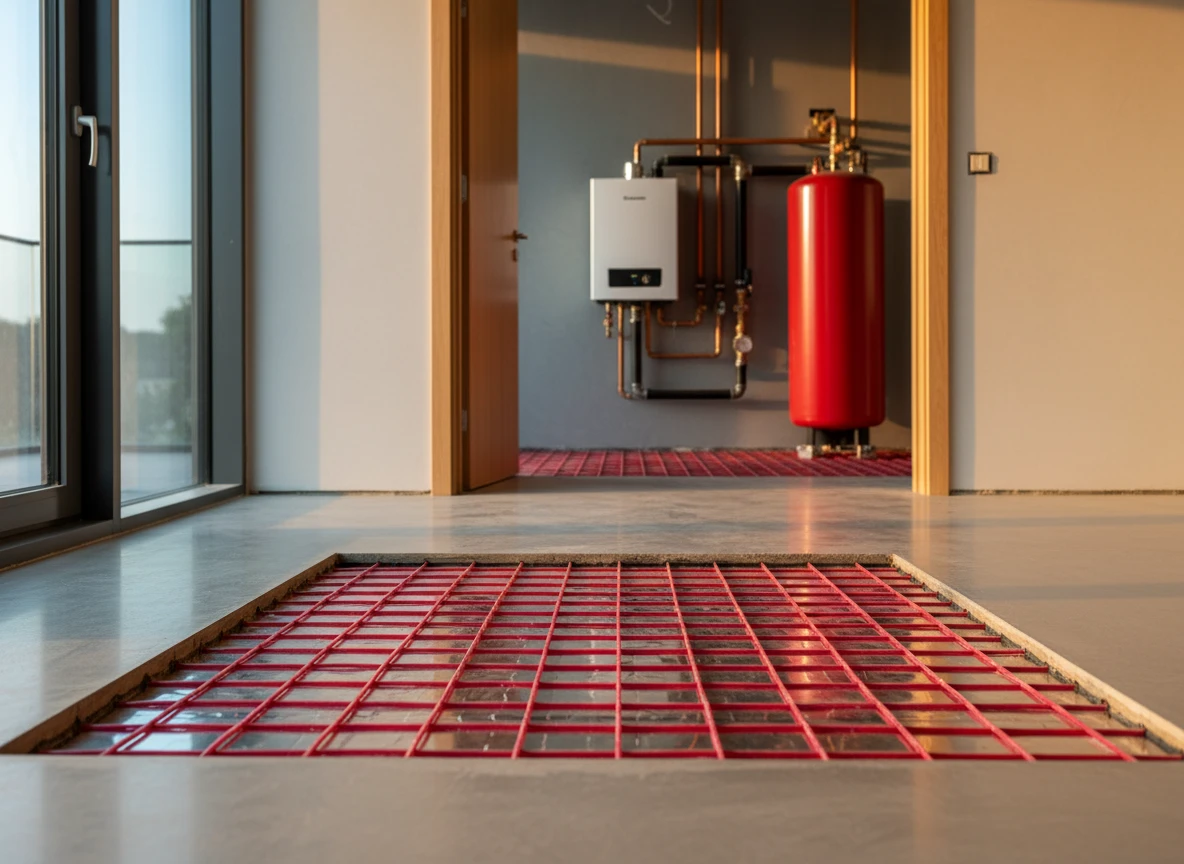
Then there's the issue of downward heat loss. If you lay a heating mat directly onto cold, uninsulated concrete, you're basically paying to heat the dirt under your foundation. Your feet won't feel much. It might not completely break the system, but you'll end up with painfully slow warm-up times and electric bills that make you wince.
Before you tear up your bathroom, you need to understand how a proper underfloor heating system actually works. Skipping the insulation boards or forgetting to log your resistance readings turns a great upgrade into a useless, buried wire. It's a brutal mistake, but it's incredibly easy to avoid if you follow the right steps.
The silent mistakes that doom electric floor heating under tile
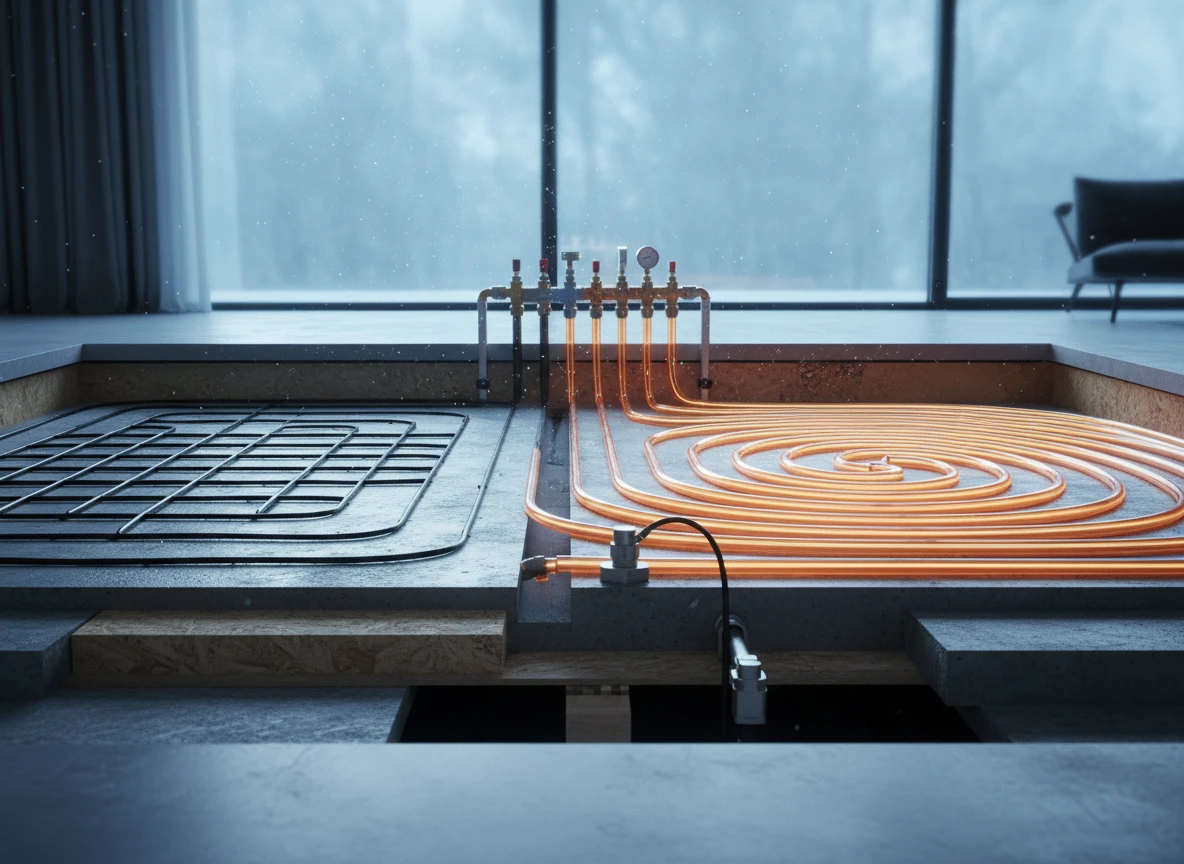
Physics doesn't care about your project timeline. If you roll a floor heating mat straight onto bare, unprimed concrete, you lose. Over 60% of your thermal energy will bleed downward into the cold subfloor slab instead of rising up through the tile. That's pure wasted wattage. It turns your radiant floor heating systems into an expensive drain on your monthly power bill, much like how an inefficient industrial heating system leaks cash through uninsulated piping.
The physics of downward heat loss
Concrete is a giant sponge for heat. Without rigid extruded polystyrene boards under your electric underfloor cables, thermal energy simply takes the path of least resistance. You end up warming the dirt under your house. When homeowners complain that their tiles take two hours just to feel lukewarm, they usually blame the thermostat. It's almost never the thermostat's fault—it's bad subfloor prep.
Physical stress during the tile-setting phase
But heat loss is only half the problem. Physical abuse during thinset application ruins far more systems than factory defects ever will. It's easy to do. A sharp trowel edge nicks the fluoropolymer jacket, or a heavy work boot grinds a heating core against a piece of sharp aggregate in the mortar. Your multimeter might show perfect continuity on Tuesday morning. But once the wet, high-alkaline mortar cures and the system starts cycling heat, that tiny nick expands, arcs, and trips your breaker. Permanently.
Preventing catastrophic failures
You can't see a microscopic core fracture once gray mortar covers the mesh. That's why testing resistance values before, during, and after tiling isn't optional—it's mandatory. Skipping these checks to save ten minutes is a gamble that usually ends with a jackhammer and ruined tile.
Testing and insulating: the non-negotiable prep steps
Halting thermal drain with backer boards
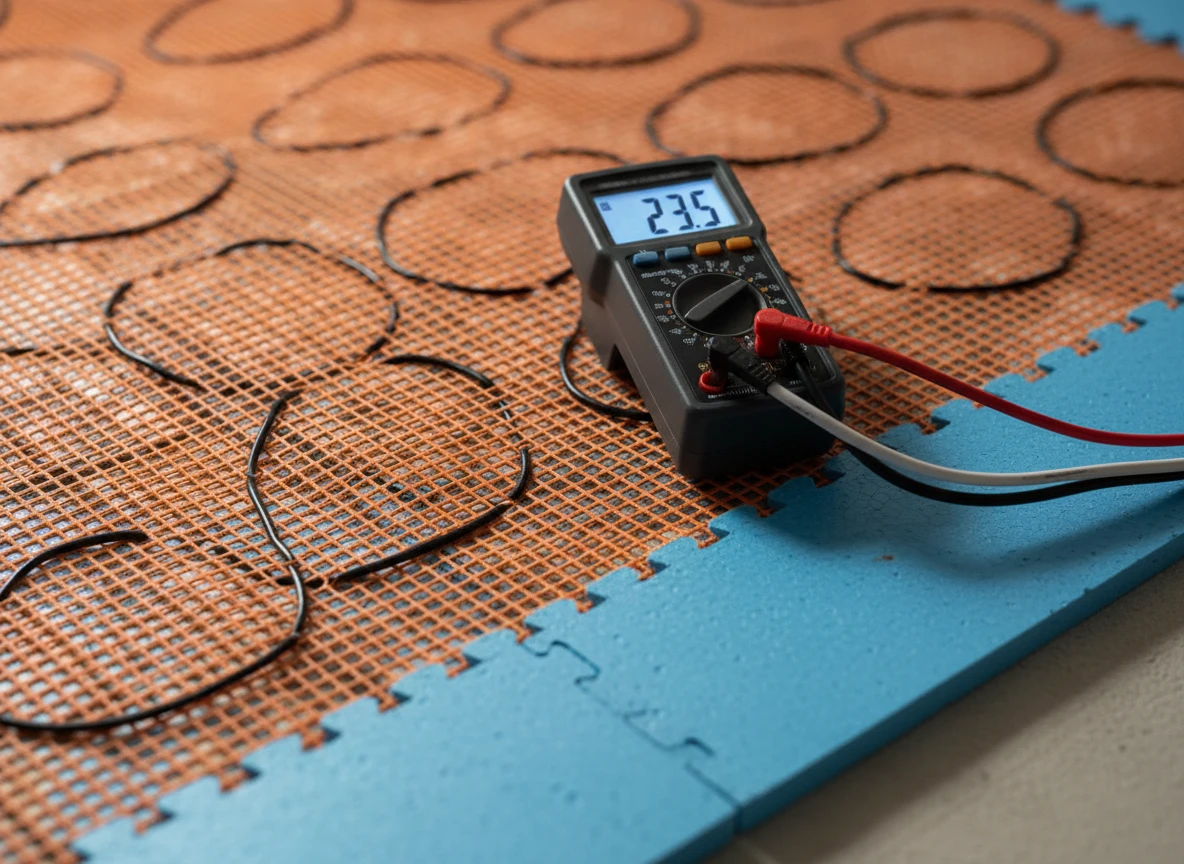
To stop the downward heat sink described earlier, you must install high-density thermal insulation boards directly over your subfloor. Without them, up to 50% of your heat energy warms the earth beneath your concrete slab instead of your feet. It's a massive waste. We solve these thermal efficiency challenges daily at Integro Process Heating Solutions. The physics of heat transfer do not change, whether you are insulating industrial pipelines or a domestic bathroom floor.
Secure these boards with a polymer-modified thinset using a 1/4-inch square-notched trowel. On wood subfloors, add mechanical fasteners. This rigid barrier is a true thermal break that drives heat upward into the tile. Once cured, prep the surface for the layout. But before laying a single cable, pull out your digital multimeter.
The three-stage resistance verification protocol
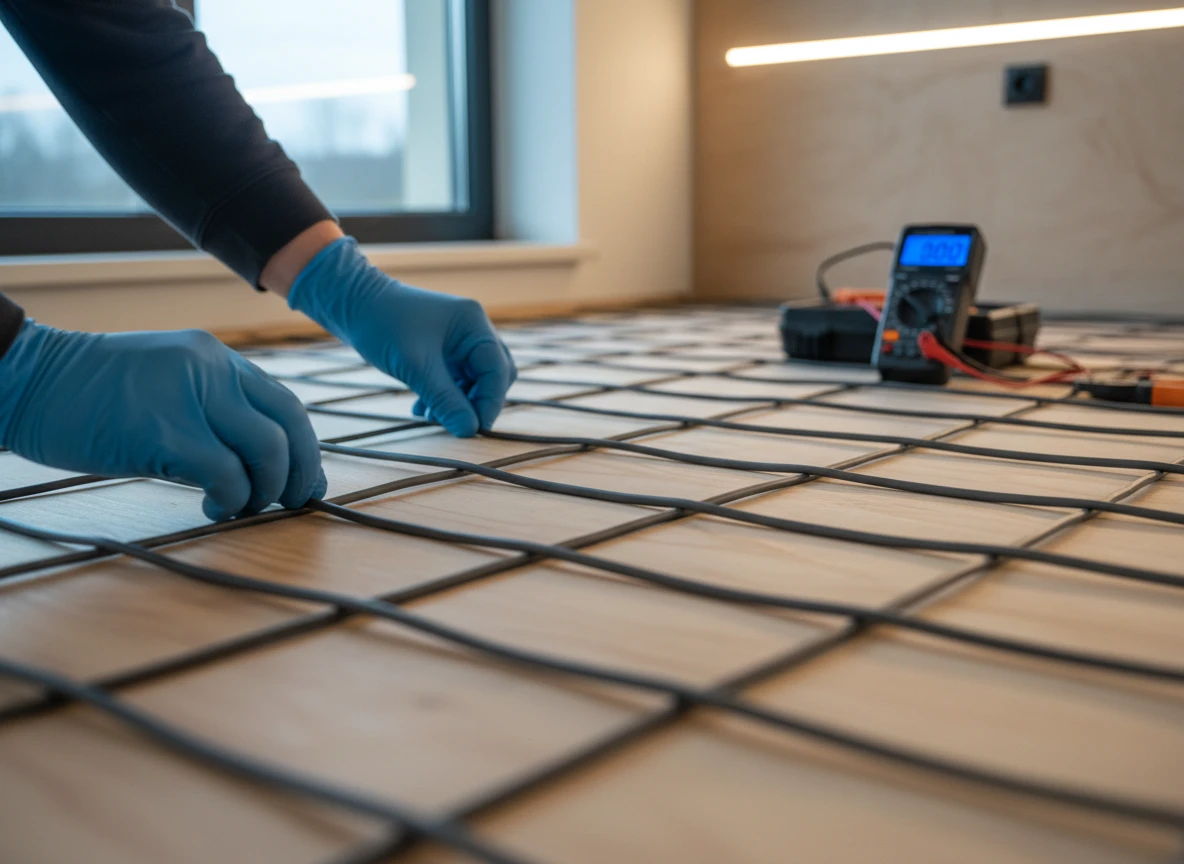
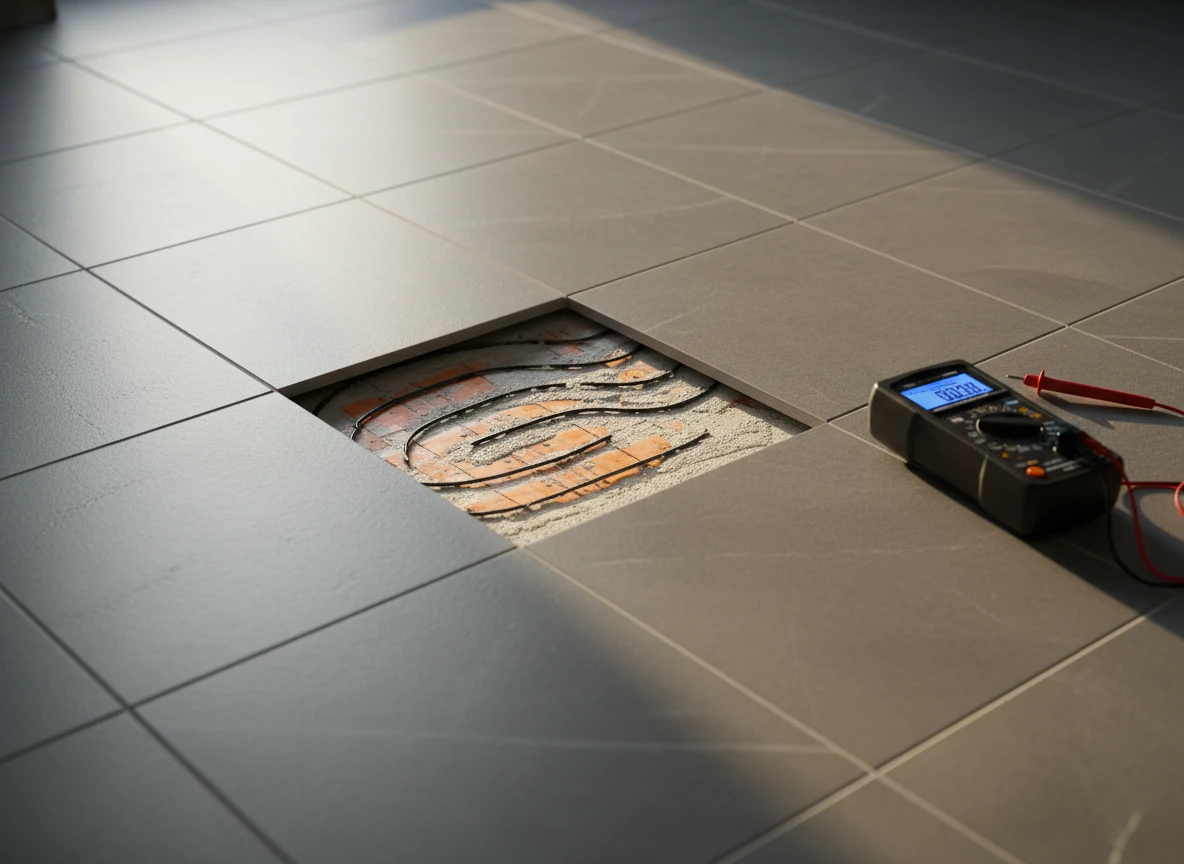
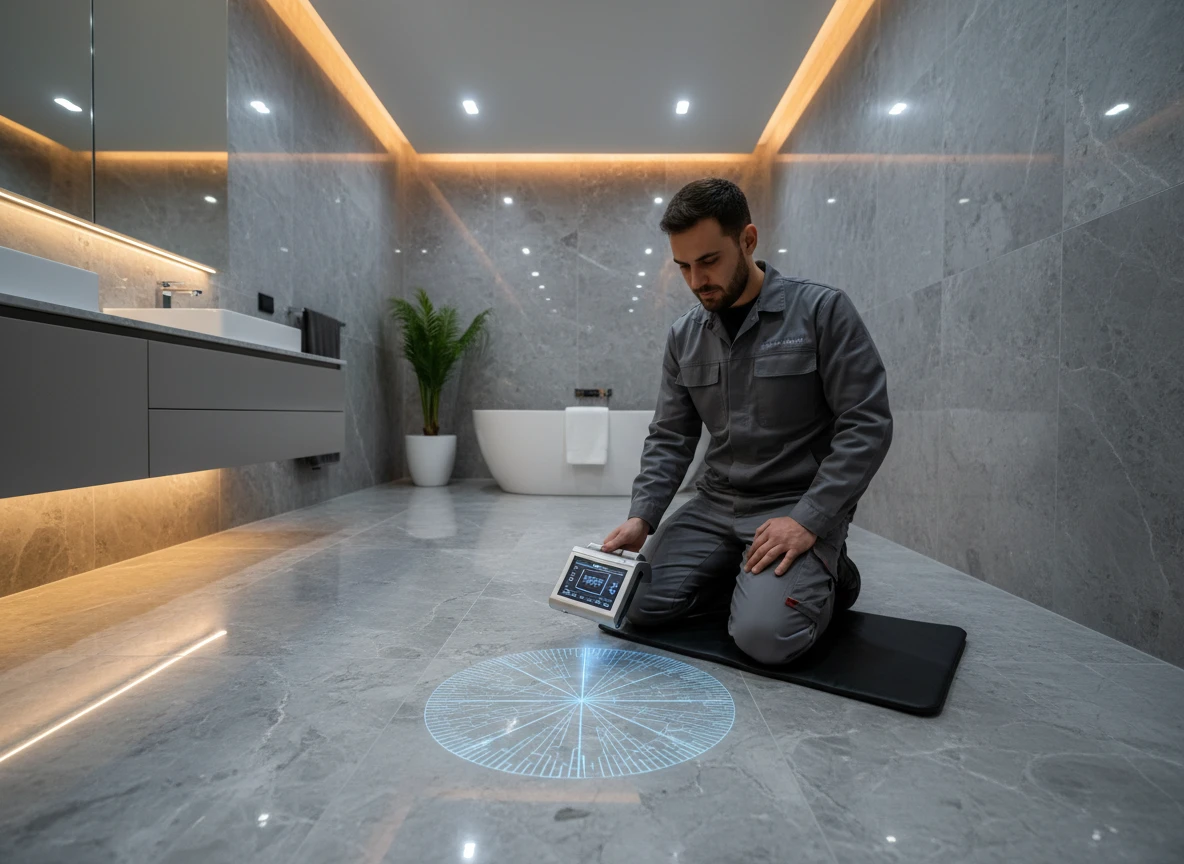
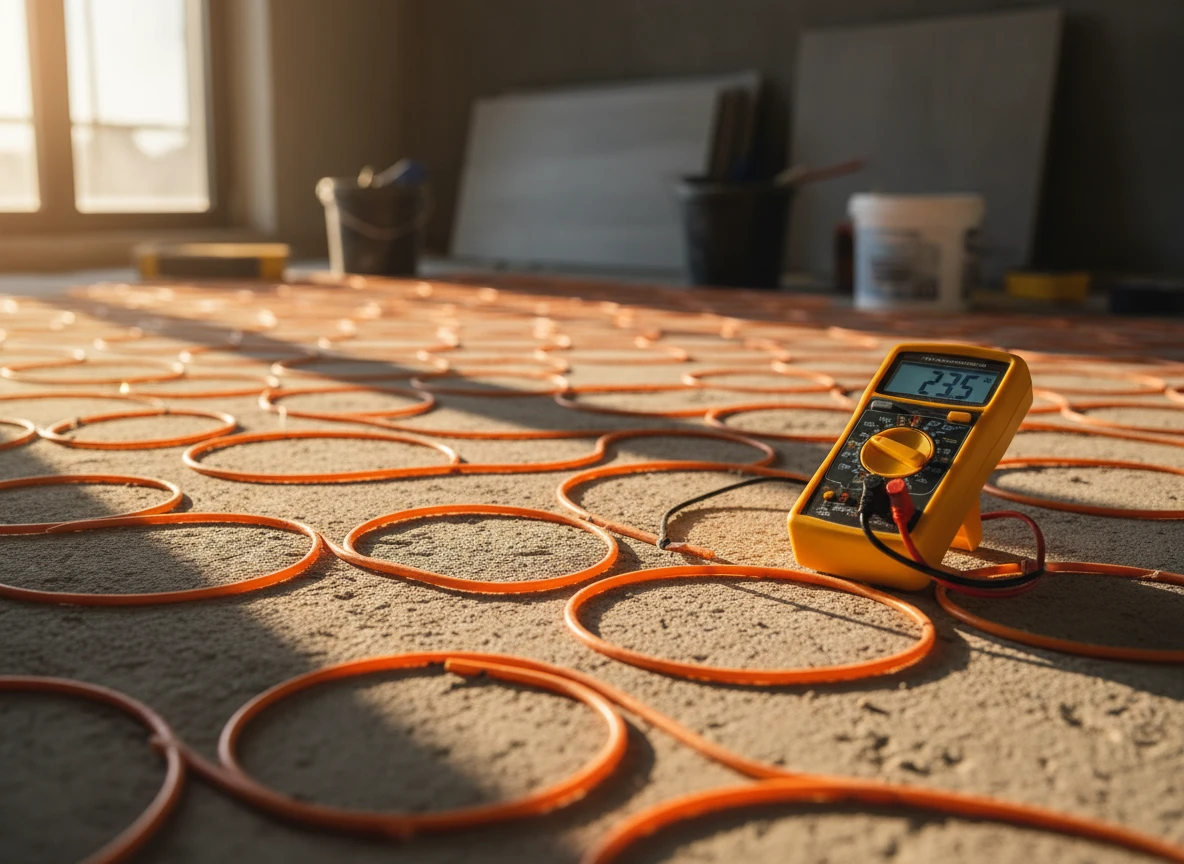
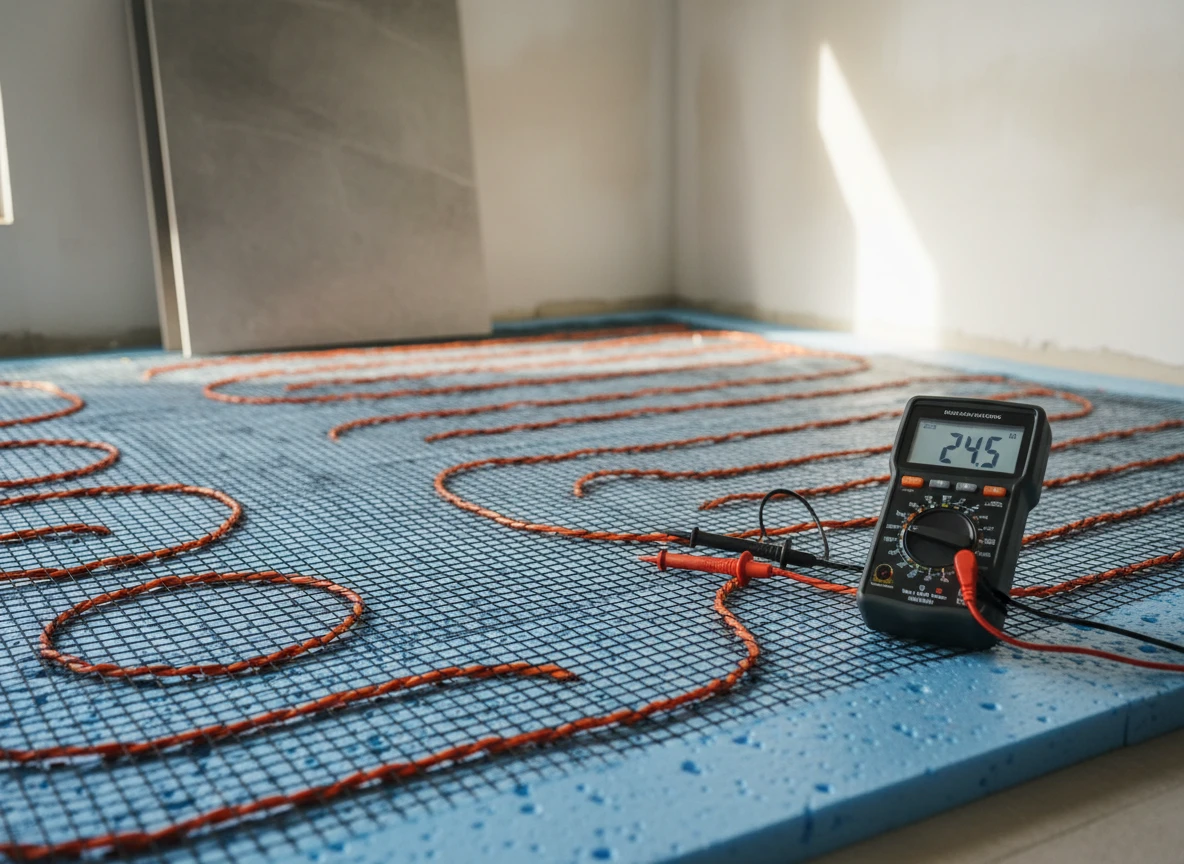
Measurement is your only safeguard. When working with electric radiant floor heating, you must test the heating cable's resistance at three distinct stages. First, test it right out of the box. Second, test after securing the mat to the insulation boards. Third, test after the thinset or self-leveling underlayment cures, but before laying any tile.
Your readings must fall within +5% to -10% of the factory rating stamped on the cable tag to verify a reliable underfloor heating system. Here is how to run the tests.
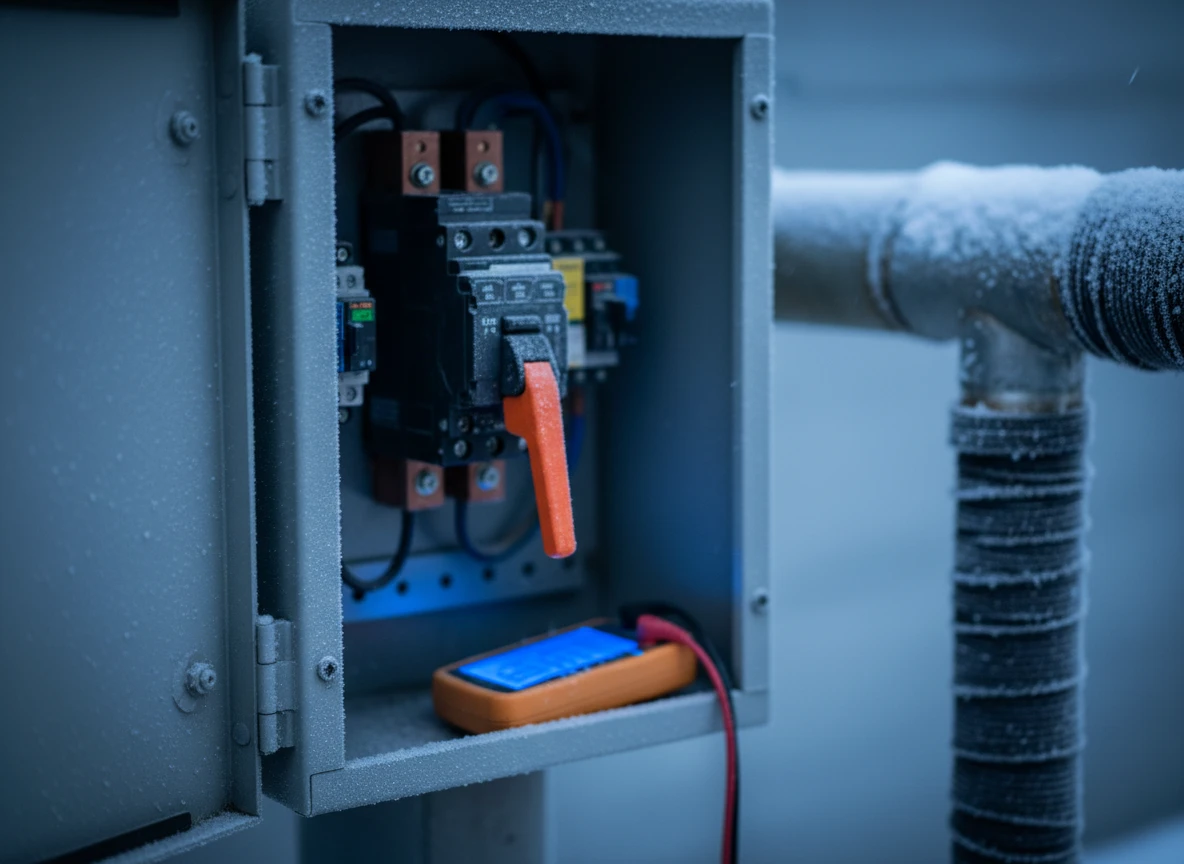
Set your digital multimeter to the ohms (̩) setting, typically at the 200-ohm range. Touch one probe to the black core wire and the other to the white or blue core wire. This measures the actual resistance of the heating loop. If your reading shows "OL" (open line) or zero, the heating element has a break or a dead short. Stop immediately if you see this. You will need replacement underfloor heating elements from reputable underfloor heating manufacturers before going any further.
Testing the insulation integrity
The second test is the insulation resistance test, which is often neglected. This check verifies that the protective sheath has no nicks. A damaged sheath grounds the current and trips your ground fault circuit interrupter (GFCI). Connect one multimeter probe to the copper ground braid or shielding wire and the other to one of the inner core conductors.
Your meter should read infinite resistance, shown as OL or "1". Any numerical reading indicates a leakage path. The cable is damaged. This same testing rigor applies to residential setups, complex underfloor heating system exporters packages, and industrial flexible heating jackets alike.
Do not forget the floor temperature sensor probe. This small thermistor regulates your thermostat. Running a backup sensor alongside the primary one is cheap insurance. Test its resistance too. At room temperature (around 25°C or 77°F), most standard sensors read approximately 10k or 12k ohms, depending on the manufacturer's specification. If you get a zero or infinite reading, that sensor is dead before you even pour the self-leveler.
Keep a paper log of these readings. Write them directly on the warranty card, along with the date and time. If a tile installer accidentally nicks the wire with a trowel during the mud set, your continuous monitoring will catch the spike immediately. This gives you a chance to repair the cable before burying it under cured mortar. Admittedly, testing cannot guarantee a lifetime of zero issues. Physical shifting of the house can still stress buried cables. However, this protocol prevents 99% of early-stage electrical failures. Consulting with experienced underfloor heating exporters helps verify that your chosen kit matches the specific thermal demands of your subfloor.
Your technical checklist: multimeters, backing boards, and dual sensors
The essential hardware for a fail-safe installation
Now that you know the testing protocols, let's look at the physical toolkit you need on-site. You can't eyeball this process. Having the right tools on hand prevents the kind of structural headaches we often diagnose at Integro Process Heating Solutions. While we often engineer large-scale industrial systems, like specialized heating chambers or high-durability drum heating jackets, the fundamental physics of thermal control remain exactly the same for domestic and commercial heating setups.
First, you need a high-quality digital multimeter. Don't rely on a cheap analogue model; you need clear decimal readings to detect minor resistance fluctuations. Next, secure your thermal backing boards. These aren't simple tile backer boards; they must be dedicated, high-density extruded polystyrene (XPS) or cement-faced insulated boards designed specifically for electric floor heating systems. Without these boards, your heat will slowly bleed into the concrete slab below, dragging down performance and spiking your utility bills.
The dual-sensor redundancy trick
If you only take one piece of advice from this guide, let it be this: install a backup floor temperature sensor.
Every floor thermostat comes with a wired sensor probe that must be embedded in the thinset between the heating cables. But what happens if that tiny sensor fails five years down the road? If you only installed one, your entire system becomes useless unless you tear up a tile to replace it.
So, how do we solve this? You run two sensor probes side-by-side into the floor during installation, but you only connect one to the thermostat. Keep the second wire,the backup,taped off and labeled inside the wall box. If the primary sensor ever fails, you simply swap the wires at the thermostat. It takes three minutes and costs less than fifteen dollars during the rough-in stage.
Our engineering team uses similar redundancy principles when designing industrial insulated heating jackets and custom IBC heating jackets, where system downtime is incredibly costly. For your bathroom floor heating solutions, this simple step is the ultimate insurance policy. While dual sensors won't protect against a crushed wire, they do eliminate the single most common point of electrical component failure. You don't want to find out that a ten-dollar part ruined a five-thousand-dollar tile job.
Your pre-installation checklist
Before you mix any thinset, verify that you have these components ready:
- A digital multimeter: Set to measure ohms (resistance) and continuity.
- Insulated tile backing boards: To stop downward heat sink into the subfloor.
- Two NTC floor sensor probes: One active, one dormant backup.
- Plastic cable monitors: Often called "loudmouths," which sound an alarm if the heating wire is cut during tiling.
- A plastic trowel: Never use a metal trowel directly over the heating elements, as a single sharp edge can slice the protective insulation.
Sometimes, even with the best tools, a wire can get nicked if the crew gets careless. But having these safeguards in place means you will catch the error long before the mortar cures.
How to avoid costly tile tear-outs
Avoiding catastrophic tear-outs
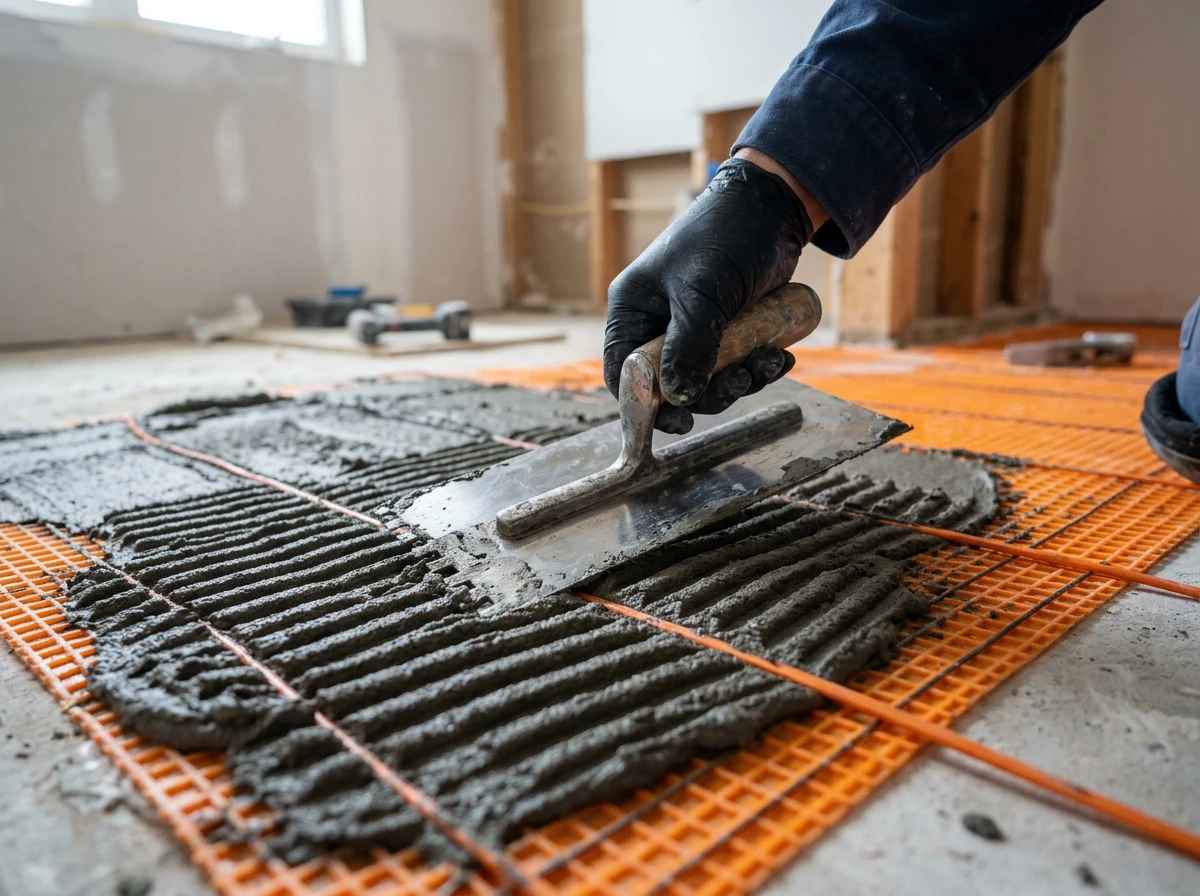
Buying the best gear is pointless if you ruin the installation before the tile even sets. Most total failures—the kind that require a sledgehammer to fix—come down to three stupid mistakes: slicing the wires with a trowel, using the wrong thinset, or turning the system on too early.
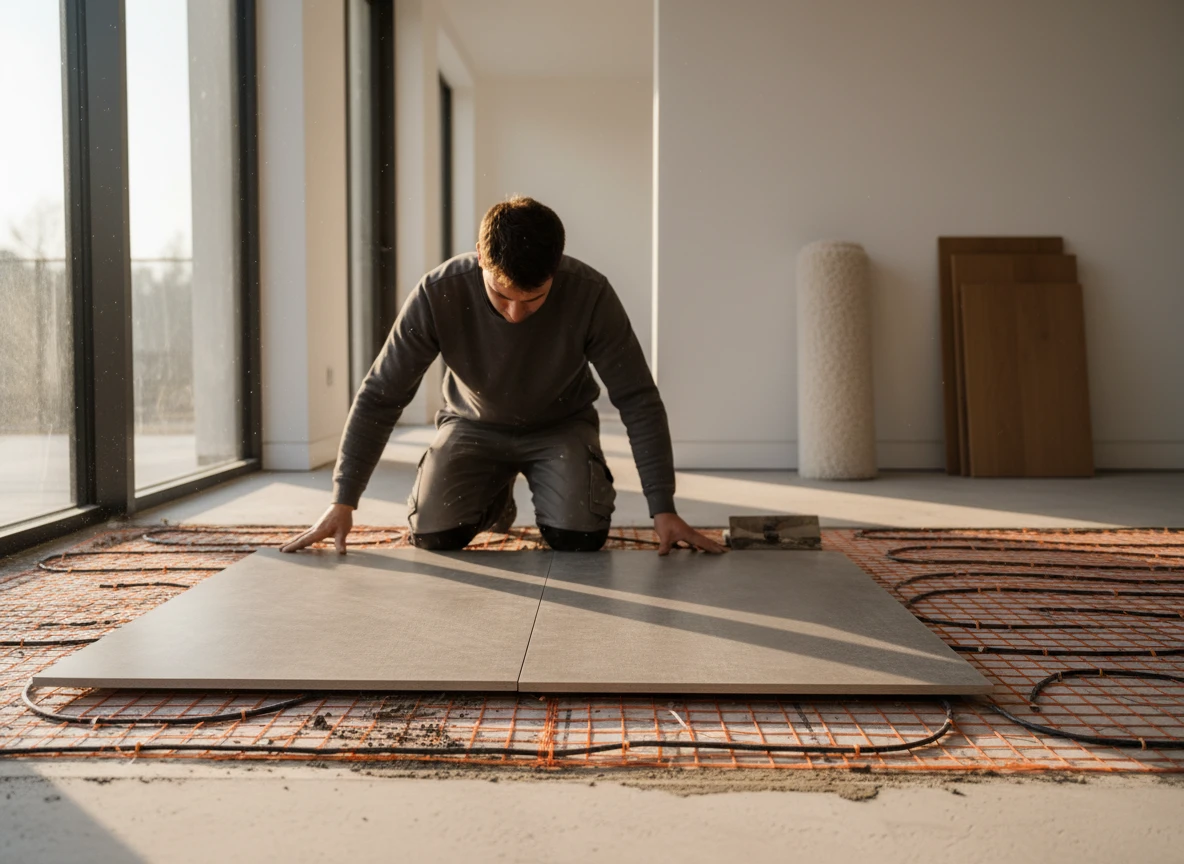
Don't scrape metal trowels over an unshielded heating mat. One slip with a notched steel blade slices the cable jacket, and your system is dead. Use plastic or rubber-edged tools to spread mortar over the mesh. More importantly, keep your multimeter hooked up during the entire tile-laying process. If you nick a wire, you want to hear the alarm immediately, not after the grout dries.
Check your mortar. Standard thinset doesn't have the flex to handle constant heating and cooling. You need polymer-modified thinset. If you cheap out here, the heat cycles will shear the tile right off the floor. It's the same basic thermal expansion principle used when designing insulated heating jackets for industrial machinery—without a proper bond, heat transfer fails and everything falls apart.
Never turn the system on to "test" it while the mortar is still wet. If you run electricity through wet thinset, you will literally boil the trapped water. The resulting steam pockets will blow the bond between the tile and the subfloor. Sit on your hands. Let the thinset cure completely—usually seven to fourteen days—before you flip the switch.
Skipping these steps turns a weekend upgrade into a five-figure demolition job. Whether you are laying wire in a small bathroom or handling large-scale commercial heating layouts, there are no shortcuts. Take the extra hour to test your connections now, or get ready to buy a whole new floor.
A little extra patience saves a massive headache later
Picture a pristine master bathroom five weeks after a complete renovation. The porcelain tile looks immaculate, the grout lines are razor-thin, and the vanity sits flush. But when you flip the thermostat, nothing happens. The truth is that rushing through the layout phase of an underfloor heating system always catches up with you. Spending two extra hours double-checking resistance values, securing insulation boards, and mapping every square foot protects your investment from a catastrophic, tile-destroying failure.
We see this all the time in the field. Contractors try to shave an hour off the schedule, skipping the multimeter logs or laying cables without proper clearance. Yet fixing a single severed wire beneath cured mortar requires destroying a brand-new domestic and commercial heating setup from scratch. That minor time-saving shortcut instantly turns into a massive, four-figure demolition project.
Methodical planning prevents these expensive headaches. When you treat floor preparation as a precision engineering task rather than a quick DIY chore, the reliability of your warm floors skyrockets. Take the time to verify every connection, protect the heating elements through each phase, and test before the thinset cures. What part of your current renovation schedule can you adjust today to ensure your thermal installation lasts for decades?
Tired of dealing with complicated thermal setups? Integro Process Heating Solutions delivers engineered heating solutions that take the guesswork out of your projects.
FAQ
Why does my bathroom floor heating mat fail to warm up properly?
It's usually because you skipped the thermal insulation boards beneath the mat. Without that barrier, your heat bleeds straight down into the cold subfloor instead of warming your tiles.
Can I install an electric underfloor heating mat without a multimeter?
Honestly, skipping the multimeter test is a massive gamble. You need it to check cable resistance before, during, and after laying tile so you don't accidentally seal a broken wire under expensive stonework.
Does concrete subfloor prep really impact electric floor heating systems?
Concrete sucks the heat right out of your system. If you don't lay down proper backing boards and primers, you'll wait forever for warm floors and watch your electricity bill skyrocket.
What happens if I turn on my radiant floor heating right after grouting?
You'll crack the fresh grout and tile. The thinset needs a solid week or two to cure naturally before you introduce any heat to the system.