- By Admin
- Integro
- The gap between expectation and radiant reality
- When your heated floor stalls at sixty-six degrees
- Isolating the fault with an ohmmeter
- The silent battle between floor and room sensors
- Why concrete subfloors are stealing your thermal energy
- Tools and components to rescue your lukewarm floor
- Where most installers get it wrong and how to fix it
- Frequently Asked Questions
The gap between expectation and radiant reality

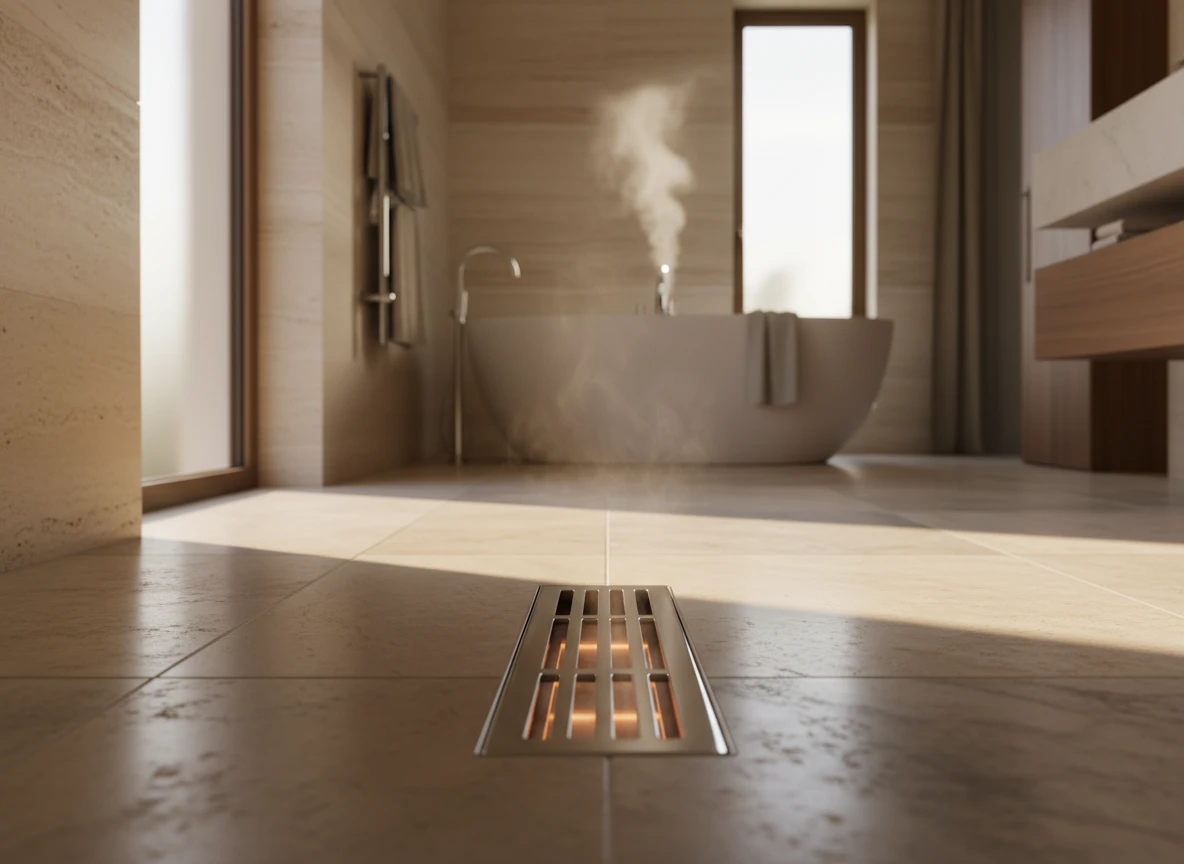
You step onto your newly tiled bathroom floor, expecting a wave of toasty heat, but instead, you're met with something that feels... barely neutral. Did your installer mess up, or is the system broken?
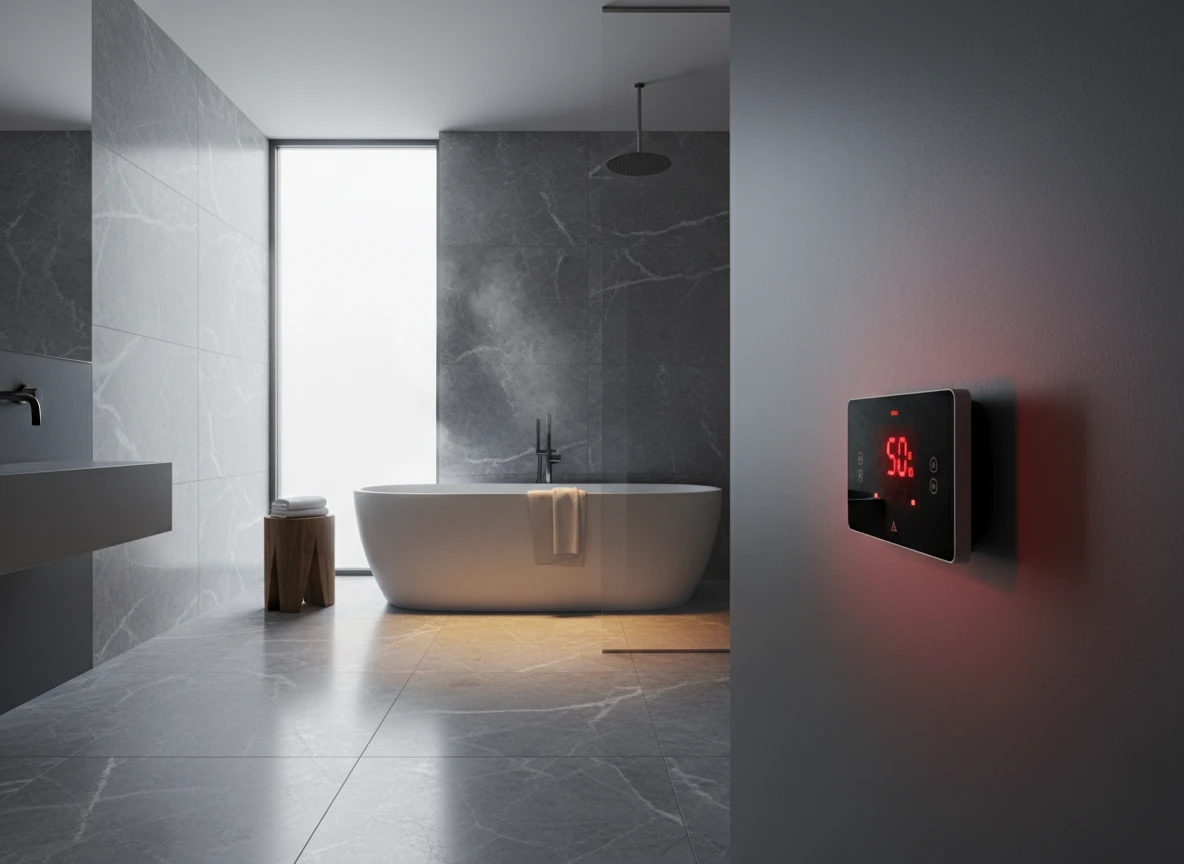
The reality is that many homeowners confuse the gentle, engineered comfort of electric floor heating with the blast-furnace sensation of a space heater.
Radiant systems aren't designed to roast your feet. They're built to maintain a steady, low-intensity thermal output. At Integro Process Heating Solutions, we analyze heat transfer dynamics daily, and the physics of bathroom floor heating are straightforward. To prevent tile adhesive degradation and protect your subfloor, most electric systems cap surface temperatures between 82°F and 85°F (28°C to 29°C).
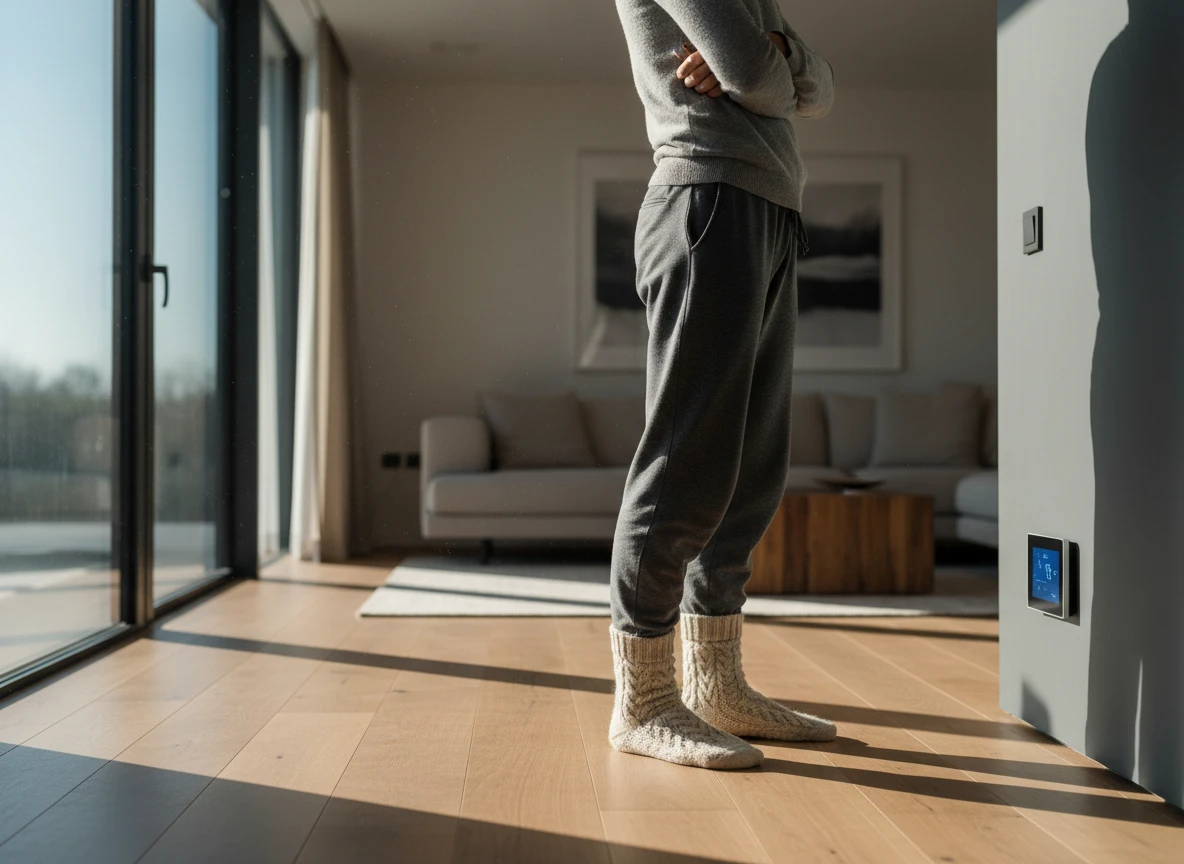
Since your average skin temperature is around 93°F, a surface at 84°F won't feel hot to the touch. It just feels neutral, not cold.
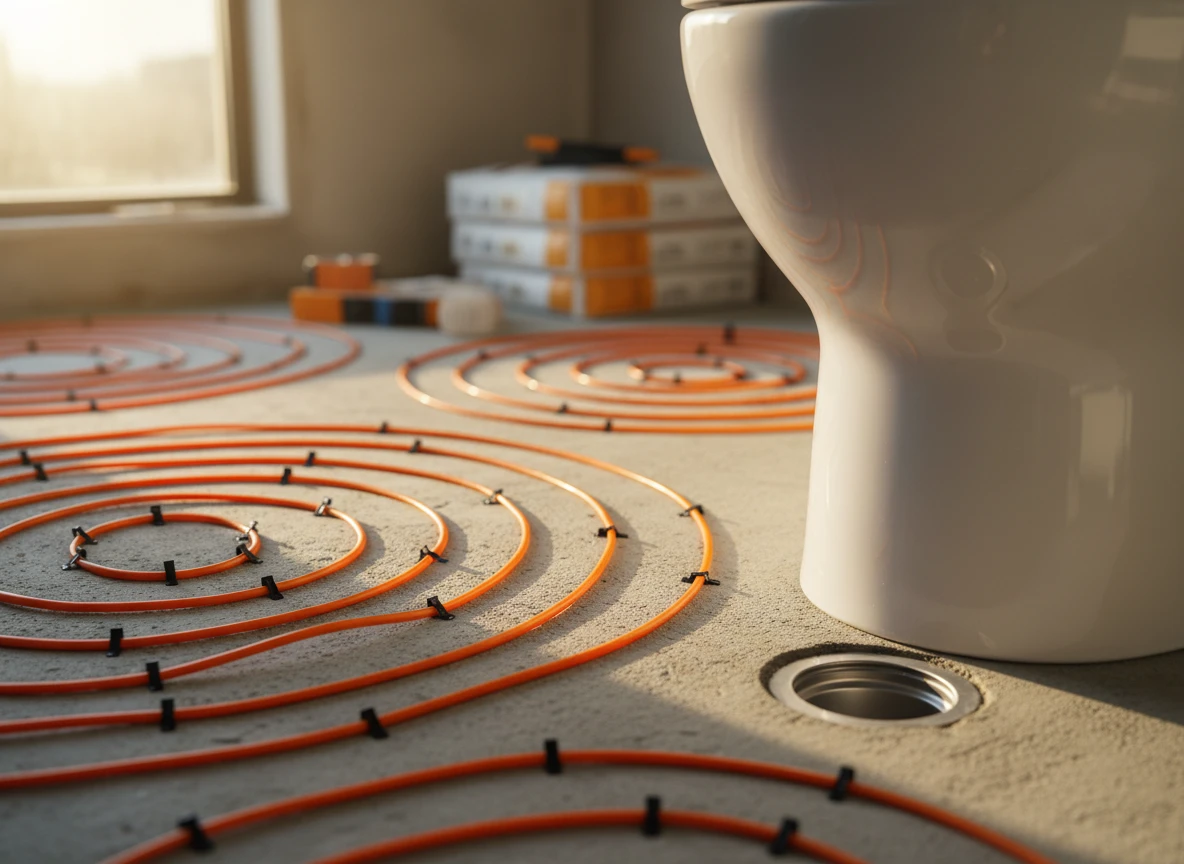
People often expect an underfloor heating system to act like a high-output radiator. But radiant heat works by warming objects directly, rather than blowing hot air around. If your subfloor is uninsulated concrete, much of that thermal energy gets siphoned downward before it ever reaches the surface. This thermal lag is normal. It can sometimes take up to two hours to penetrate dense stone or ceramic tile. You might think the system is failing, but you're really just waiting on thermal mass.
Unheated dead zones around vanities or toilets can also skew your tactile perception, making the warm areas feel underpowered by comparison. Your feet transition from cold tile to lukewarm tile, which tricks your brain into thinking the heat is barely running. So, if your floor doesn't feel like a sauna, don't panic. It's likely working exactly as designed—silently, slowly, and safely.
When your heated floor stalls at sixty-six degrees
An uninsulated concrete subfloor can siphon away up to 40% of the thermal energy produced by an underfloor heating system, directing it downward instead of up into your bathroom tiles. This thermal siphoning explains why your thermostat might get stuck at a stubborn 66°F (19°C) despite running for hours. When a system battles downward heat loss, the energy input simply matches the escape rate, and you're left with a thermal plateau.
The mechanics of slab absorption
Concrete is a highly dense material with high thermal mass. A standard four-inch concrete slab requires a massive amount of energy to prime before it yields any noticeable surface warmth. In standard installations without thermal barrier insulation boards, the heating element must warm the entire subfloor mass first. If you're dealing with an uninsulated slab, it's a slow crawl. This thermal response time can easily stretch from 30 minutes to well over two hours just to penetrate a standard ceramic tile layer.
While hydronic radiant floor heating relies on fluid loops that can take even longer to balance, electric systems are quicker but still bound by the laws of thermodynamics. And if your floor probe sensor was mistakenly placed too close to a cold exterior wall or buried too deep in the mortar bed, it registers an inaccurate, lower temperature. So the controller continues to pump current, but the heat dissipates into the ground before reaching your toes.
Here is how subfloor thermal dynamics typically break down in a standard bathroom setting:
| Subfloor Configuration | Typical Heat-Up Time | Est. Downward Heat Loss |
|---|---|---|
| Uninsulated Concrete | 2 to 4 hours | 35% - 40% |
| Insulated Concrete | 30 to 45 mins | 5% - 10% |
| Wood Subfloor (uninsulated) | 1 to 1.5 hours | 15% - 20% |
Sometimes, the physical layout creates cold pockets. If your heating mat leaves large unheated zones around the vanity or toilet, the surrounding cold floor acts as a heat sink, dragging down the overall ambient sensation. This thermal bridging makes the active zones feel underpowered, even when the system is technically functioning to its design limit. Admittedly, insulation quality varies wildly from house to house, meaning your actual heat-up times might not match these exact windows.
Isolating the fault with an ohmmeter
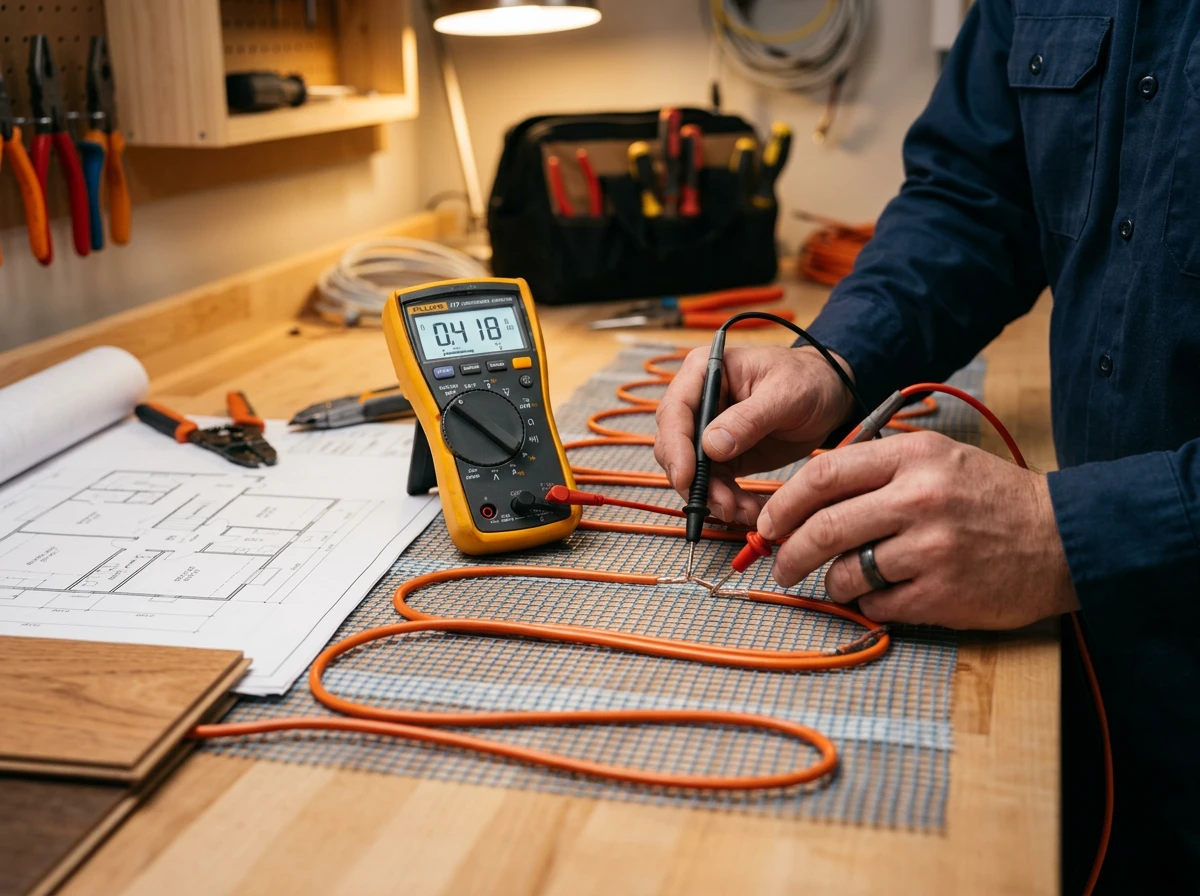
Diagnosing the circuit: step-by-step resistance testing
When a thermal system stalls or barely warms up, stop guessing. Start measuring. Finding a fault in an electric floor heating setup demands a systematic diagnostic approach. Before you tear up any tile, you must pin down whether the issue is inside the heating element itself or within the control unit's relay.
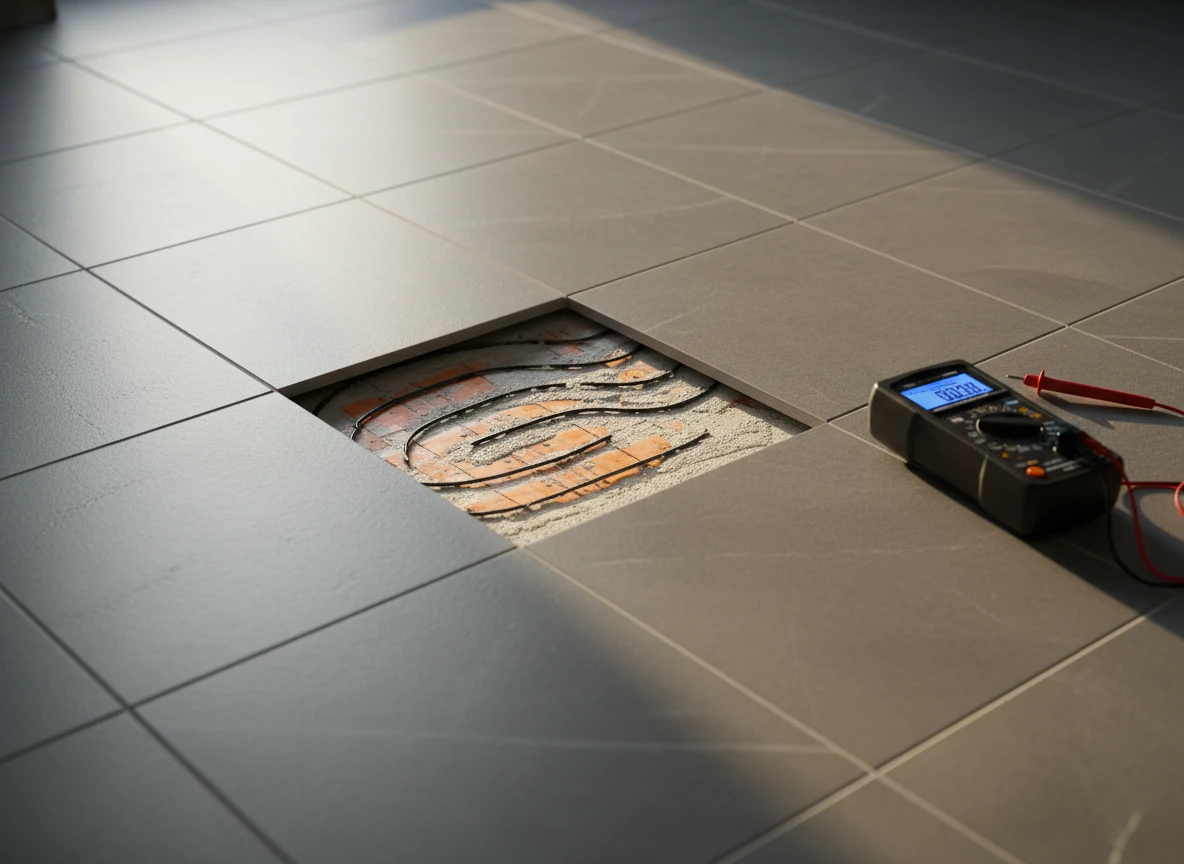
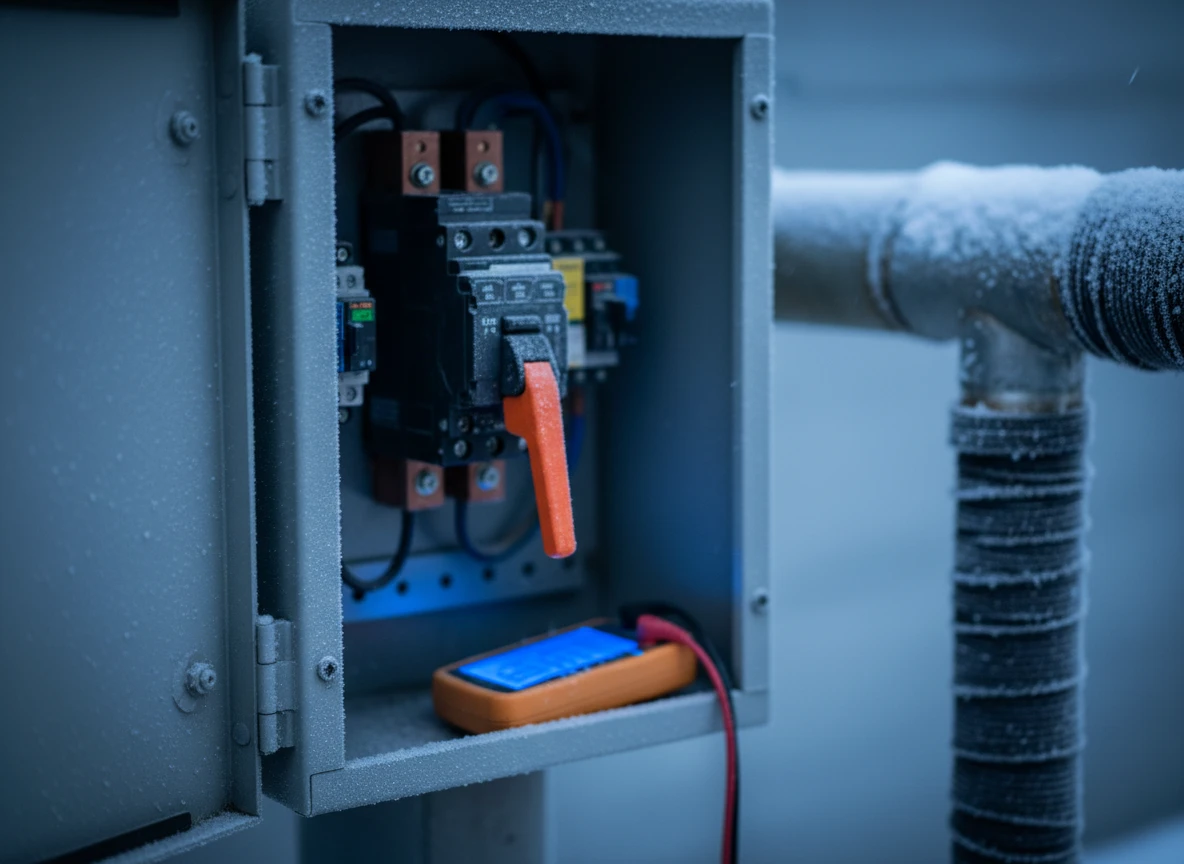
First, isolate the power. Kill the breaker feeding the thermostat. Once you've verified the circuit is dead, pull off the thermostat faceplate to expose the load wires running to your floor heating mat. You must disconnect these leads. If you don't, parallel resistance paths will skew your measurements. If you need replacement specs, consulting manufacturers of underfloor heating systems will give you the exact factory resistance tables.
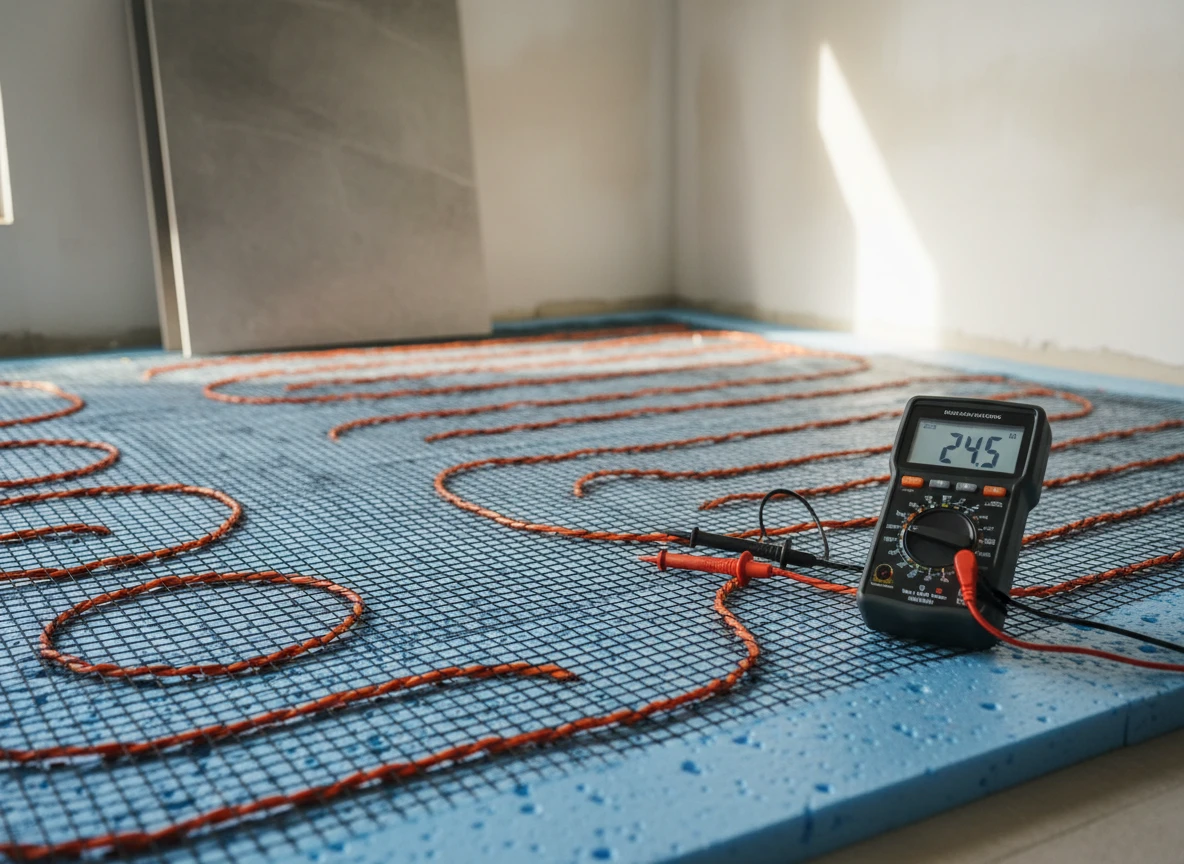
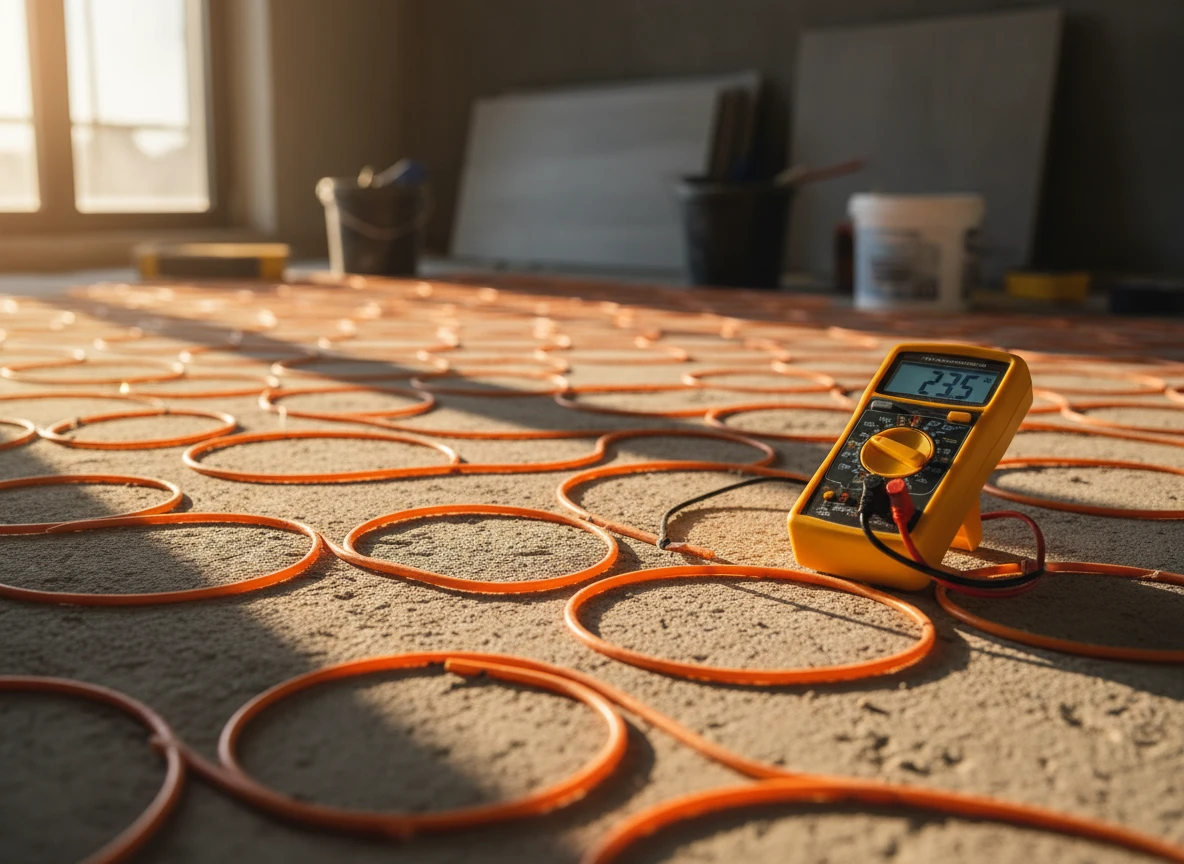
Now, set your multimeter to ohms (Ω). You'll run three tests.
Start with the core-to-core resistance test. Touch your meter leads to the two heating conductor wires. Then, compare this number to the manufacturer's specified rating. A healthy system should read within 10% of that value. If you get infinite resistance, the conductor is broken. It's a common issue that suppliers of underfloor heating systems warn installers about, though a loose terminal block connection can mimic this exact failure.
Next, test for ground faults. Measure the resistance between each core conductor and the braided ground shield. This value must be infinite. Any reading here means the insulation jacket of your floor heating systems is compromised, which triggers GFCI trips. Reputable exporters of underfloor heating systems build these shields with heavy insulation to prevent this exact failure.
Finally, check the floor sensor probe. If this thermistor reads open-loop or zero resistance, your thermostat cannot monitor tile temperature. It will cycle off prematurely.
What if the mat and sensor pass every test? Then the thermostat relay is likely dead. If the control unit calls for heat but outputs no line voltage, the internal relay has failed. At Integro Process Heating Solutions, we find that controls degrade long before the heating elements do. If you have a water-based setup, look at how hydronic radiant floor heating behaves under similar control failures. These systems rely on absolute circuit integrity, unlike self-regulating cables that draw baseline currents as we explained in our piece on self regulating heat trace.
The silent battle between floor and room sensors
If your electrical resistance tests pass, the problem is logical, not physical. The thermostat is actively sabotaging your comfort. This happens because of a fundamental conflict between room-sensing and floor-sensing modes.
An underfloor heating system operates on one of two inputs. Air-sensing mode measures ambient room temperature. Floor-sensing mode measures the actual tile temperature via a physical probe. If you set your thermostat to air-sensing mode, the system runs until the air hits the target. In a drafty bathroom, that air might never warm up. But the heating elements keep running, wasting energy and stressing the system.
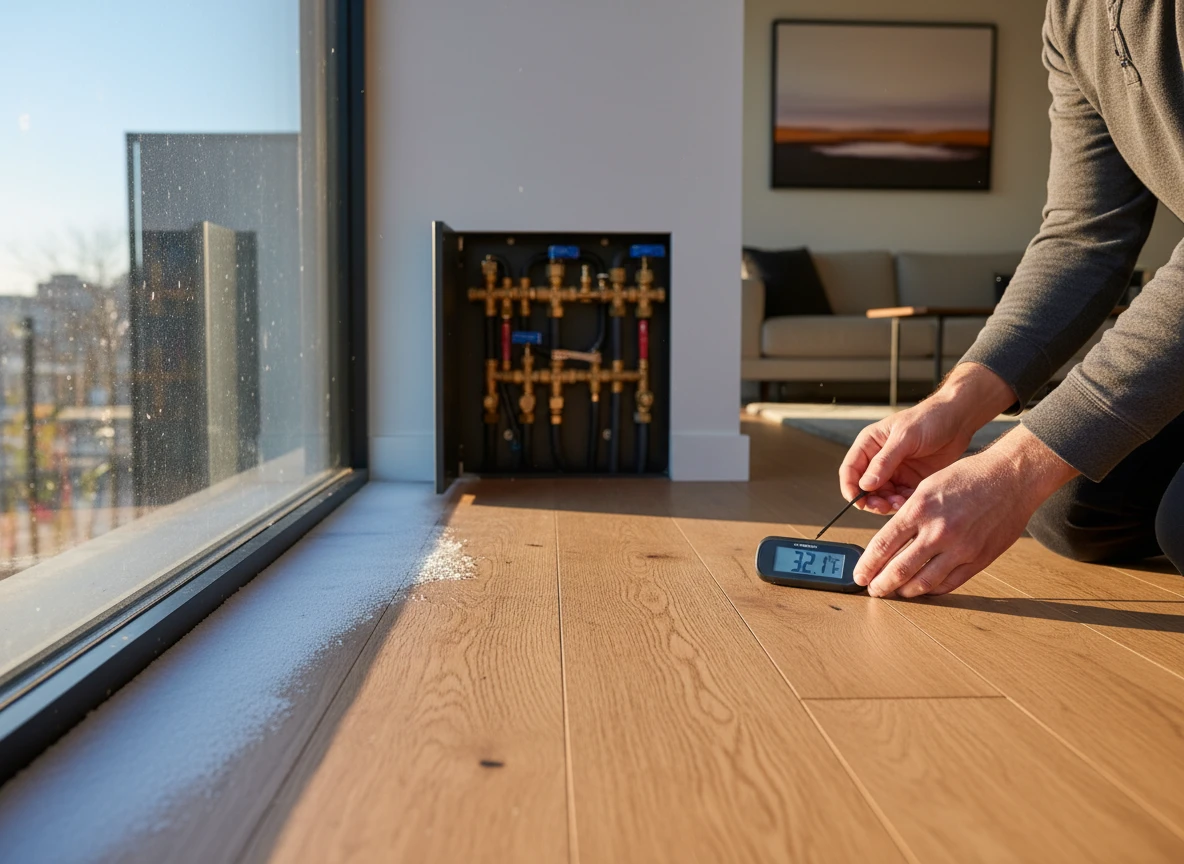
Conversely, floor-sensing mode is the correct choice for tactile comfort. But it relies entirely on correct probe placement. If the installer shoved the floor sensor directly against a heating wire rather than centering it between two runs, the system gets tricked. The probe registers a false high temperature instantly. It shuts off the current before the surrounding tiles even begin to warm. This poor installation thwarts even the best domestic and commercial heating setups.
At Integro Process Heating Solutions, we design heavy-duty industrial systems, from drum heating chambers to custom heating chamber units. The same thermal dynamics apply to residential tiles. Precise sensor placement is non-negotiable. If you cannot move the physical probe, you must recalibrate the thermostat offset or switch to air-sensing mode with a strict high-limit floor override to prevent damage.
Industrial setups use rugged insulated heating jackets or flexible heating jackets that require perfect sensor contact to prevent hotspots. On a bathroom floor, a misplaced sensor does the opposite. It creates cold spots by shutting down early. Do not accept a lukewarm floor. Check your thermostat sensor settings first. If the sensor sits in thick concrete, verify its resistance against the manufacturer's temperature curve to ensure it is not sending faulty data. A simple setting change can instantly fix what looks like a dead system.
Why concrete subfloors are stealing your thermal energy
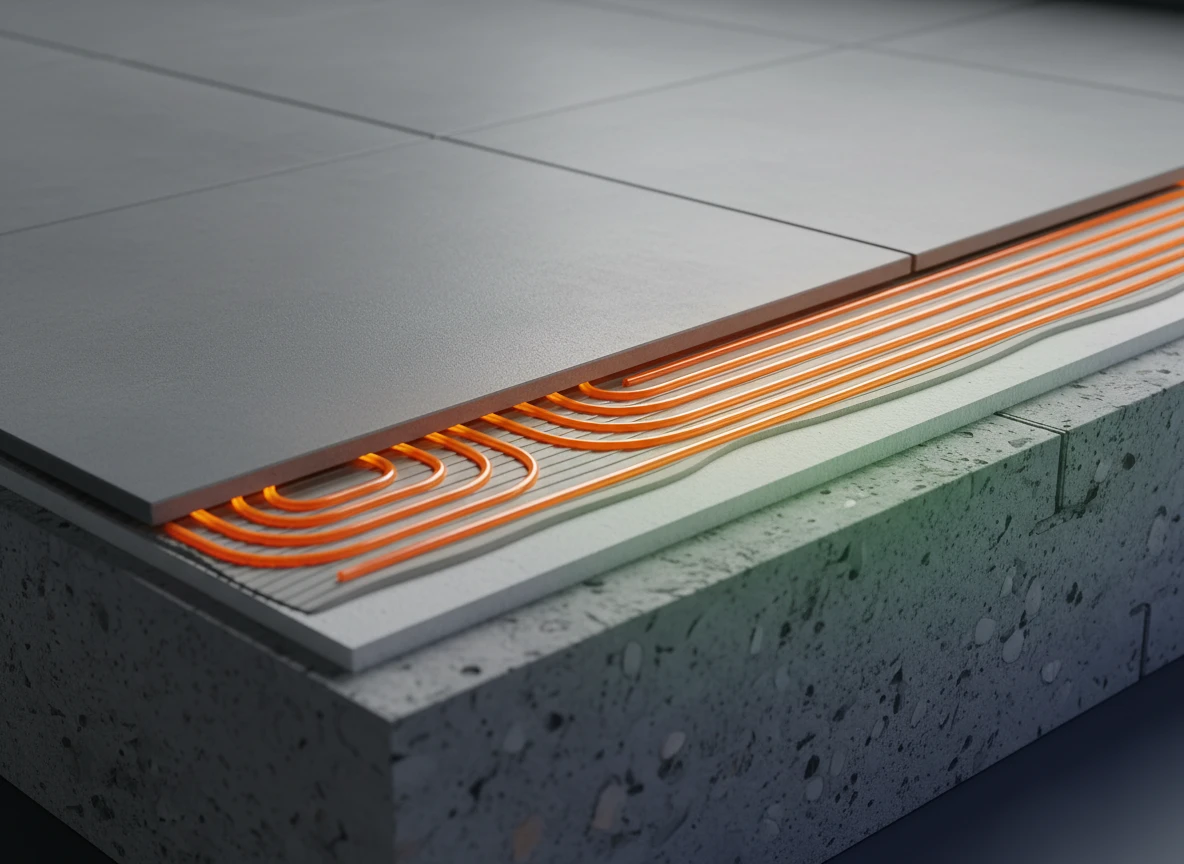
Imagine walking into a newly renovated bathroom on a freezing January morning. You've set the thermostat to its maximum, yet the floor tiles feel like cold stone. You check the control panel and see it's drawing power, but the warmth simply isn't reaching your feet. Where's that energy going?
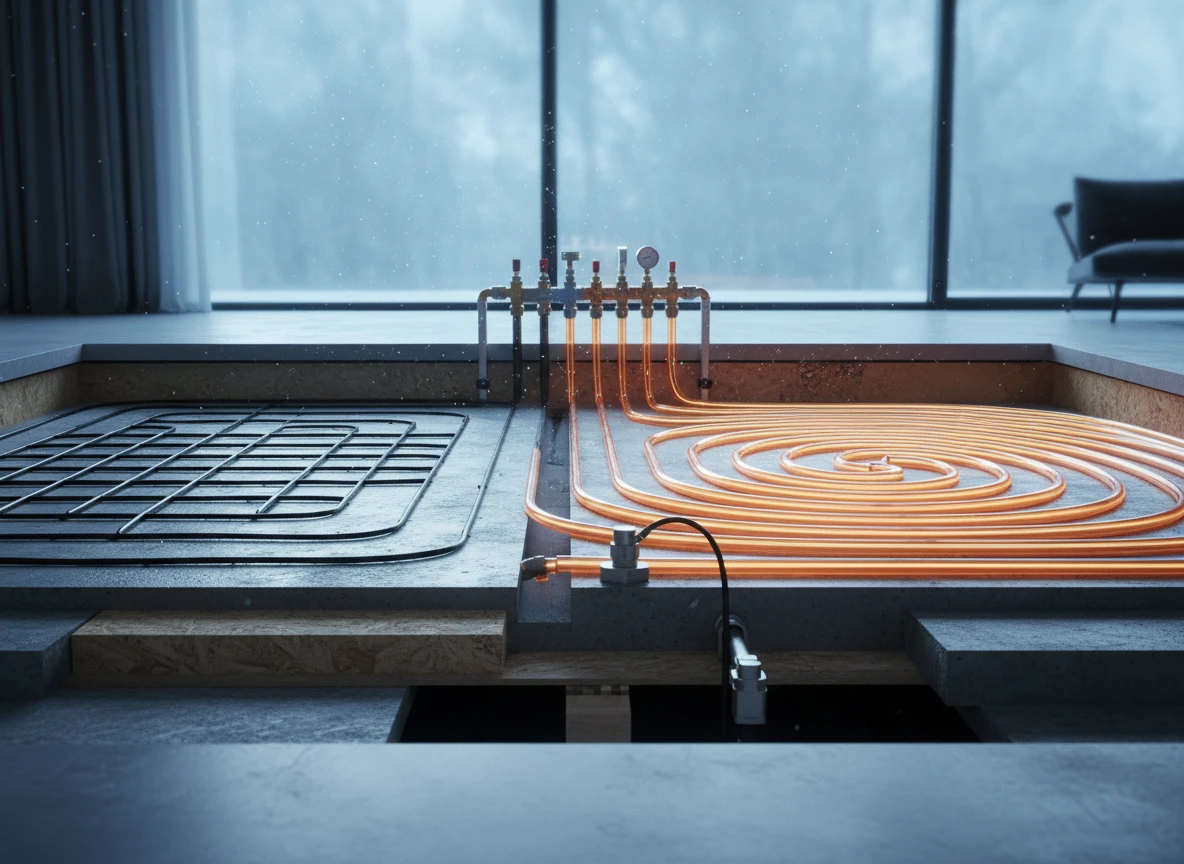
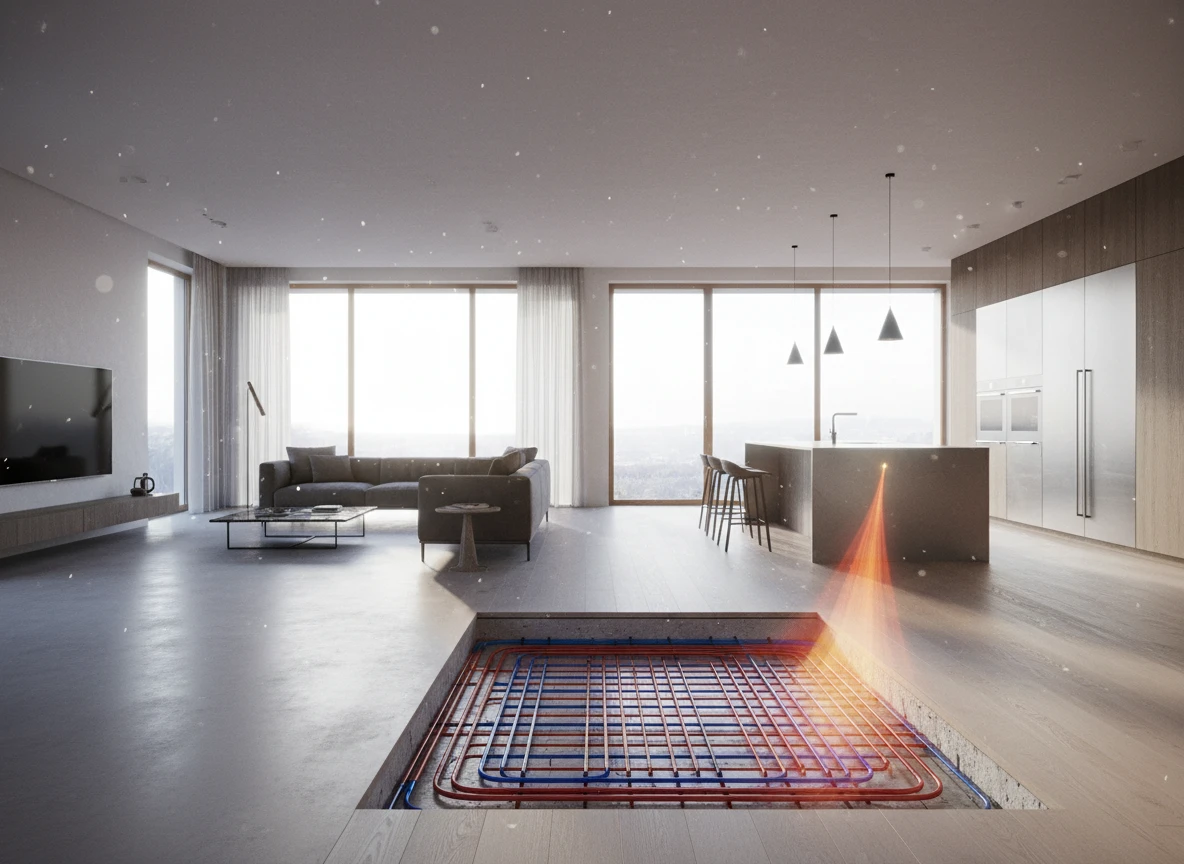
The culprit isn't necessarily a faulty floor heating mat; it's the massive, uninsulated concrete slab resting directly beneath it. Concrete is a thermal sponge. Without a proper thermal break, a massive portion of the energy produced by radiant floor heating systems is sucked downward into the earth, rather than radiating upward.
In our work with industrial thermal design, we see this exact physical phenomenon constantly. If you don't insulate a thermal boundary, heat flows toward the coldest mass. For residential setups, installing high-performance domestic and commercial heating elements requires a solid barrier beneath the wiring.
Think of it like trying to heat a home with the front door wide open. When a heating cable is laid directly onto a raw concrete subfloor, the concrete acts as an infinite heat sink. This is especially true in basement installations where the slab is in direct contact with damp, cold soil. Yet, many builders still skip this essential step to save a few dollars during the initial pour.
But when you install a dedicated thermal barrier,even a thin synthetic backer board,the thermodynamic equation changes completely. It's the same principle we apply when using insulated heating jackets or an ibc heating jacket in industrial settings; you must isolate the heat source from external cooling influences.
Without this isolation, your floor heating systems will run constantly, driving up utility bills while yielding only lukewarm tile surfaces. This doesn't always mean your system is broken, but it does mean it is working twice as hard for half the comfort. So, if your floor isn't getting warm, don't immediately blame the electric elements. The ground beneath your home might simply be stealing your warmth.
Tools and components to rescue your lukewarm floor
Armed for diagnostics: the recovery toolkit
Guessing is a luxury you can't afford when a concrete subfloor is actively stealing your heat. You must transition from speculation to precise physical measurement. That means building a targeted diagnostic toolkit. If your bathroom floor feels underwhelming, start with a high-quality digital multimeter.
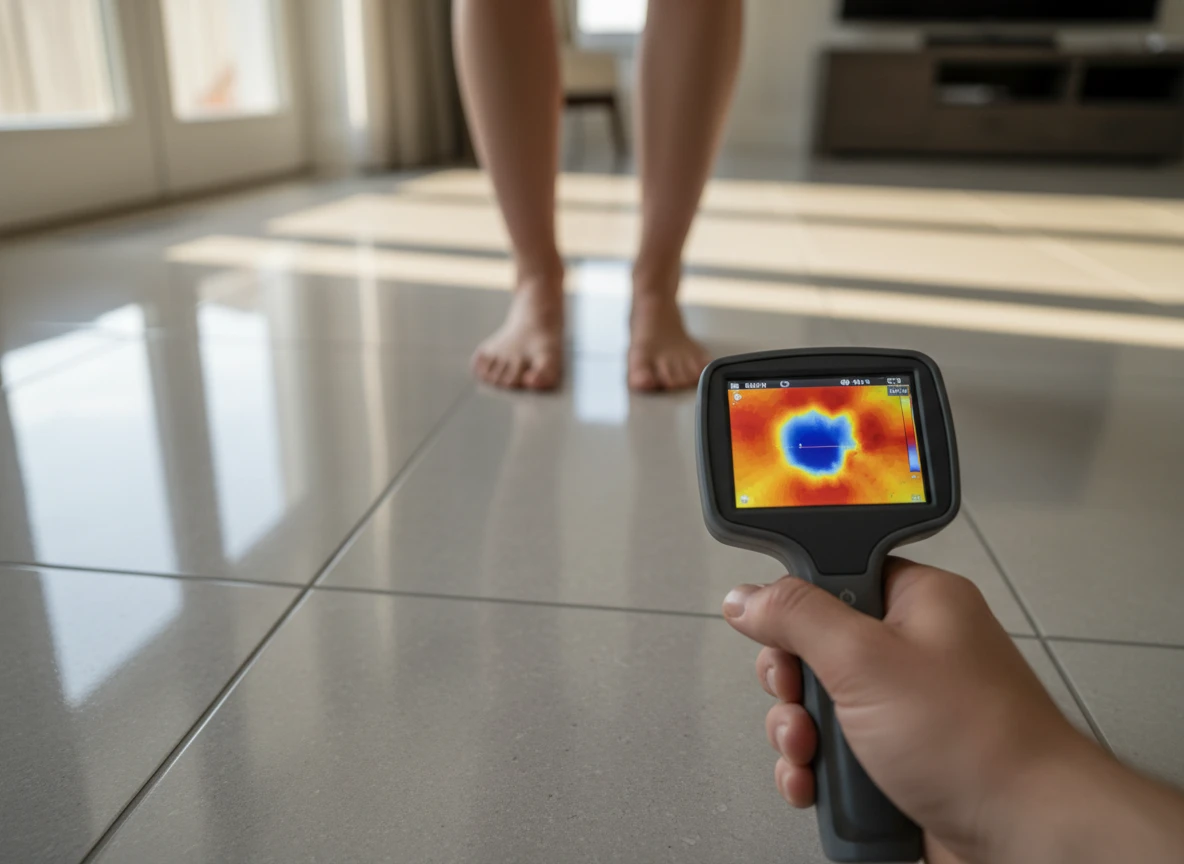
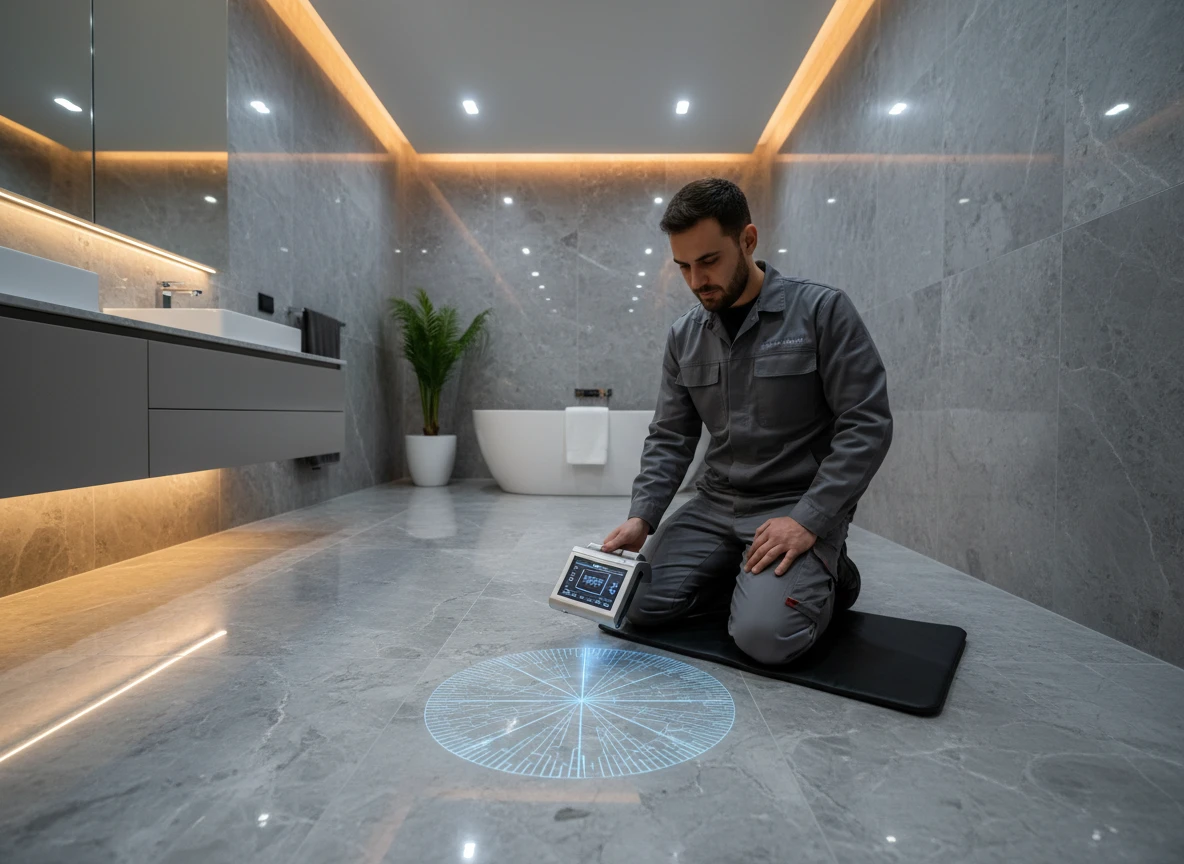
We use multimeters daily to verify resistance values across heating cables and floor sensors. A variance of even 10% from the manufacturer's specification indicates a damaged cable or a failing floor probe. For visual proof of heat distribution, use an infrared thermal imaging camera. It maps the exact layout of your electric underfloor wires. This exposure reveals uneven mortar coverage, air pockets, or cold spots around bathroom fixtures, showing you whether the issue is electrical or structural.
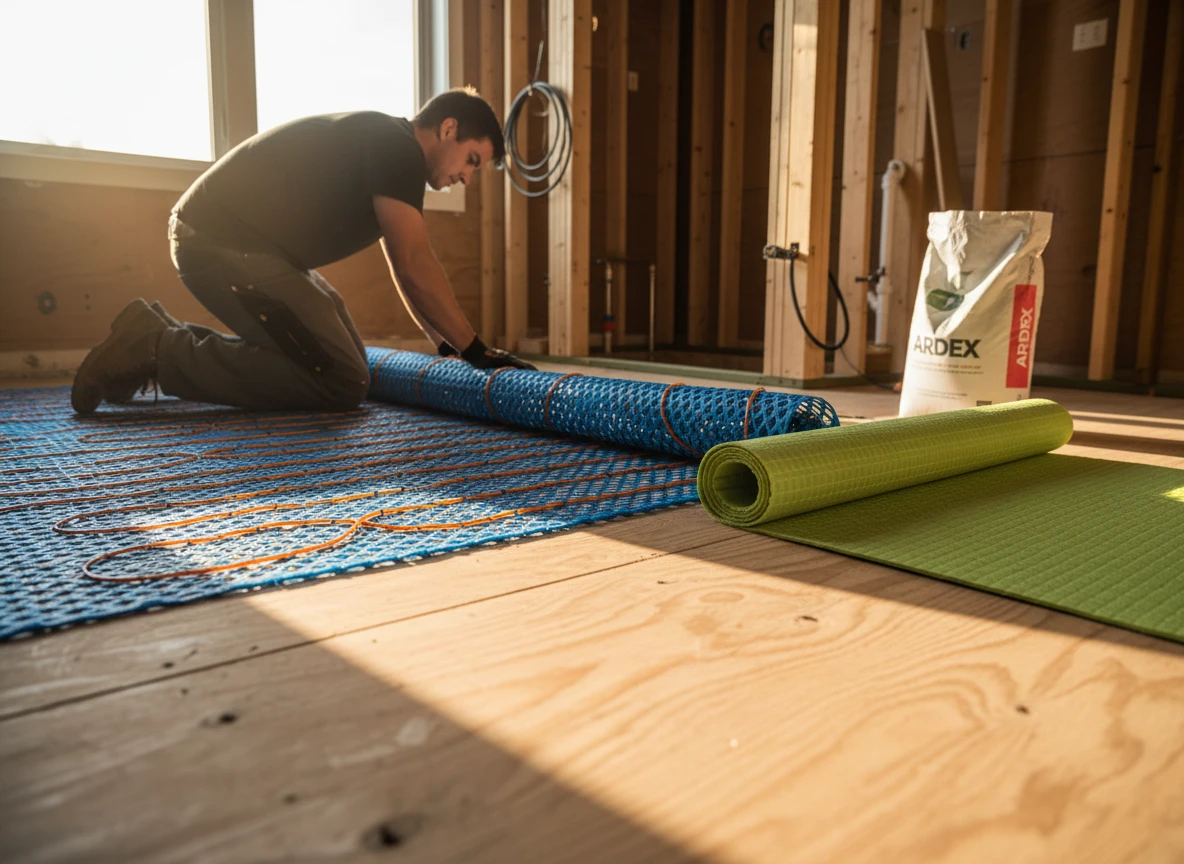
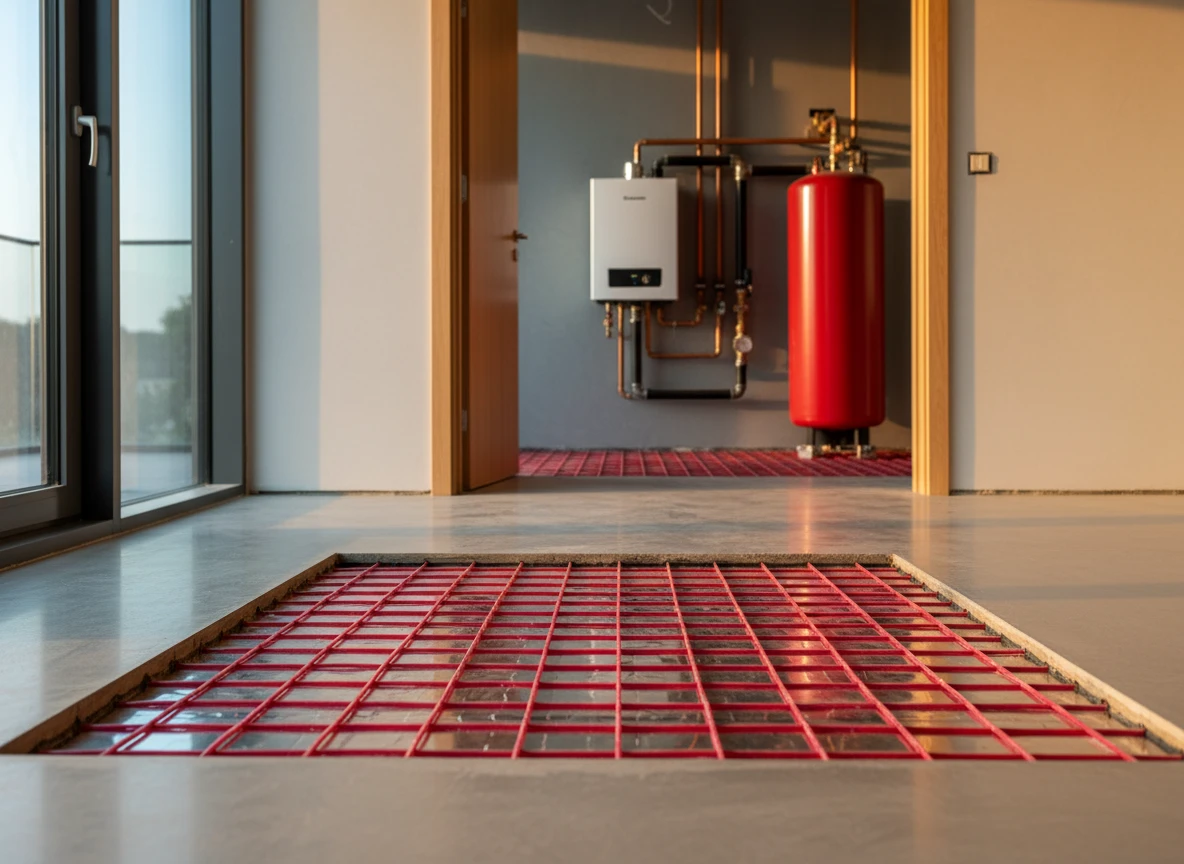
To stop subfloor heat theft permanently, you must address physical insulation. Installing high-density thermal underlayment boards beneath the heating mat redirects up to 90% of the thermal energy upward. At Integro Process Heating Solutions, we know thermal containment is everything. This is true whether you are insulating residential tiles or using industrial drum heating jackets to maintain precise process temperatures in manufacturing.
If your current layout lacks physical insulation, upgrading to a smart, adaptive thermostat helps offset some losses. Combining proper sensors with high-performance domestic and commercial heating systems compensates for subfloor draw without overloading the relay. You need to test, insulate, and control. If a cable is broken, use a cable fault locator to pinpoint the exact break without tearing up the entire bathroom floor.
Where most installers get it wrong and how to fix it
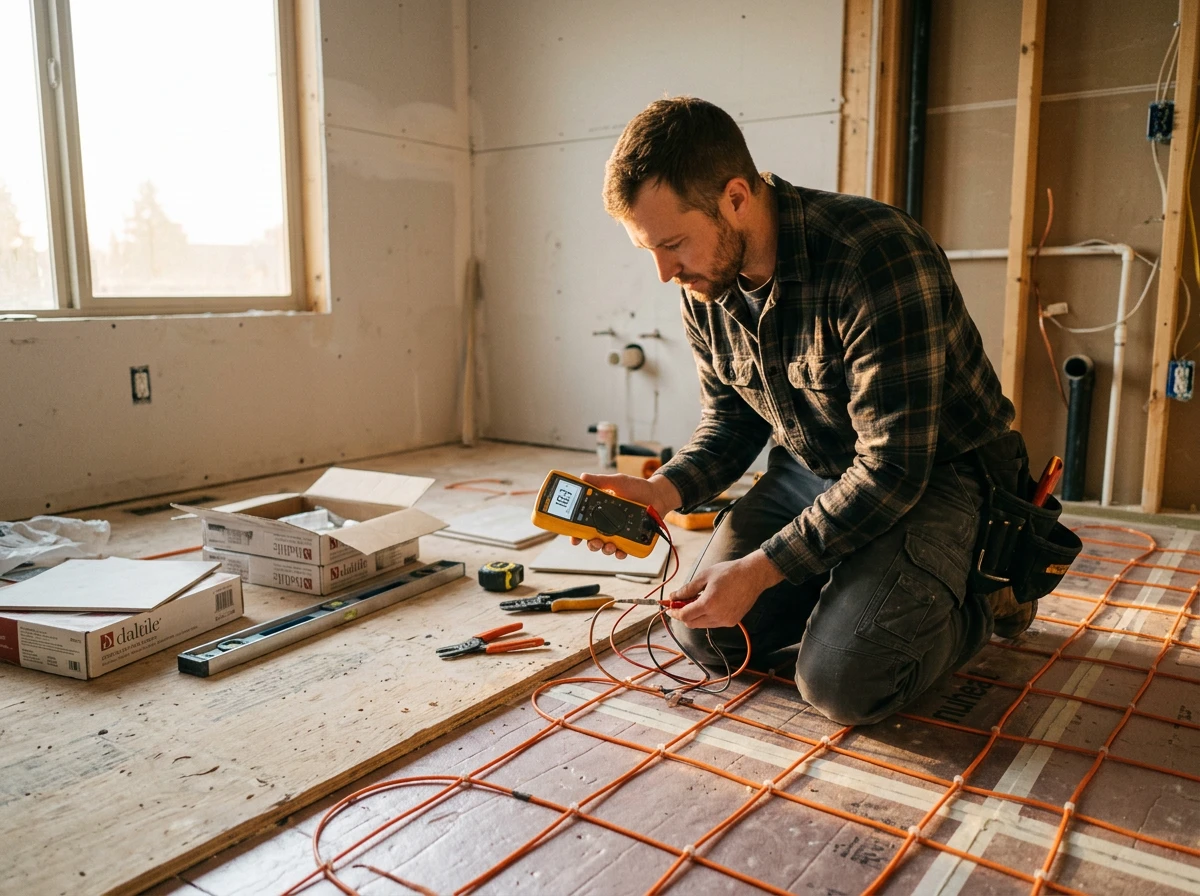
Common installation blunders and the path to recovery
You have the diagnostic tools, but why did the system fail in the first place? In our experience engineering thermal solutions, system failures rarely happen in isolation. With a bathroom floor heating setup, the most frequent mistake is poor layout planning. Installers often place heating cables too far from high-use areas or leave massive unheated zones around vanities, creating frustrating cold spots that drag down the overall room temperature.
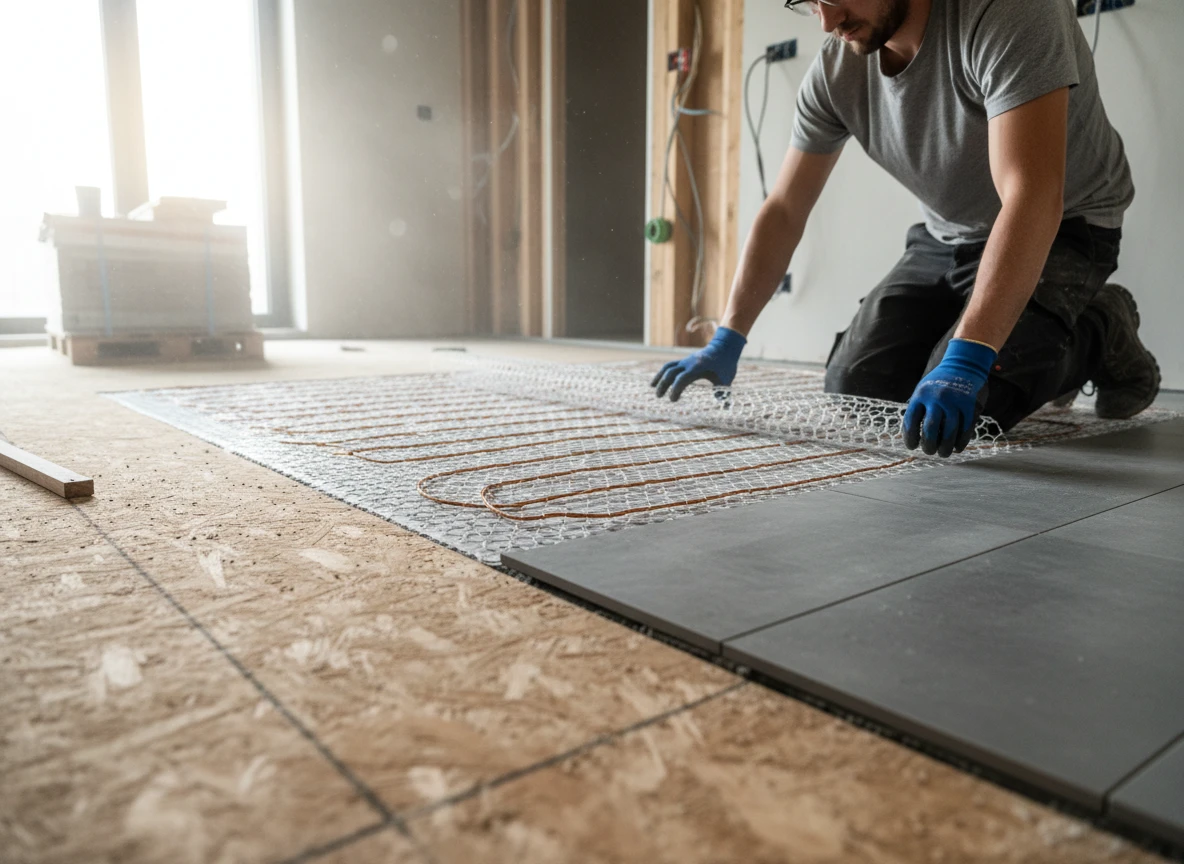
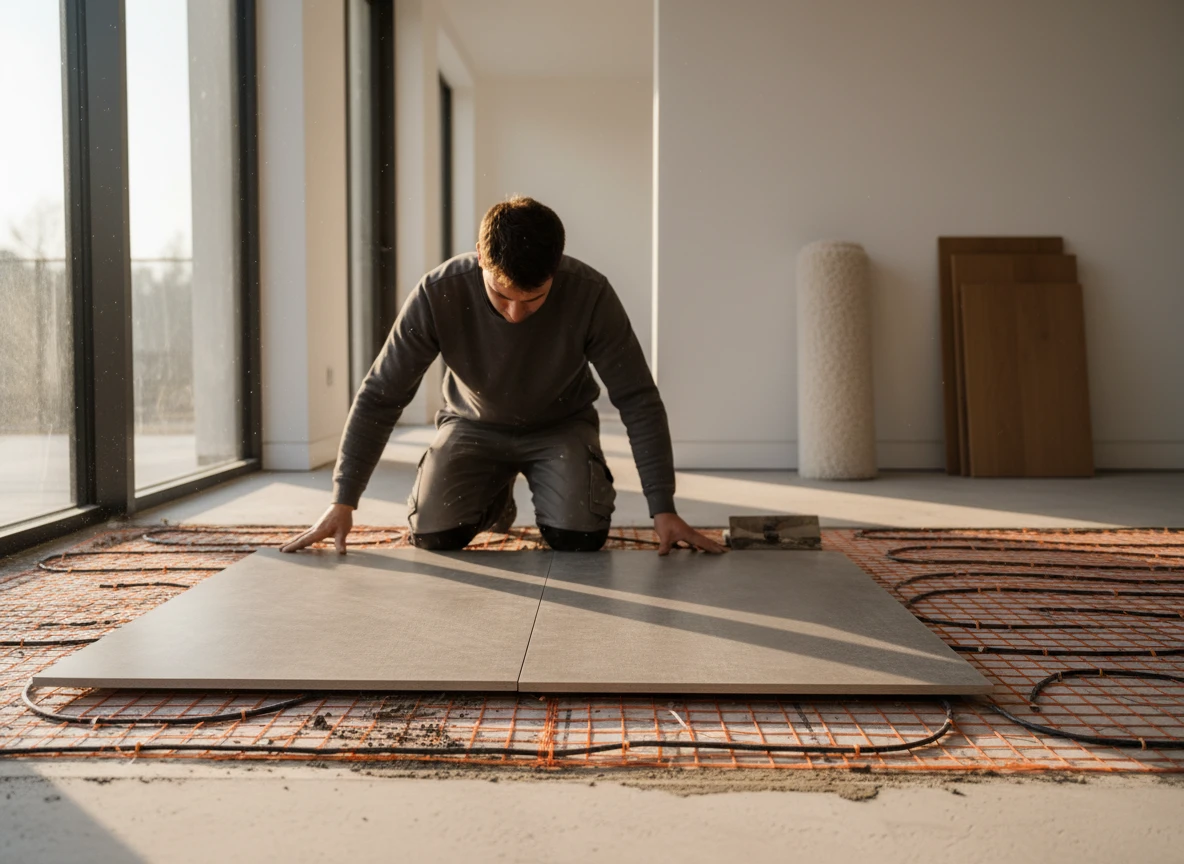
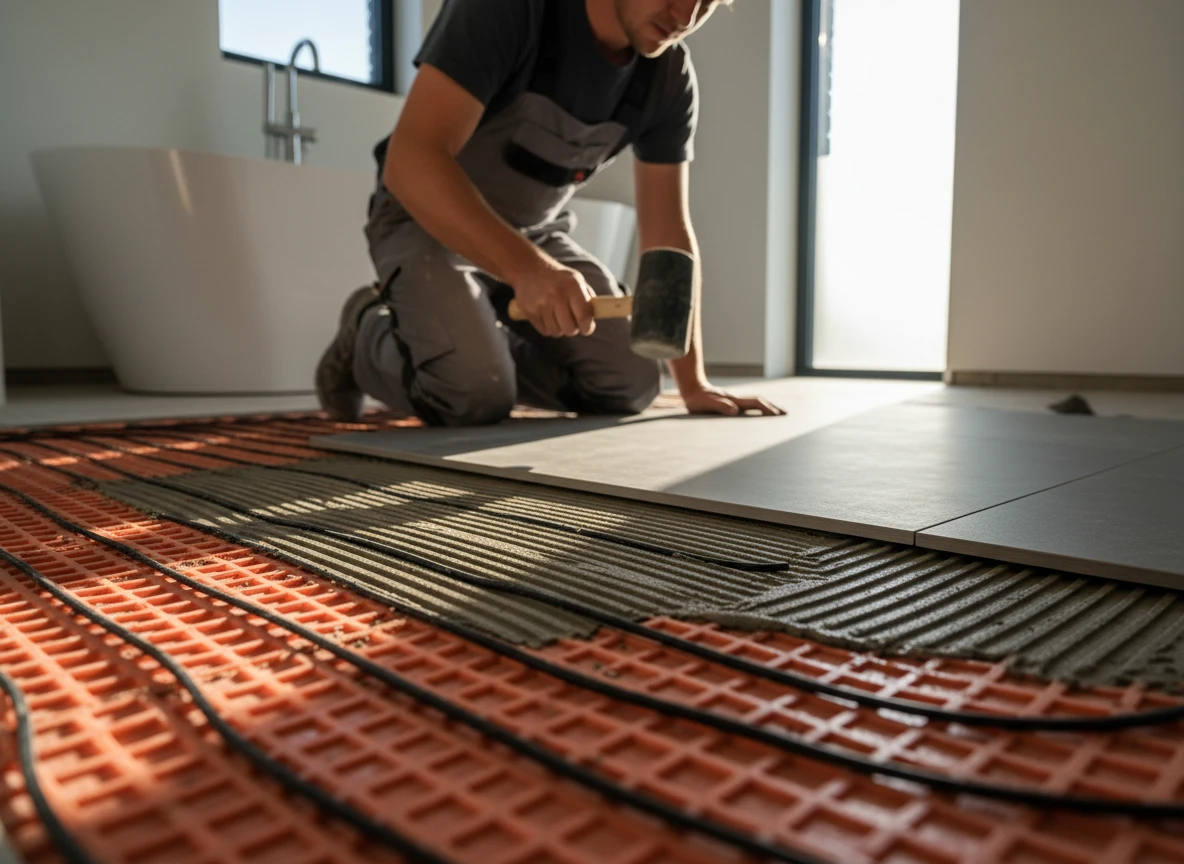
But the most destructive issues occur when other trades step onto the scene. During the tiling process, sharp notched trowels can easily nick the delicate heating wires. If workers walk over the exposed cables before the thinset cures, micro-fractures develop. This slowly degrades the core conductor of the electric floor heating system until it fails completely.
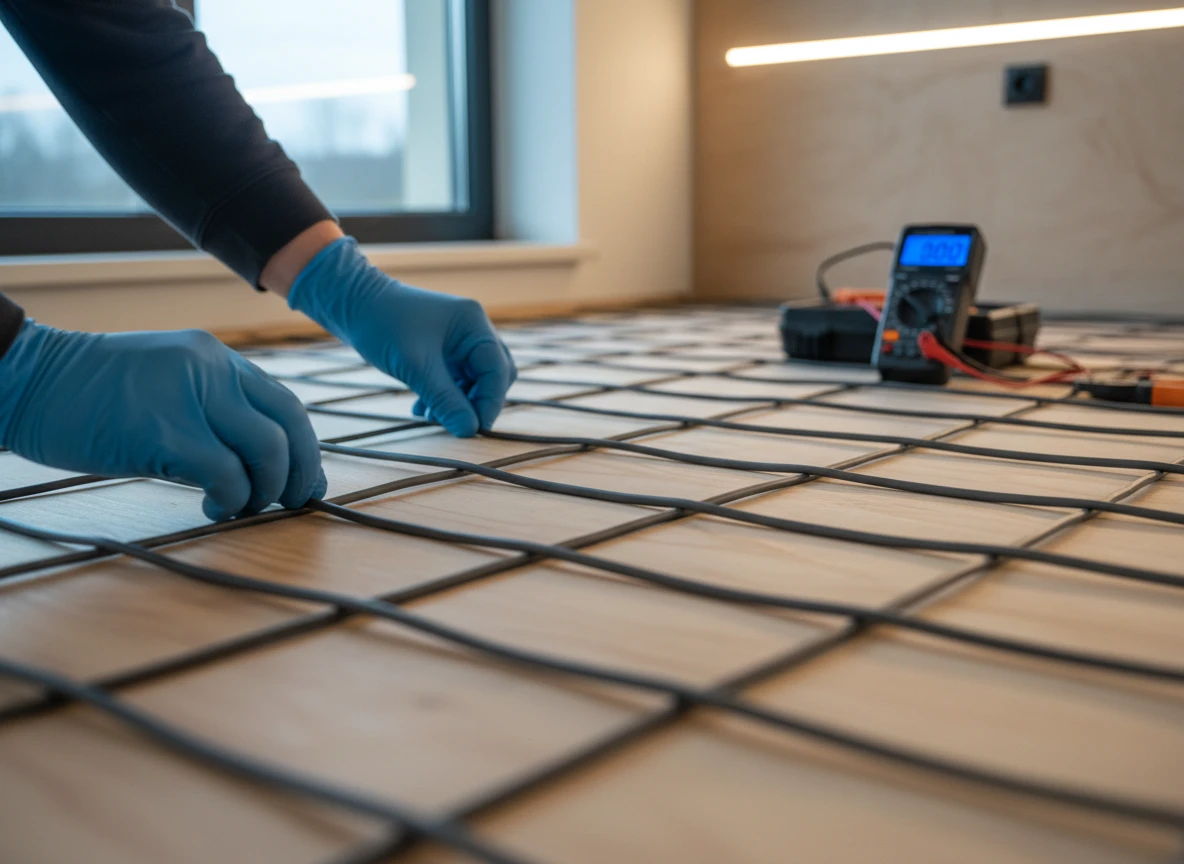
While we frequently design large-scale industrial systems like heavy-duty drum heating jackets for precise temperature control, the fundamental physics of electrical resistance remain identical here. If your tile installer didn't run a continuous resistance monitor (often called a "loudmouth" alarm) during the entire tile lay, they likely missed the exact moment the underfloor heating system was damaged.
So, what is the next step if you suspect physical damage? You don't have to tear up the entire floor. A technician using thermal imaging can pinpoint the exact break down to a single tile. From there, you can surgically lift that tile, splice the wire, and restore your warm floors. Moving forward, make sure any future contractor commits to continuous testing throughout the entire tile-laying process to prevent silent failures before the mortar sets.
If your heating setup is still underperforming, Integro Process Heating Solutions offers engineered heating solutions that cut out the guesswork.
Frequently Asked Questions
Why does my bathroom floor feel barely warm even when the thermostat says eighty-five degrees?
Radiant mats are built to cap surface temps around eighty-five degrees to protect your tile adhesive, so it's a gentle warmth rather than space-heater heat. Honestly, if you're standing on thick stone or have a plush rug down, it'll take a while to notice.
How do I check if my floor heating mat is actually broken?
You'll need an ohmmeter to test the wire resistance against the manufacturer's specs. If your readings match up, the mat's fine, and the issue's usually hiding in the thermostat or your sensor placement.
Can concrete subfloors ruin the performance of electric underfloor heating?
Uninsulated concrete is a massive heat sink that pulls all your thermal energy straight down into the slab. That's why you'll want proper thermal underlayment barriers during installation to keep the heat pushing up where your feet are.
Should I use floor-sensing or air-sensing mode on my thermostat?
Floor-sensing mode is usually best because it measures the actual tile temperature instead of just the air around the vanity. If it's set to air mode, your tiles might stay chilly while the thermostat thinks the room is already cozy.